This is the story of the renovation of a powder room of a private residence located in Gurgaon, India; using design principles introduced by Christopher Alexander in his magnum opus — Nature of Order. I participated in a year-long course called ‘Building Beauty’, the design studio of which concluded with a design and construction project. The studio faculties were Christopher Andrews, Susan Ingham, Or Ettlinger and Savyasaachi, and my studio tutor was Ana Jancar. The project brief was very simple. It was to build something in the span of 10 weeks, with a group of people and for someone other than yourself.
As fate would have it, a powder room renovation project came along just at the right time and had the exact same deadline. Ms Monica Soni’s son was coming home from the States for his internship break and had a severe dust allergy, which meant the job was to be finished, including a professional cleaning within the time allotted by the studio.
Considering the small scale of the project, being something doable in the required time, we took it on. By ‘we’, I mean me, the client, and the studio team. In the rest of this article, I will be elaborating on the design process leading up to the final result of this exercise, but before we dive into that, to give a glimpse of the result, here is a before and after picture of the powder room:

This transformation was a result of a 10-week-long exercise that included sketching, model-making, and mock-ups; but one of the activities was very much willingly excluded from the process, which is considered essential in the design method usually – the making of detailed two-dimensional drawings – also known as ‘drafting’, for which ‘AUTOCAD experts’ are employed in interior and architecture firms.
The design method used in this exercise made sure that:-
a. the design was produced from a perspective that cared about the ‘whole’ rather than the ‘parts’
b. the left brain did not take over the design process
c. the design always felt right – to the designer, to the construction team, and to the client
So, how exactly did the design process achieve that? Read on to discover…
Centres analysis
The first step of the exercise was to do a centres analysis of the existing site. This was done to determine not only the strong and weak centres in the existing configuration but also to determine the potential direction of design development in order to strengthen the weak centres or in Alexander’s words – to heal the site. Centres analysis also identifies the latent centres which can be further strengthened or realised. The field of centres reveals the most harmonious and the least harmonious parts of a site, which establishes the job of a designer to some extent, with the motive being to improve the less harmonious parts of a site and increase the harmony among the centres while increasing the degree of overall wholeness.
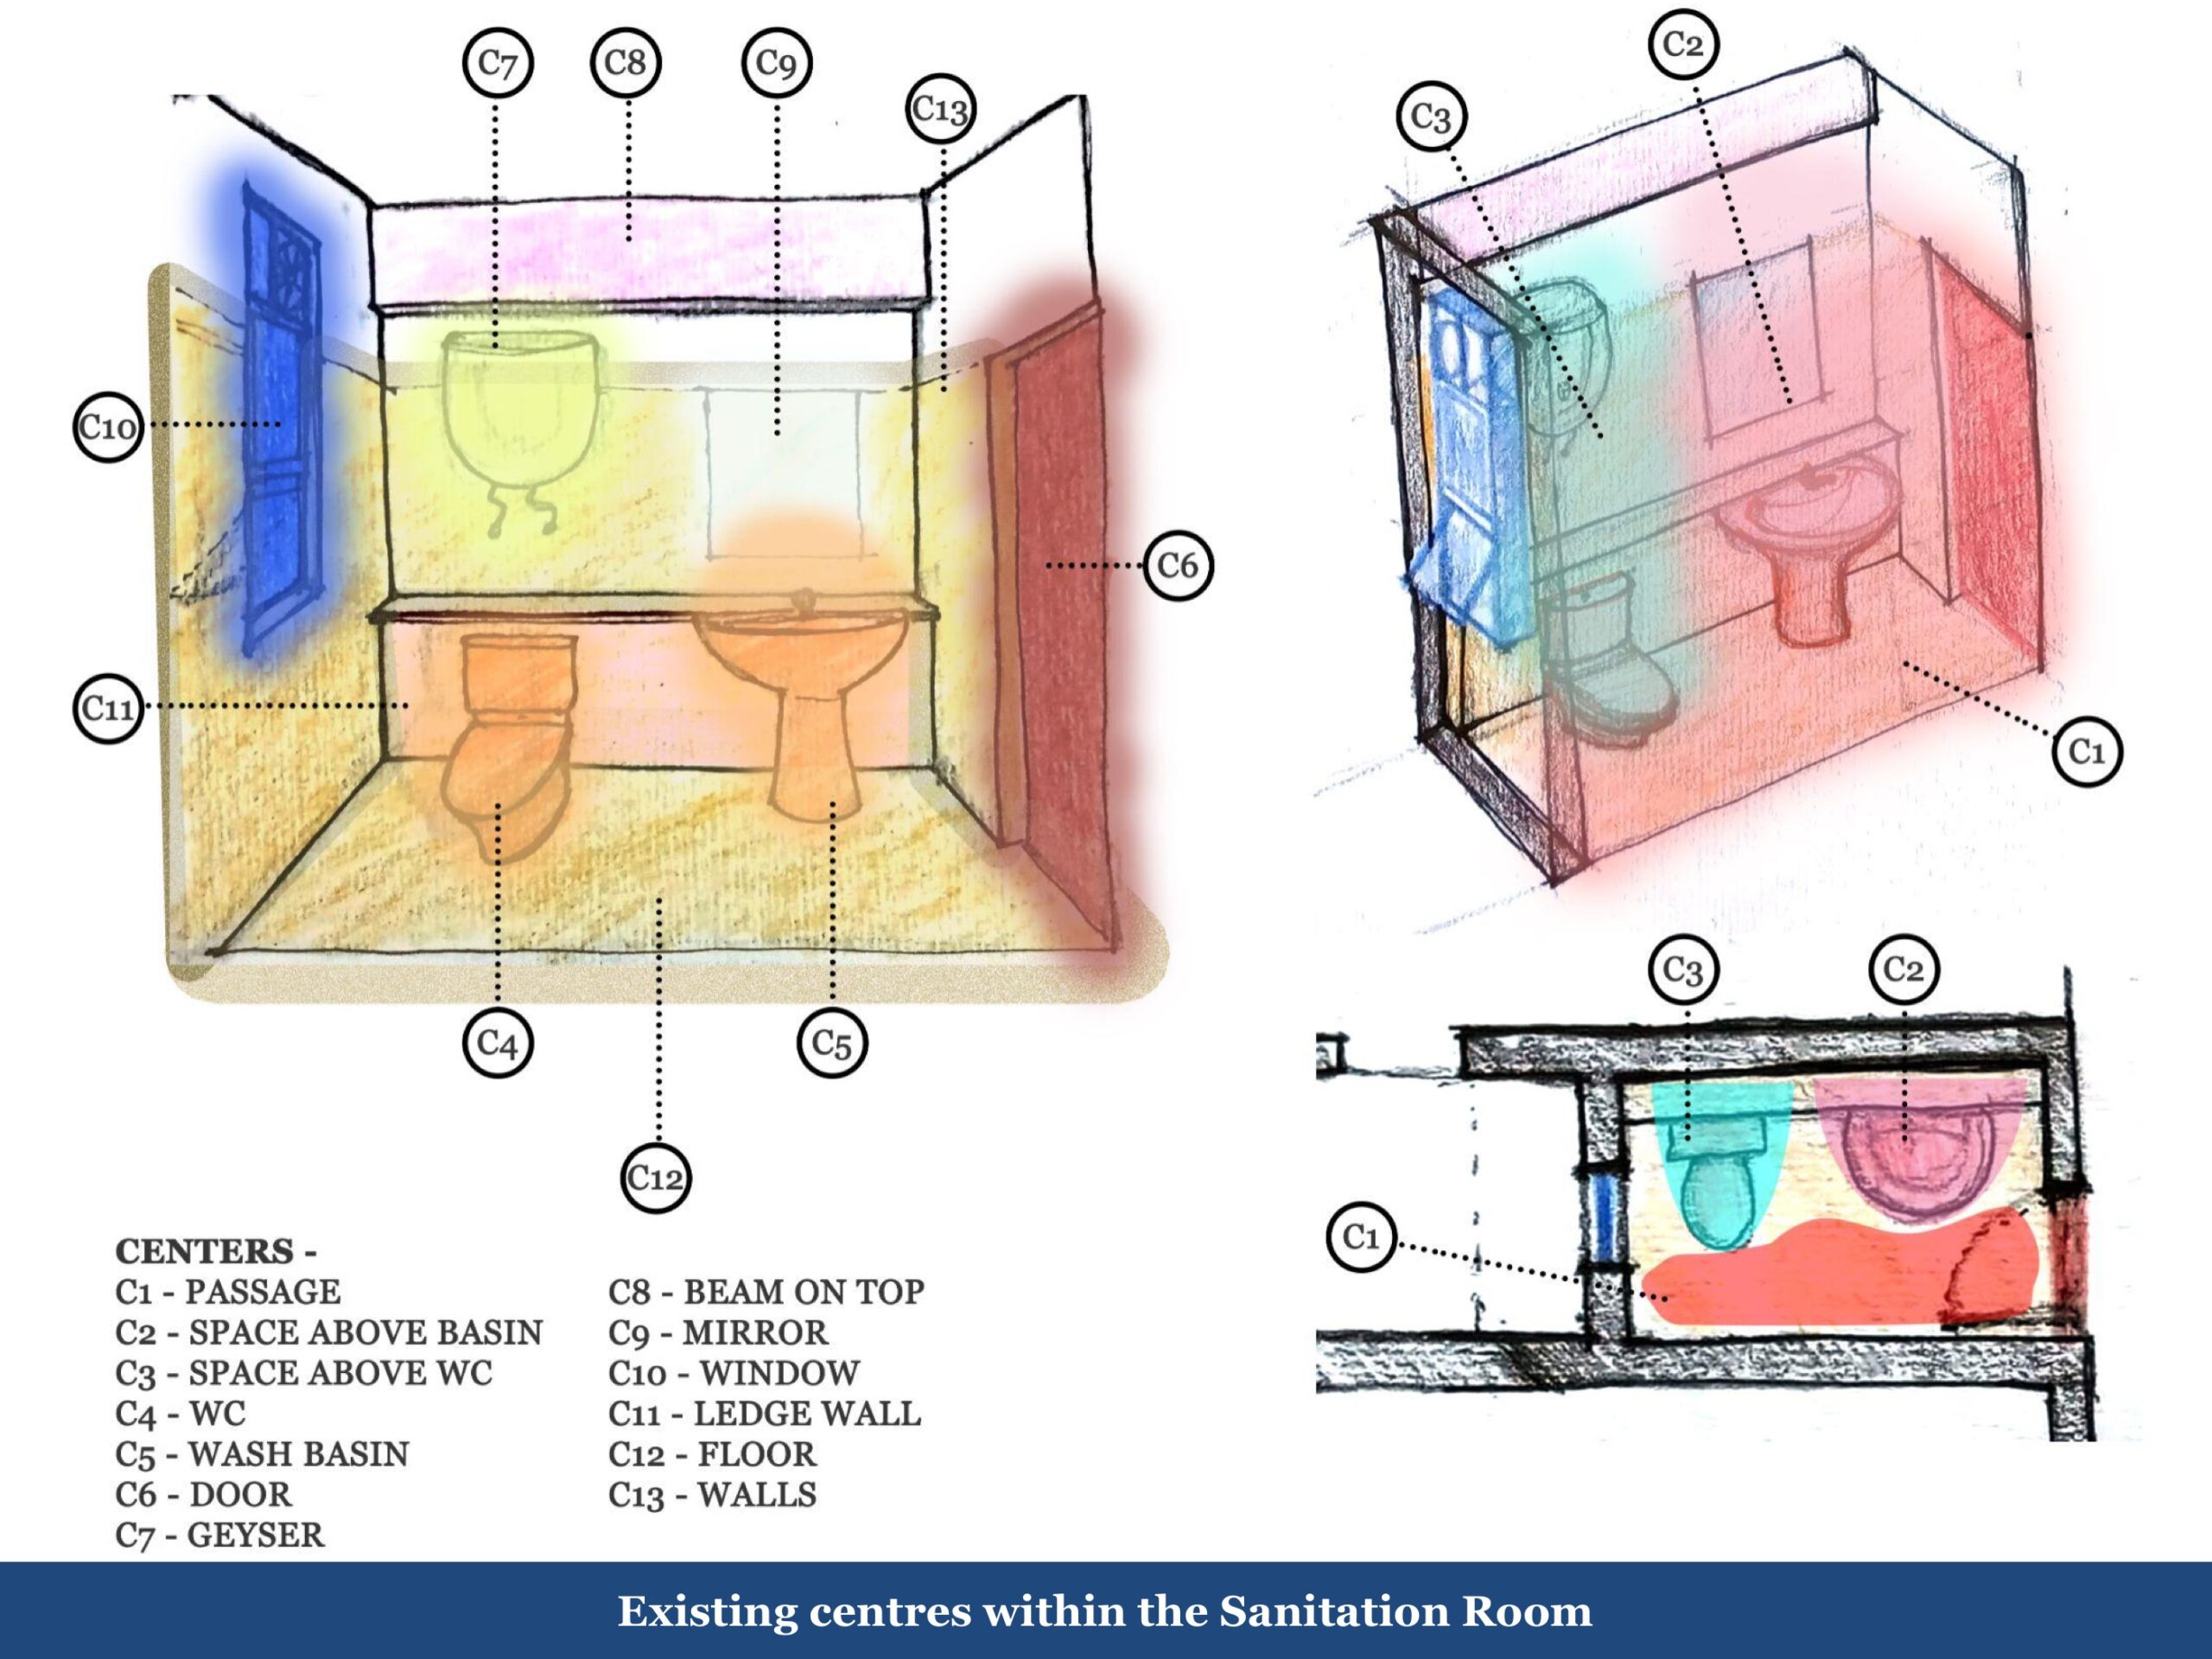
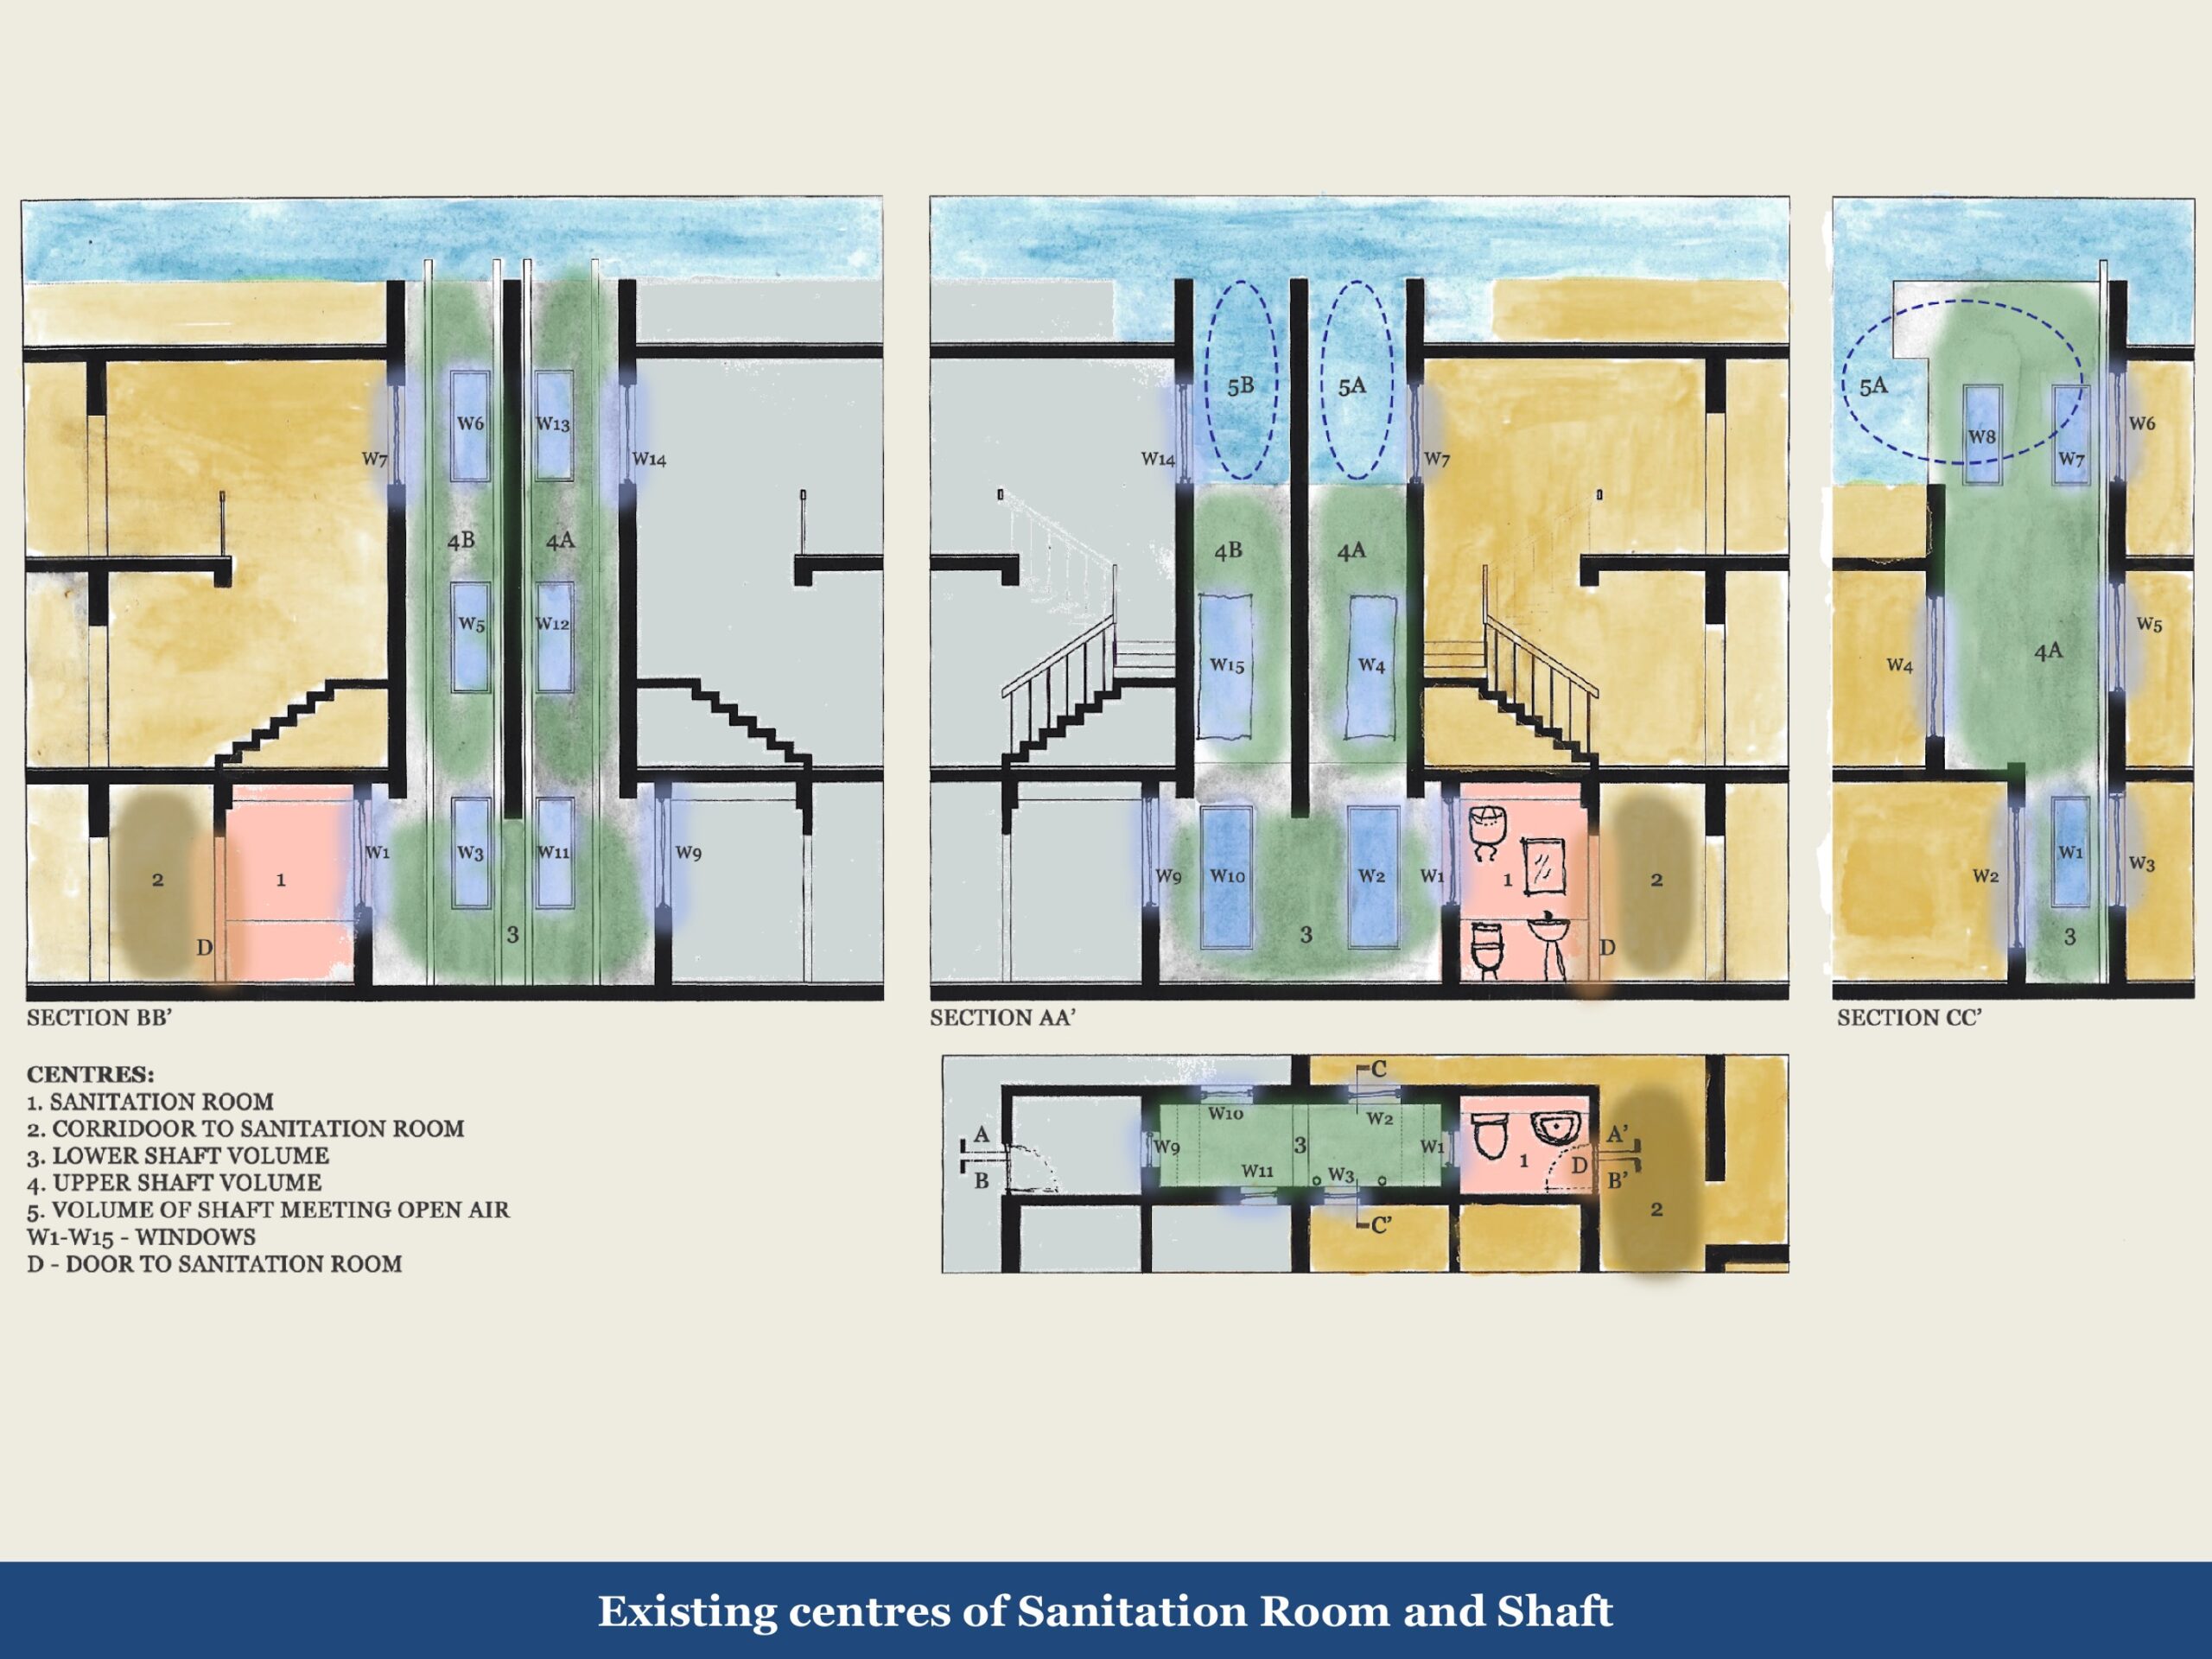
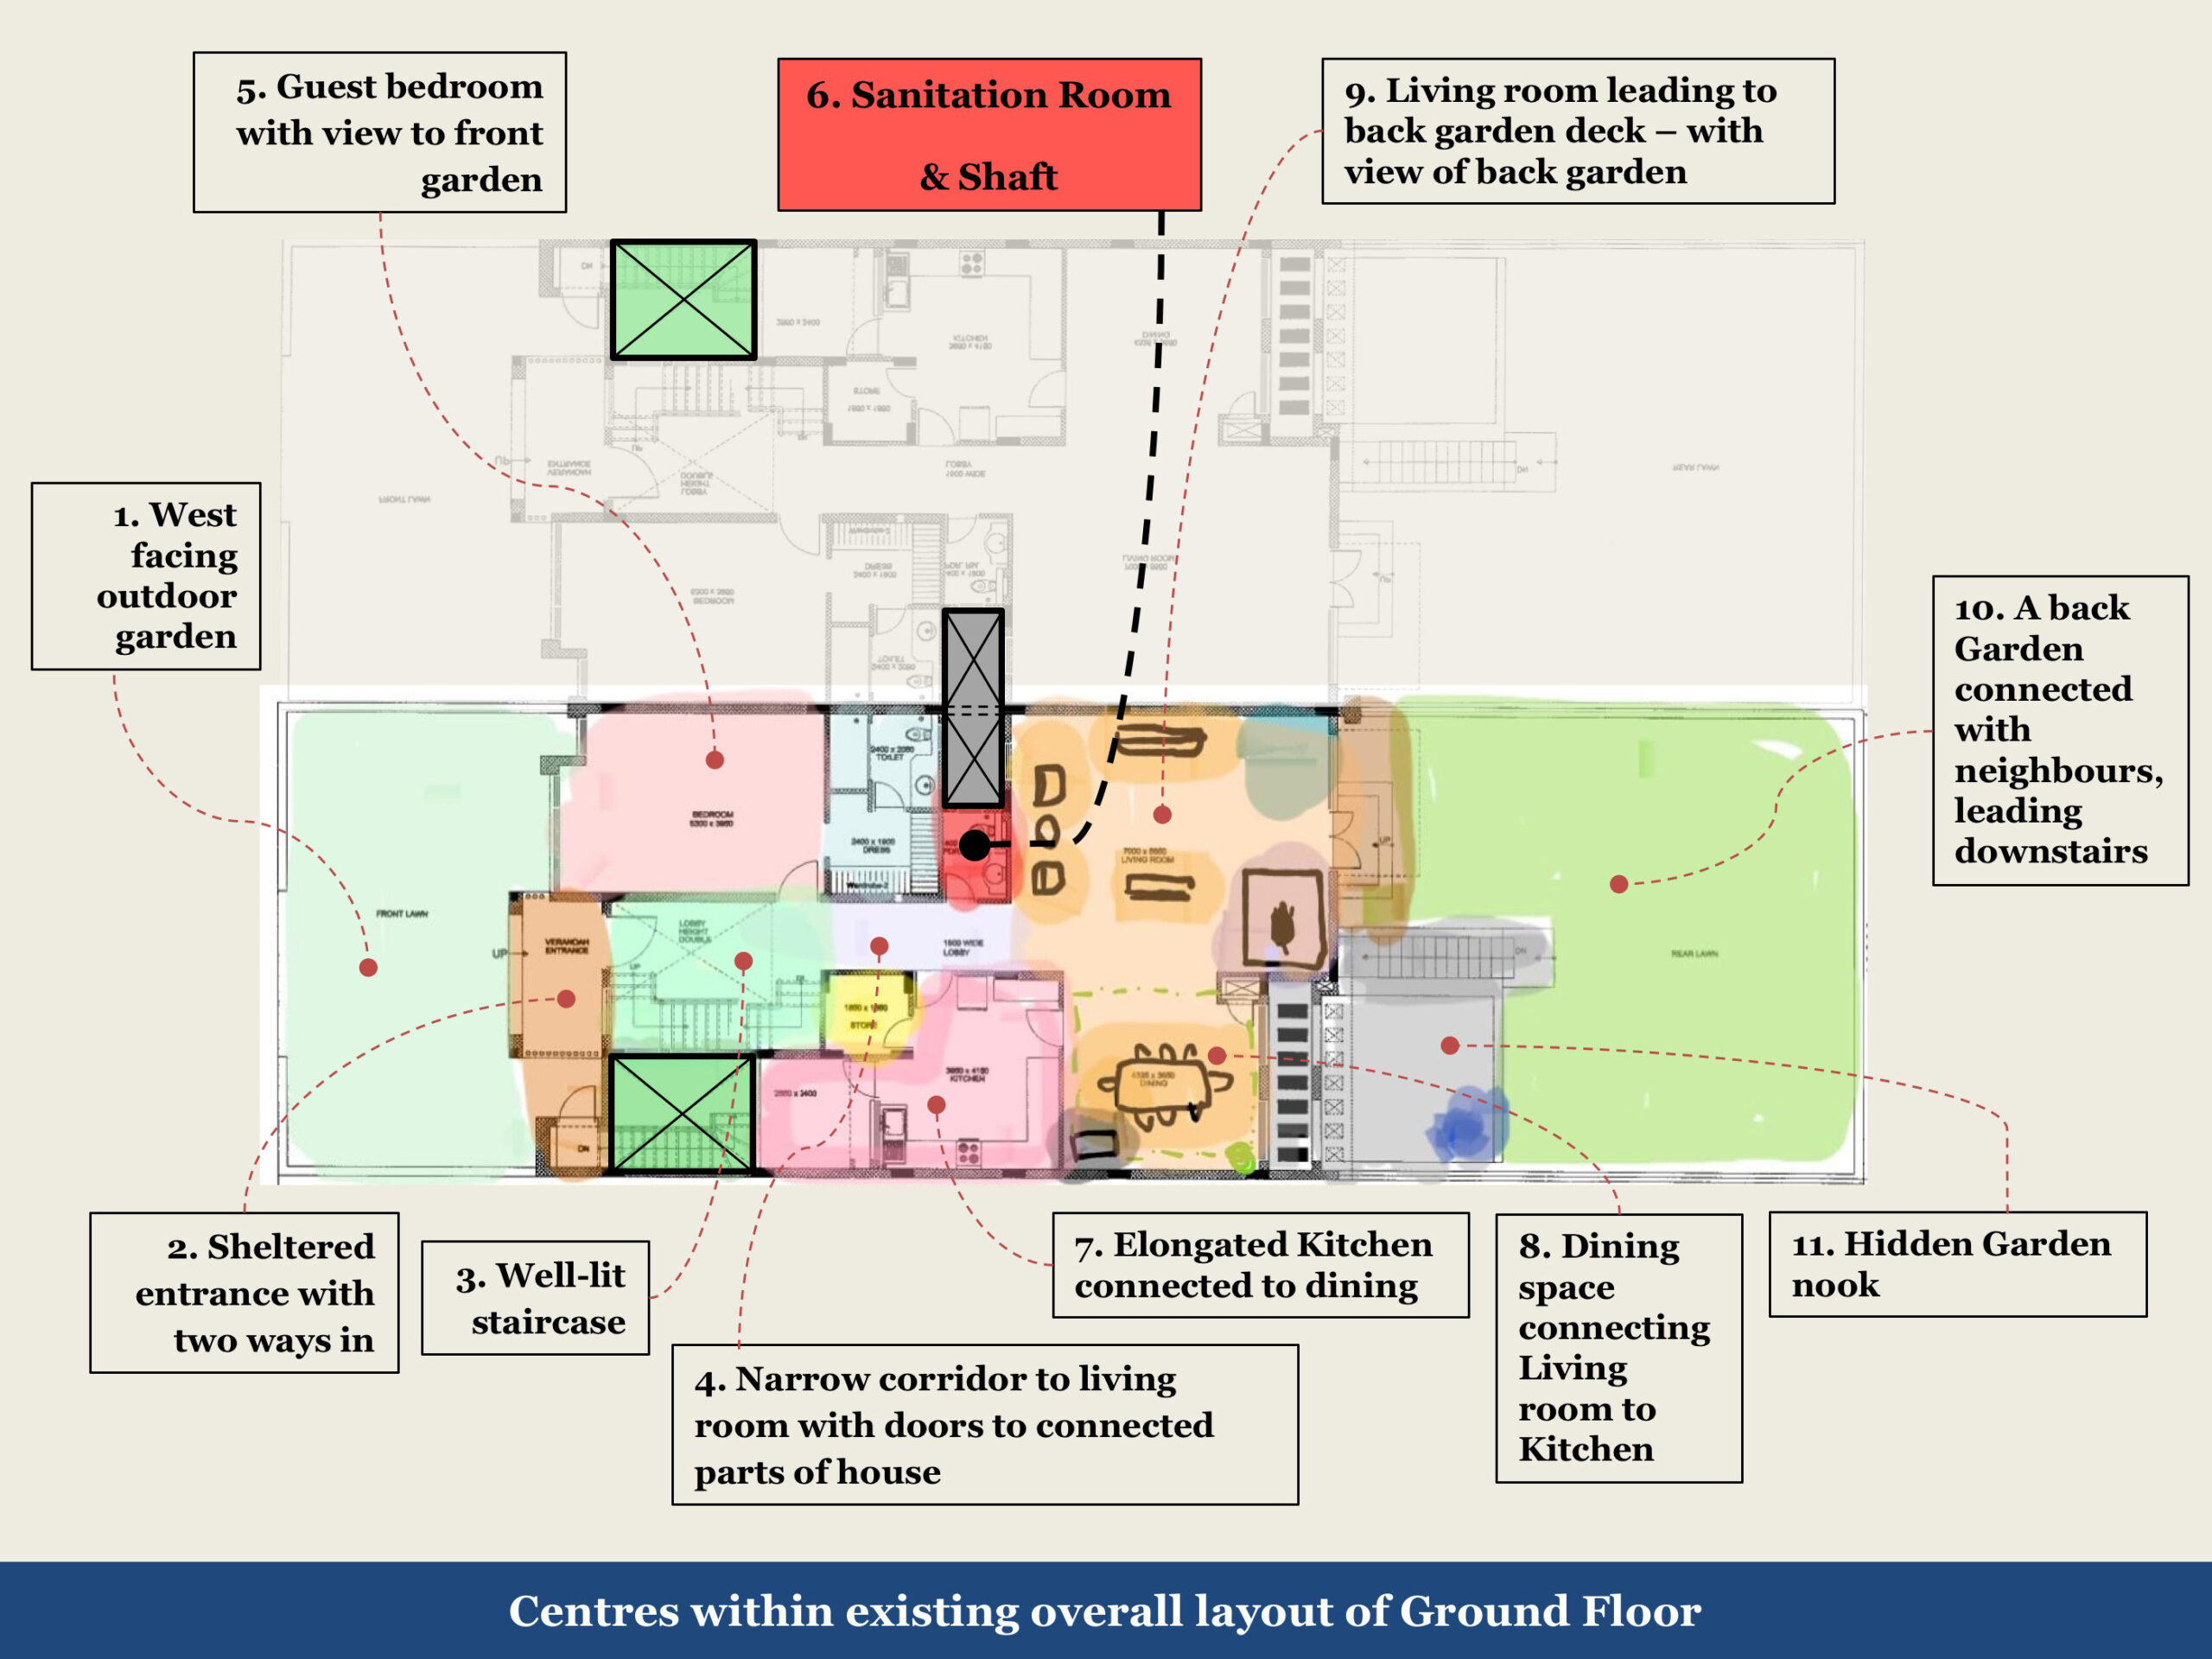
Christopher Alexander defines centres extensively in Nature of Order Book 1 – The Phenomenon of Life. He also states that it is the wholeness of a place that defines its centres and not the other way around. Weak centres with less harmony among each other are found in places with a lesser degree of wholeness and strong centres with great harmony among each other are found in places with a high degree of wholeness. The degree of wholeness is directly related to how much a place feels ‘alive’.
Project language
The next step of the exercise was to interview the client and then develop a Project Language specific to the site. The Project Language is a written document describing, in words the major patterns to be realised in the project. These patterns were written in a similar way as patterns are written in the book – “A Pattern Language” by Christopher Alexander, Sara Ishikawa and Murray Silverstein – each pattern had a title and a short description. The method of arriving at a Project Language was to combine the insights gained from the centres analysis and the interview, and then to bring it down to a maximum of 6 patterns. These 6 main patterns could have sub-patterns within them forming another level of patterns but at each level, we were advised to keep the number of patterns to be around 6 as that is what can be managed by our mind in one go without memorising it. This helps in organising and executing the design process on and off sight. The Project Language could also consist of a sketch along with each pattern.


Models, Mock–ups and the Construction phase
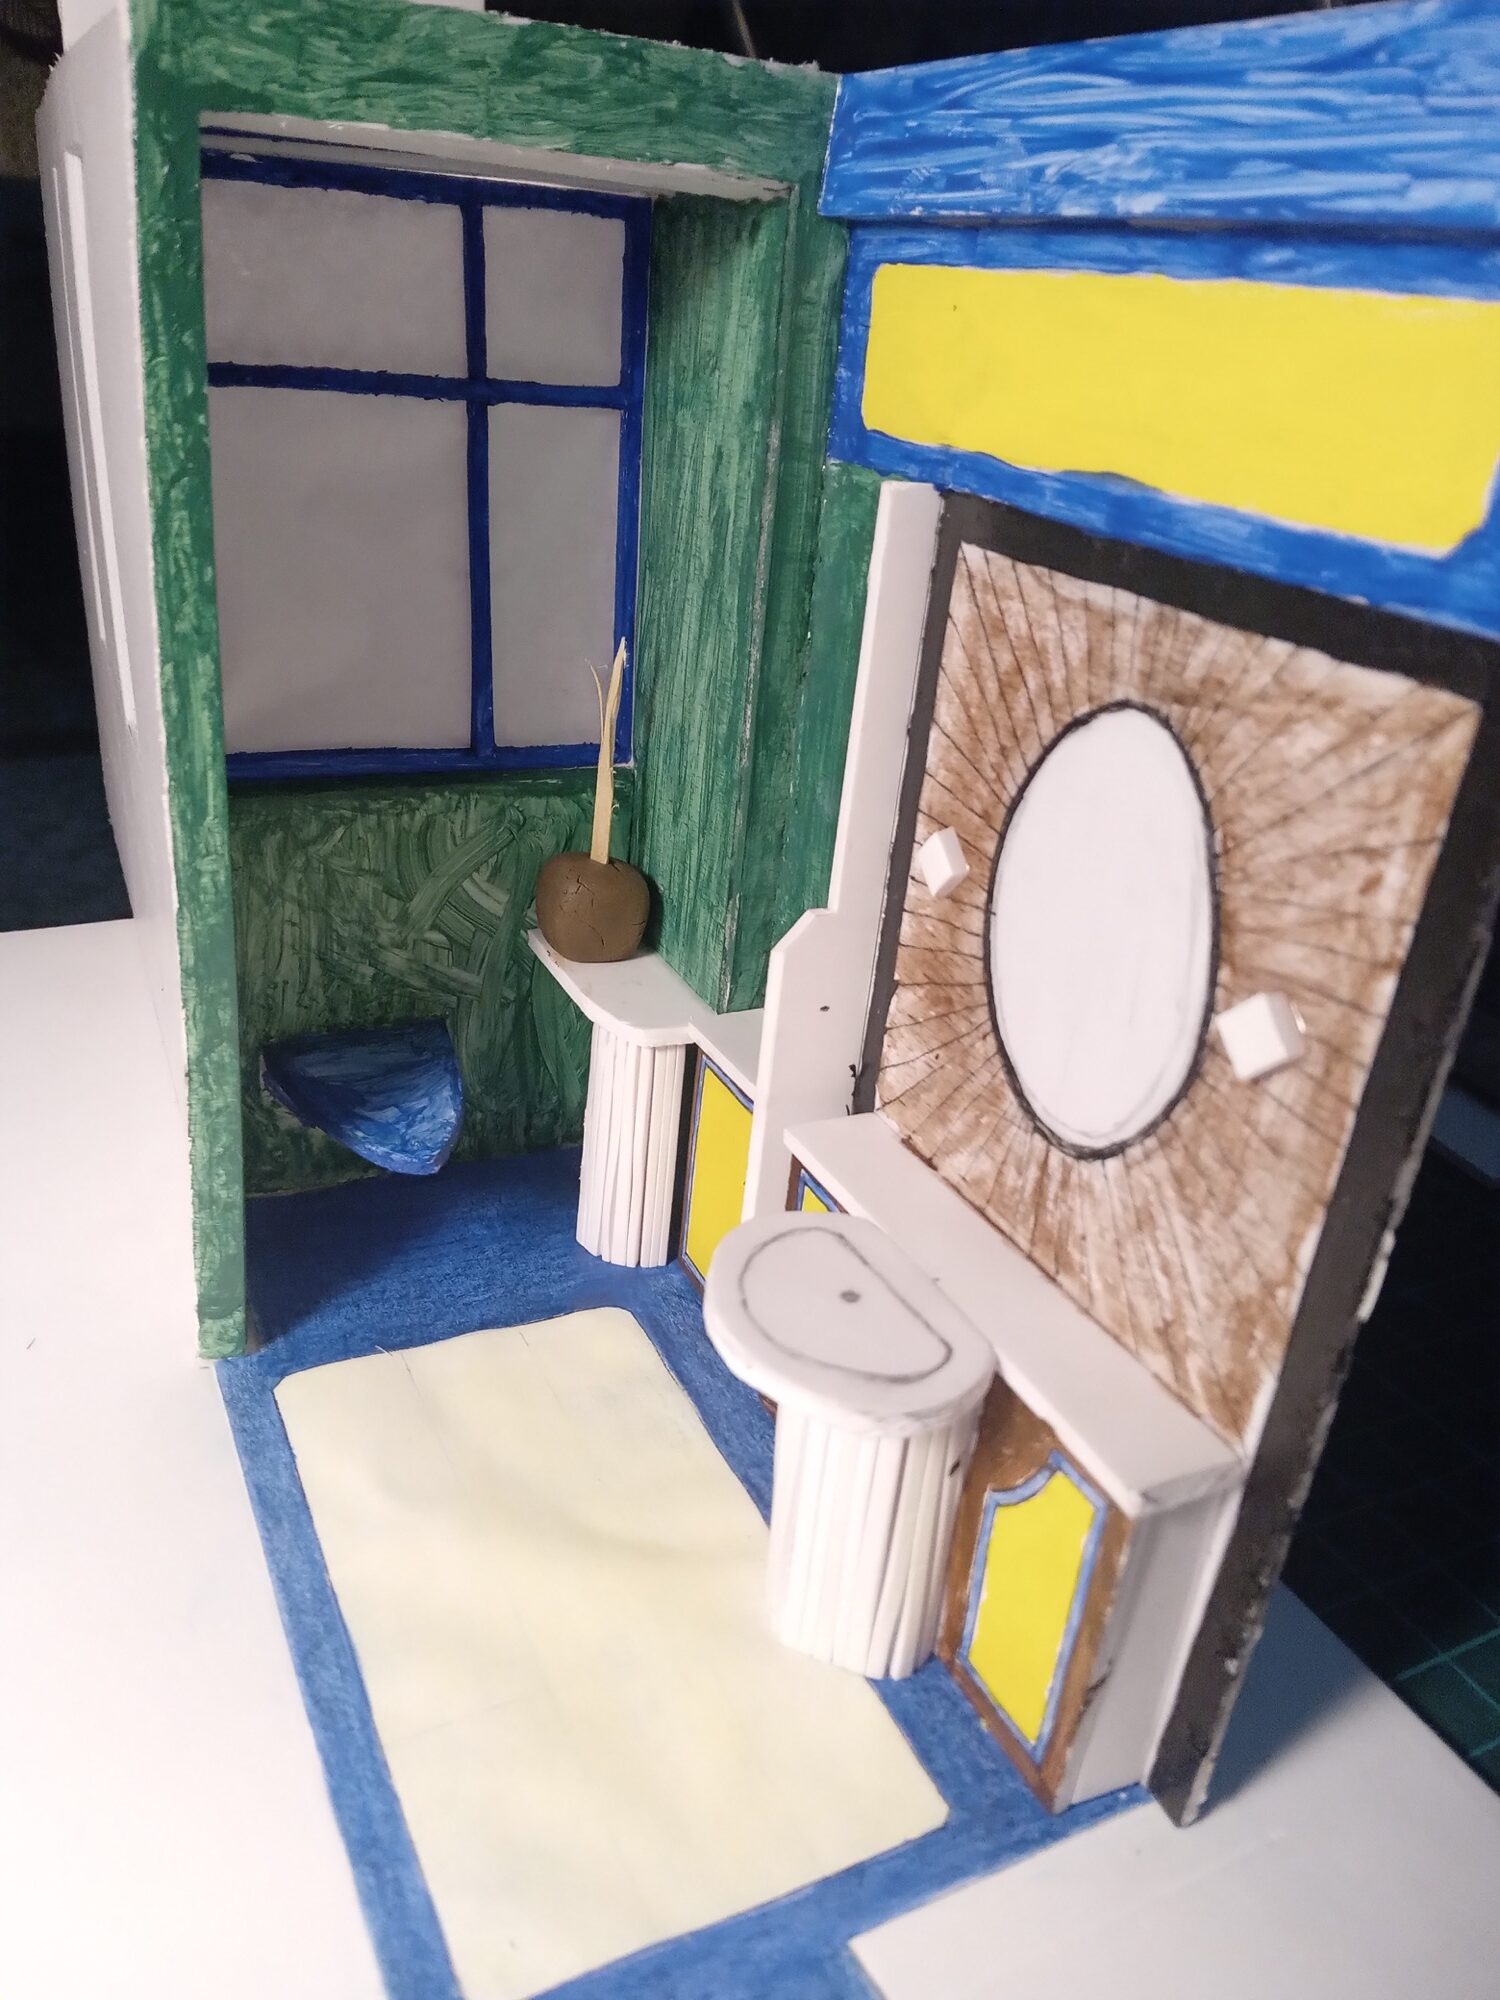
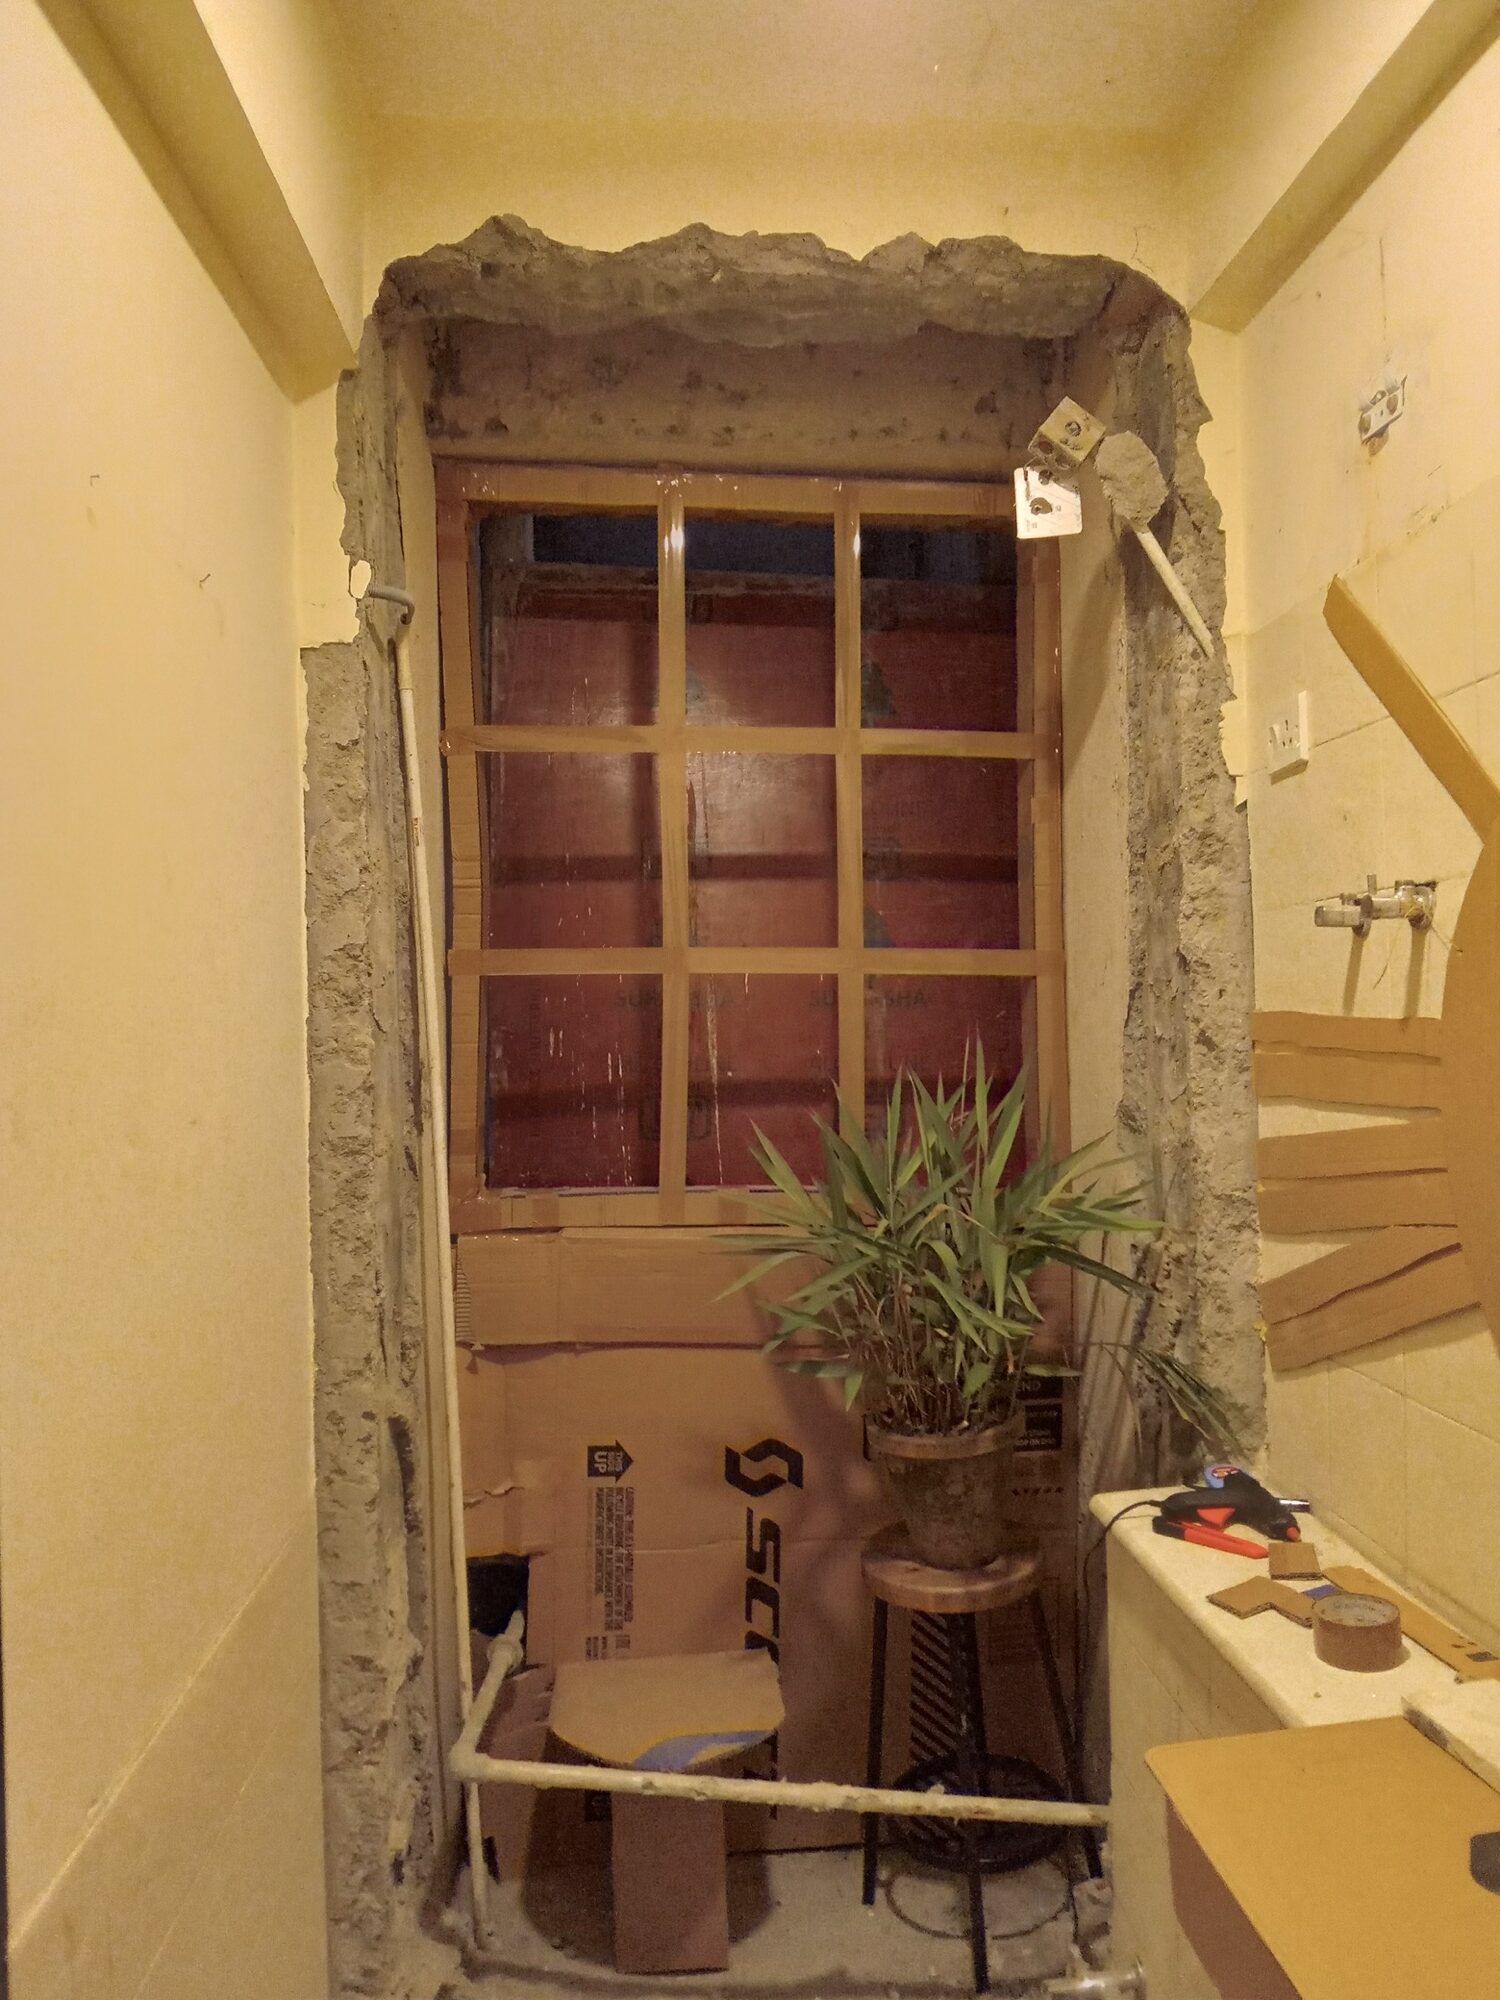
After completing the centres analysis, client interview and project language, we were ready to begin our work on the real transformation of the physical form of the site. The design tools for this part were scaled models and mock-ups.
Going back and forth between the models and on-site mock-ups, gradually, the bathroom began to unfold step by step. At each step, it was important to ensure that the outcome felt right. A very important question – “How does it feel?” was asked around, for me, for the client and for the studio team.
Construction Phase
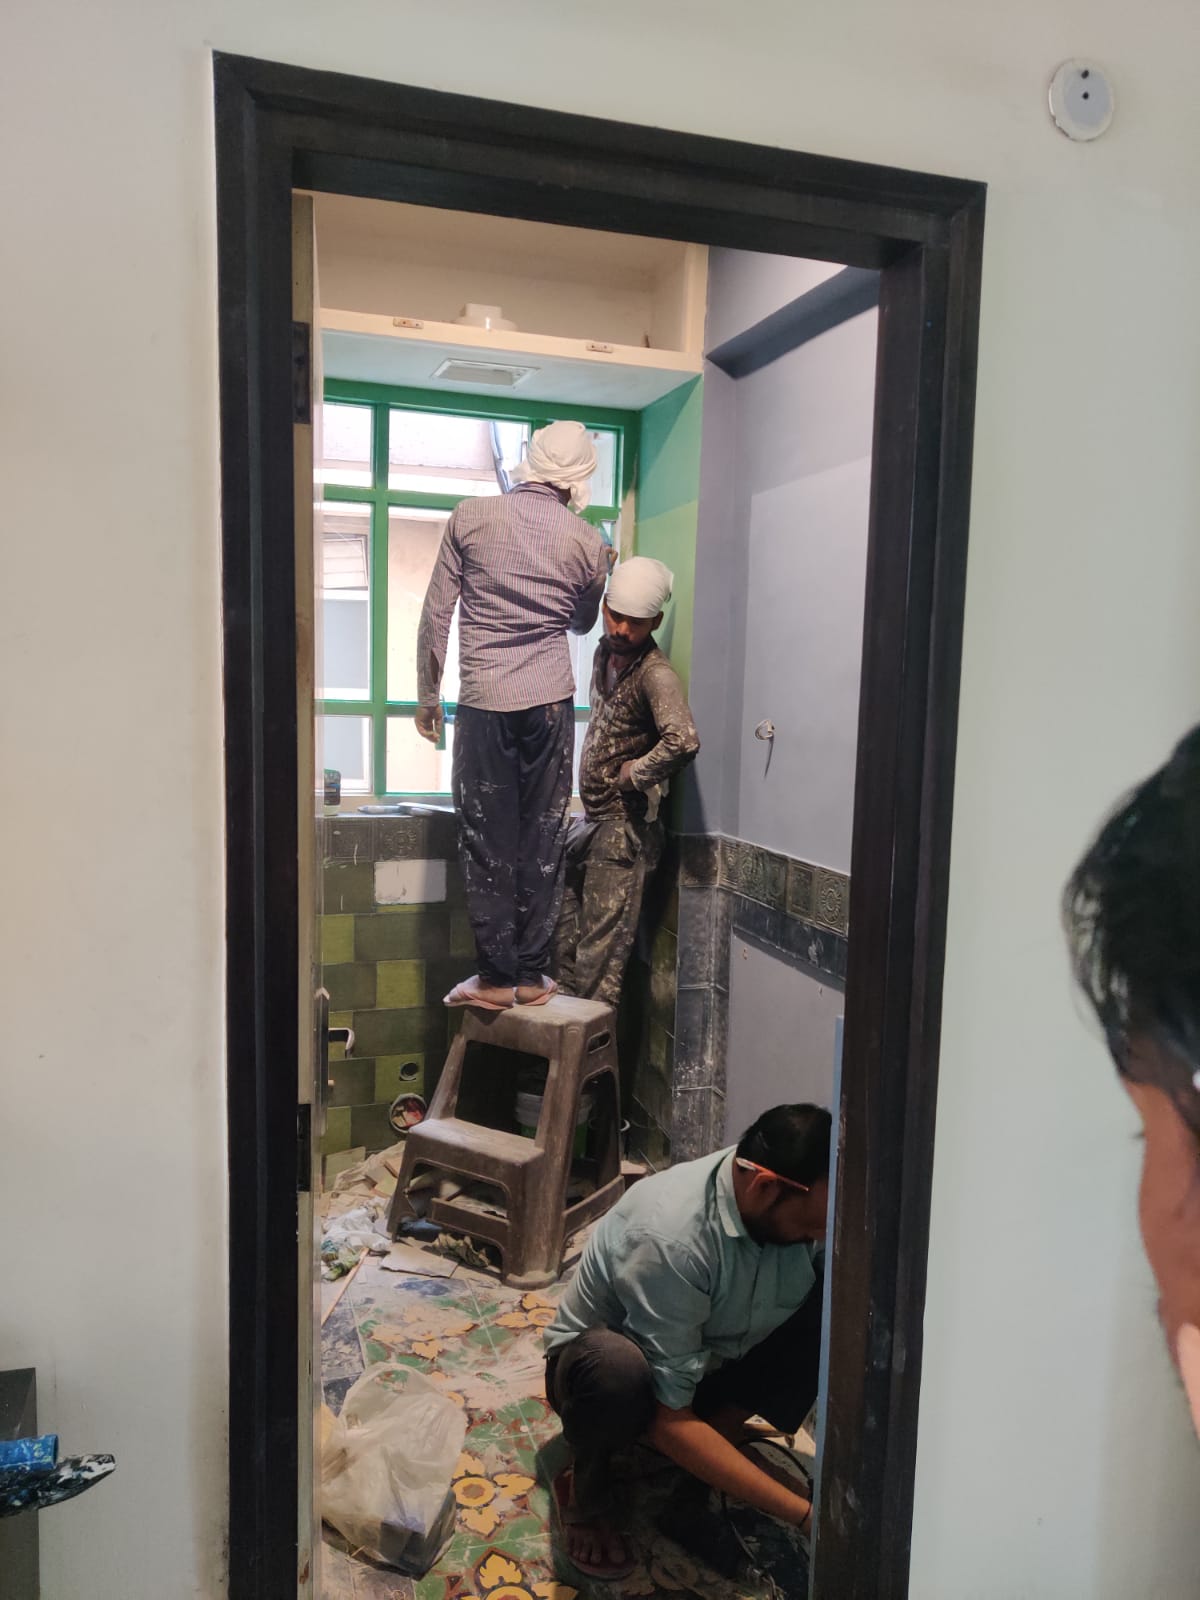
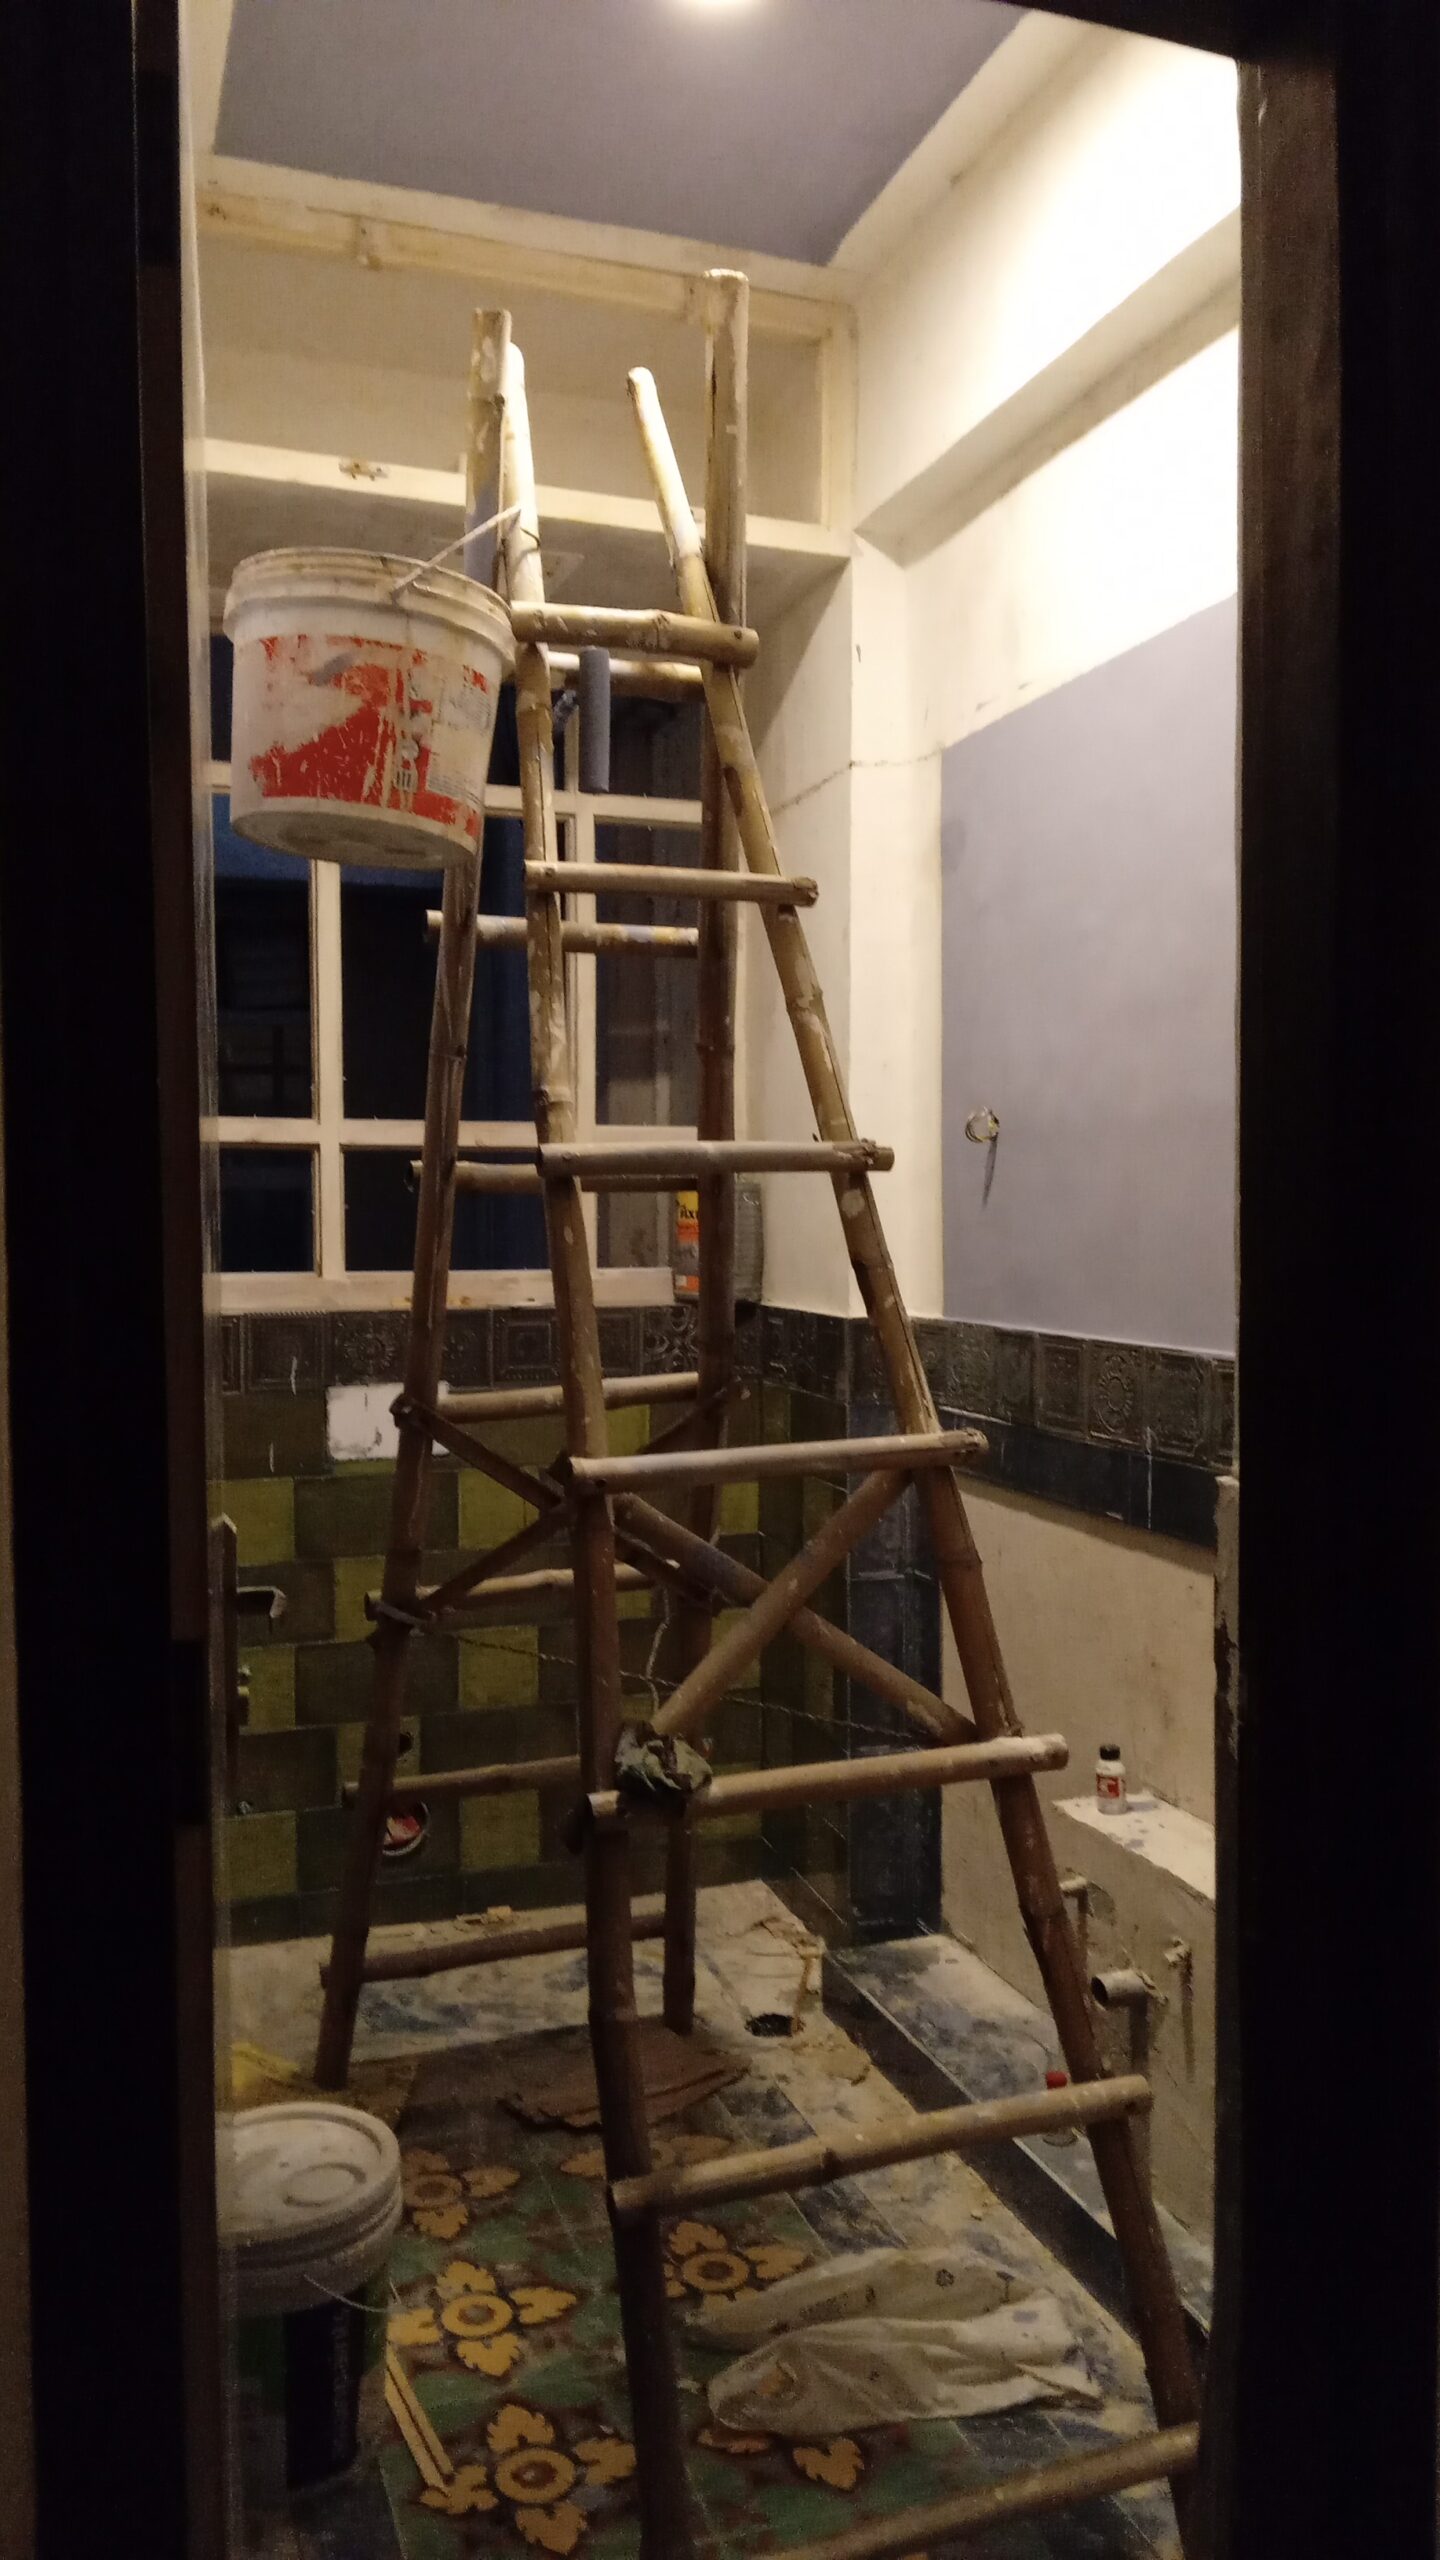
Needless to say, this was the most exciting part of the process – shaping things up on-site! Interestingly the small model and mock-ups continued to develop even while construction was going on. I was making design decisions while the project was being executed, mocking up and modelling and refining the design as the project progressed. Out of the many incidents and interdependent stories during construction, there were some that stood out…
The Window: Sill height, divisions and colours
When we selected a specific model of a wall-mounted WC and ordered its flush tank, which was supposed to be concealed inside the masonry wall; we found that its flush pipe was too tall resulting in the sill height of the window getting increased leading to a small, prison-like window. It was a horrible result and after discussions between the studio team; we decided to break a part of the freshly made brick wall, cut the flush pipe short and bring the sill level back to the height we had mocked up. This resulted in a loss of time and cost but restored the originally mocked-up sill height; which felt correct as per the mock-ups.
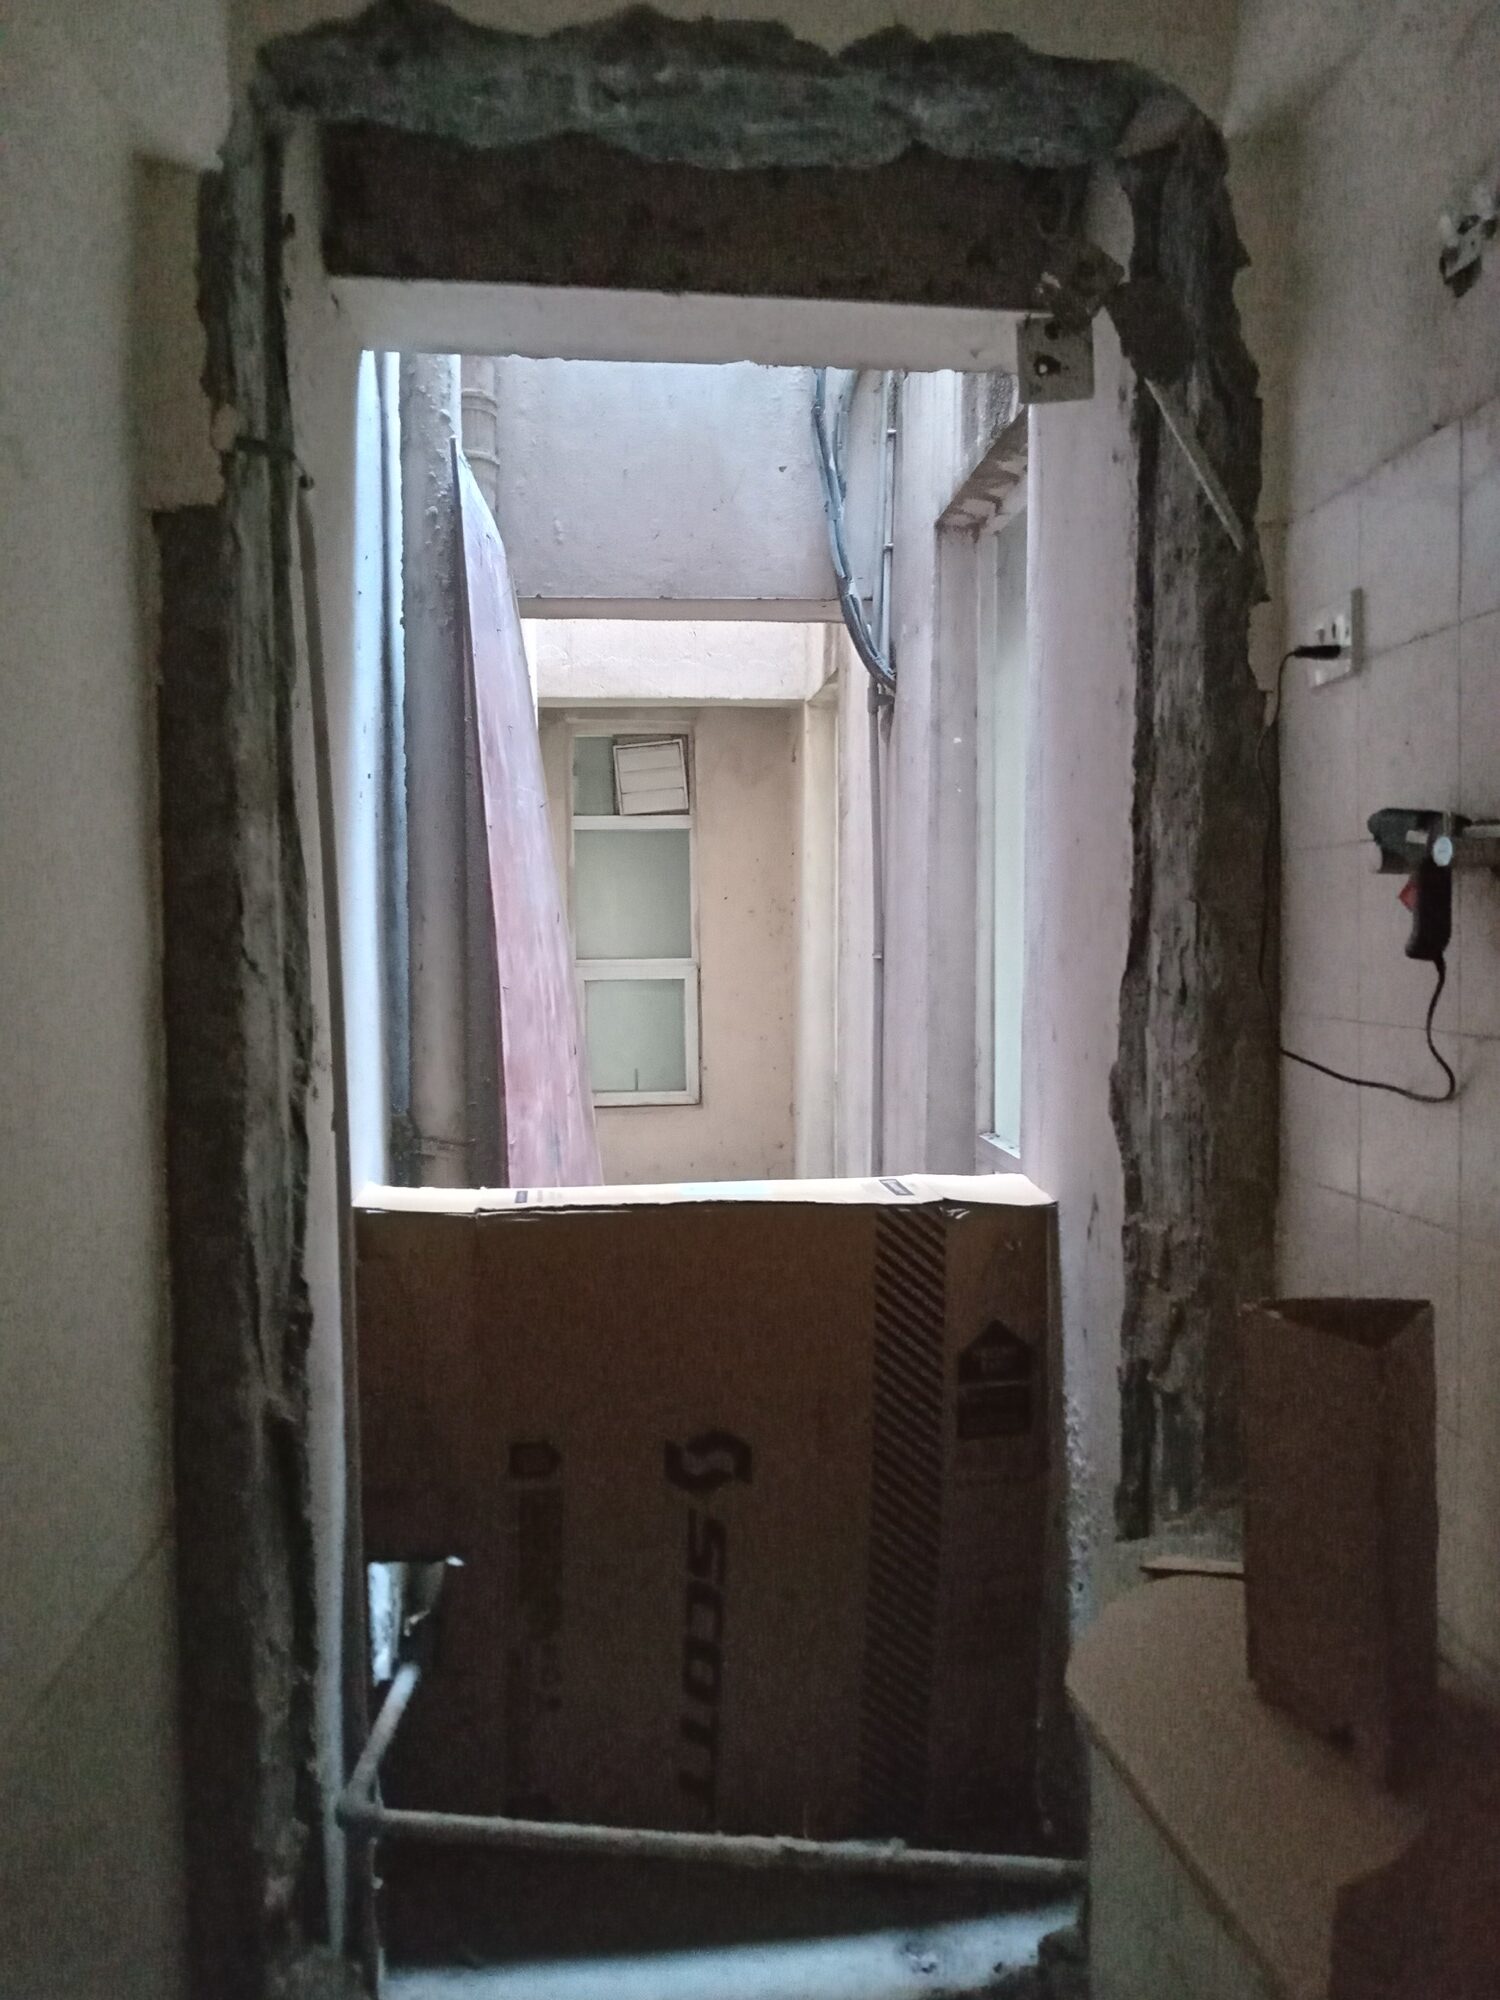

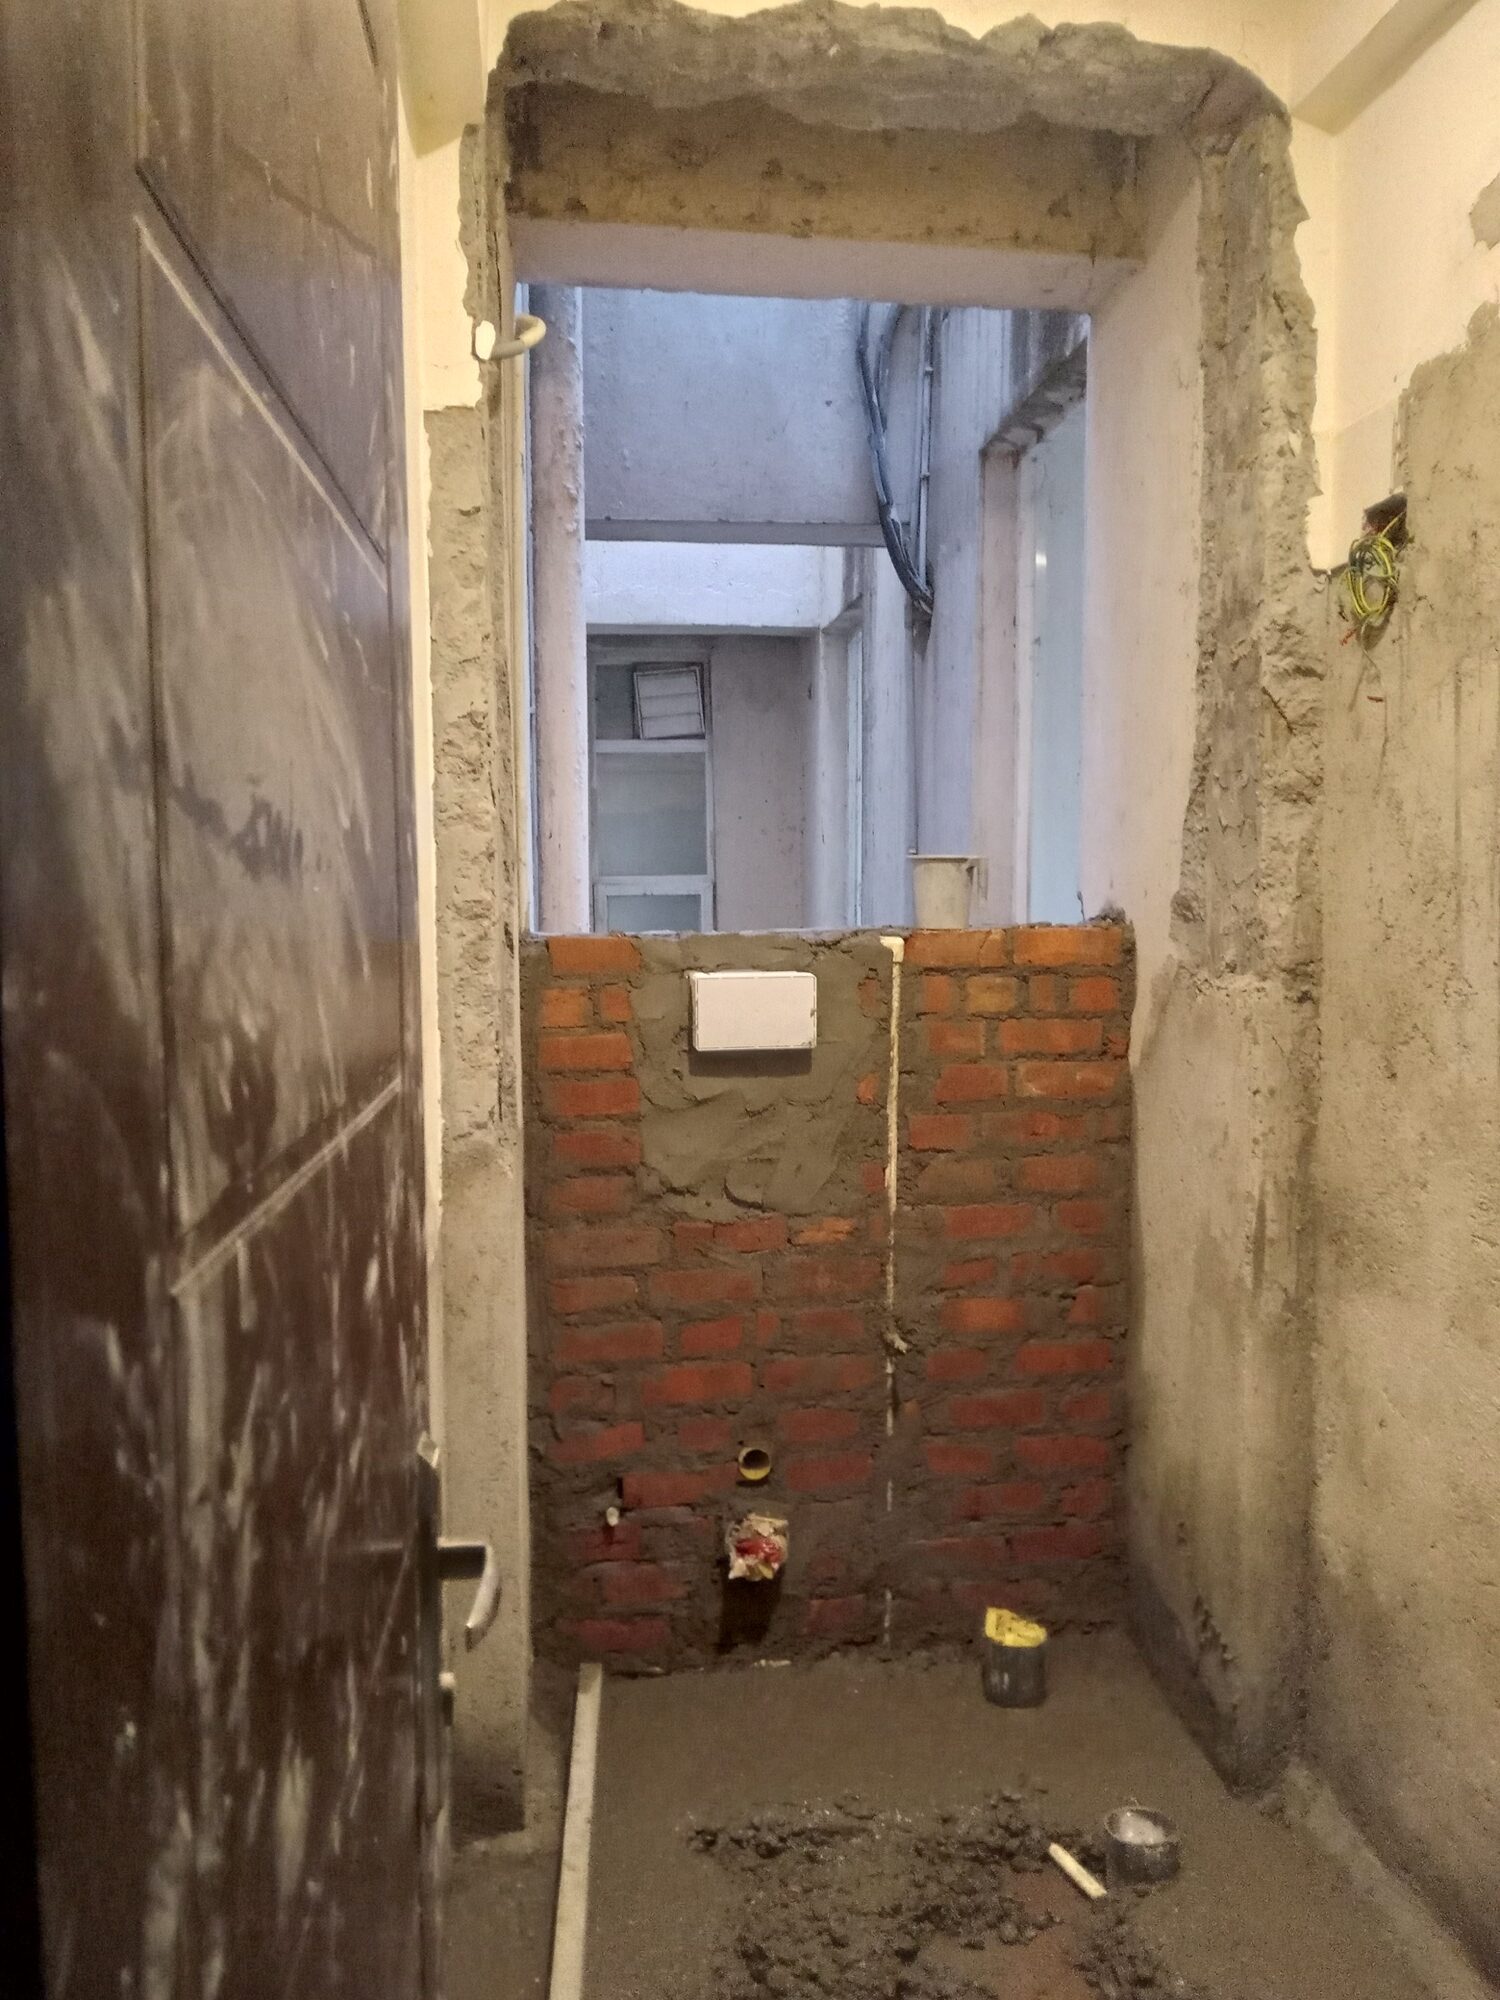
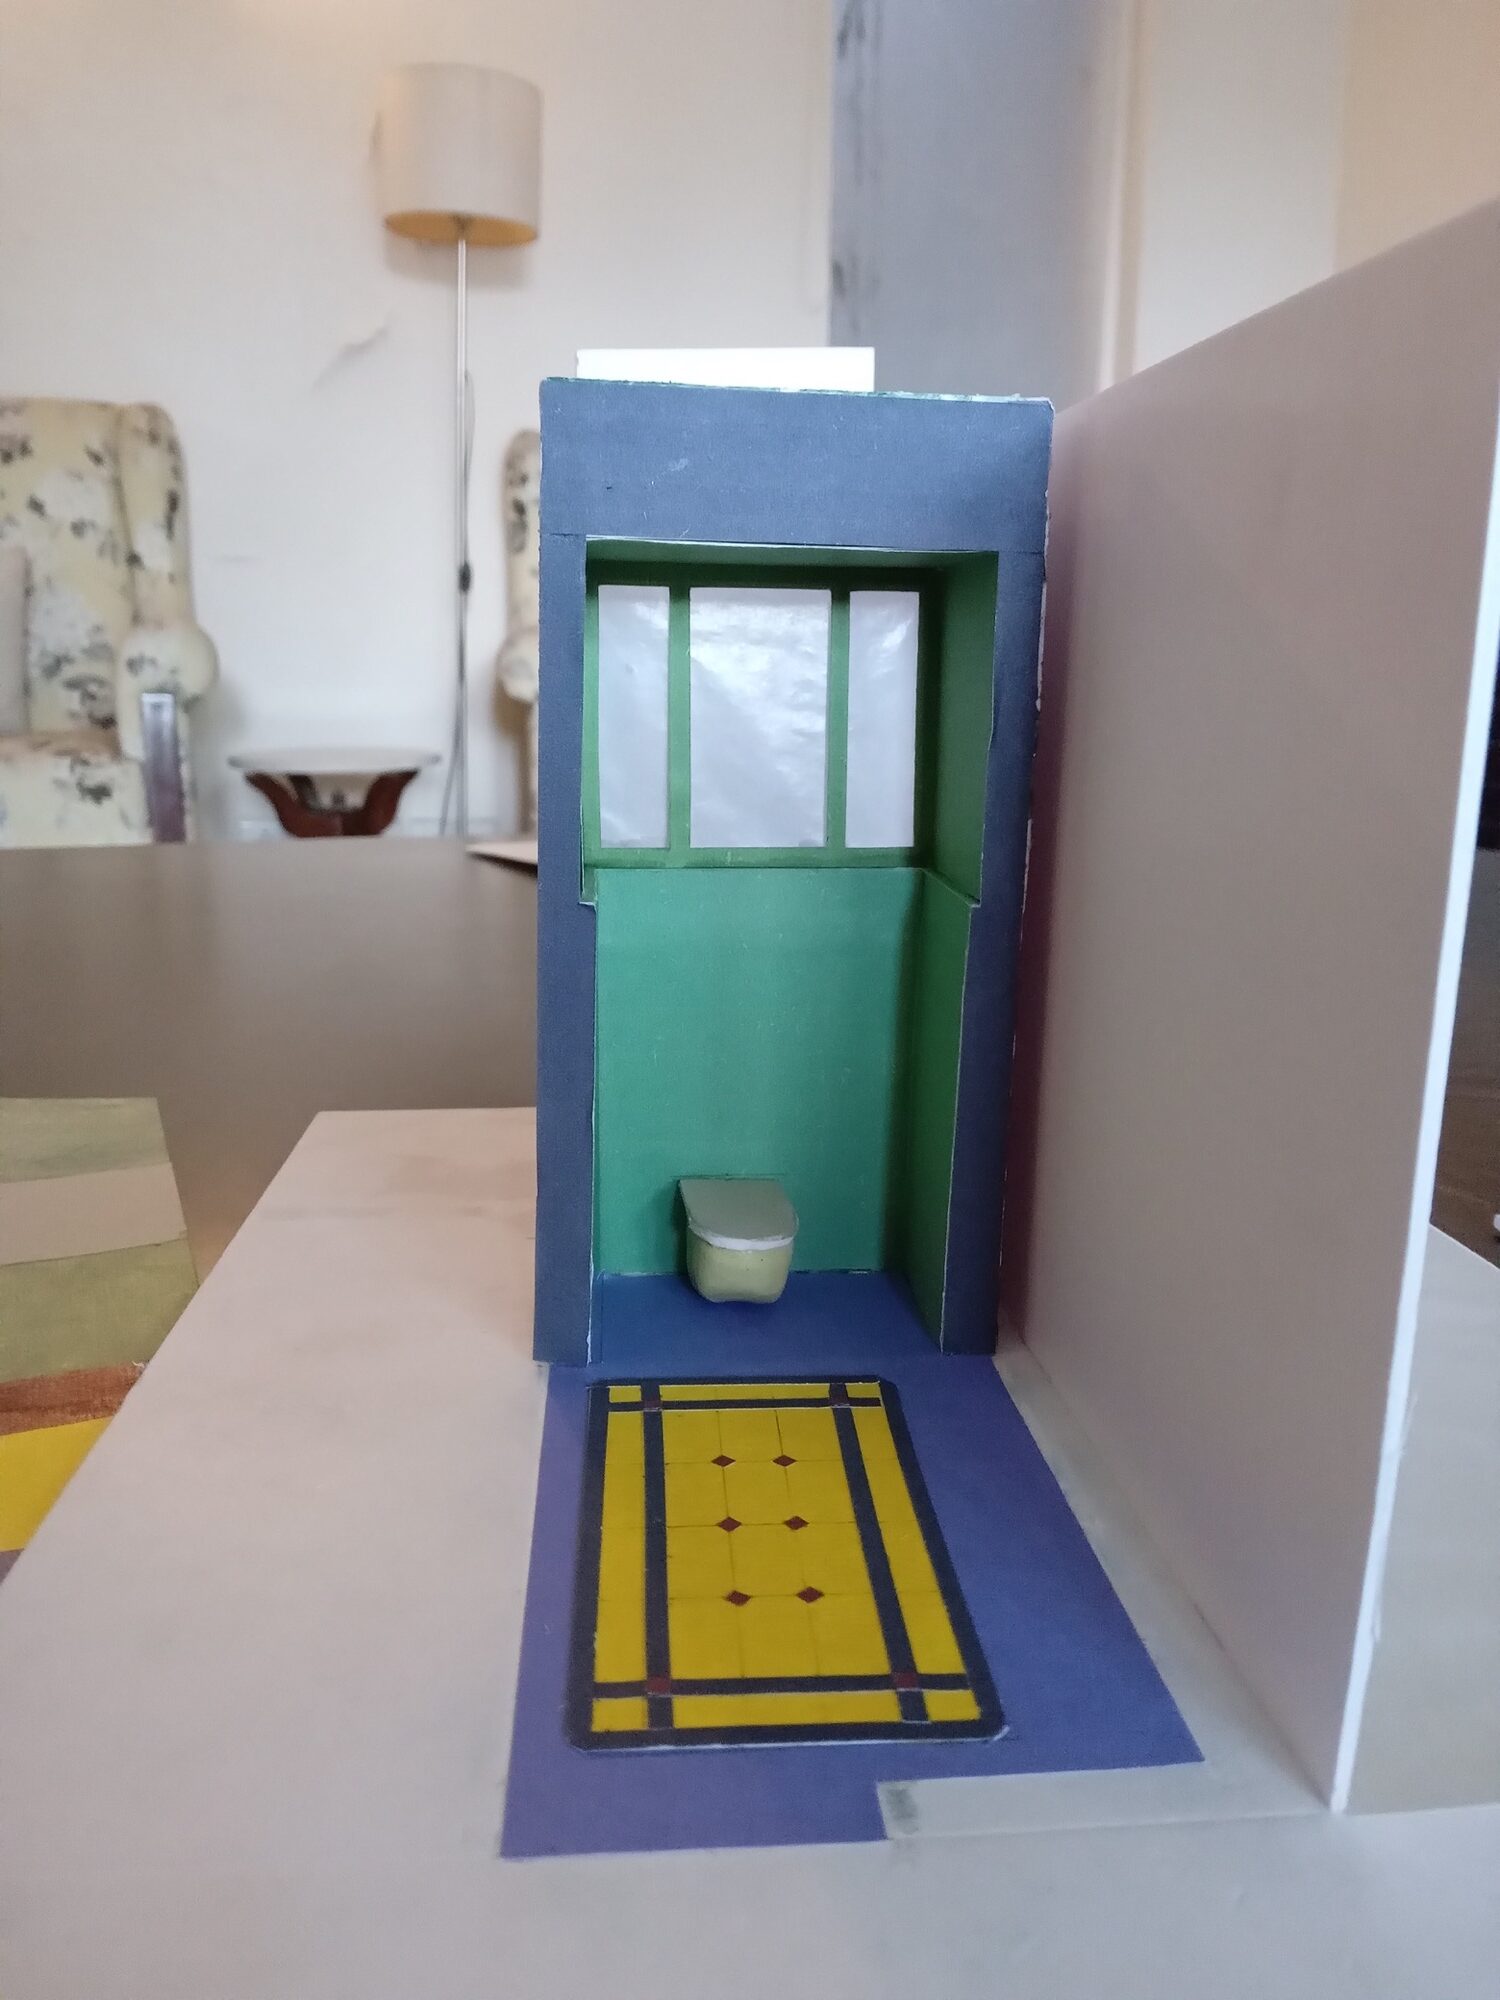
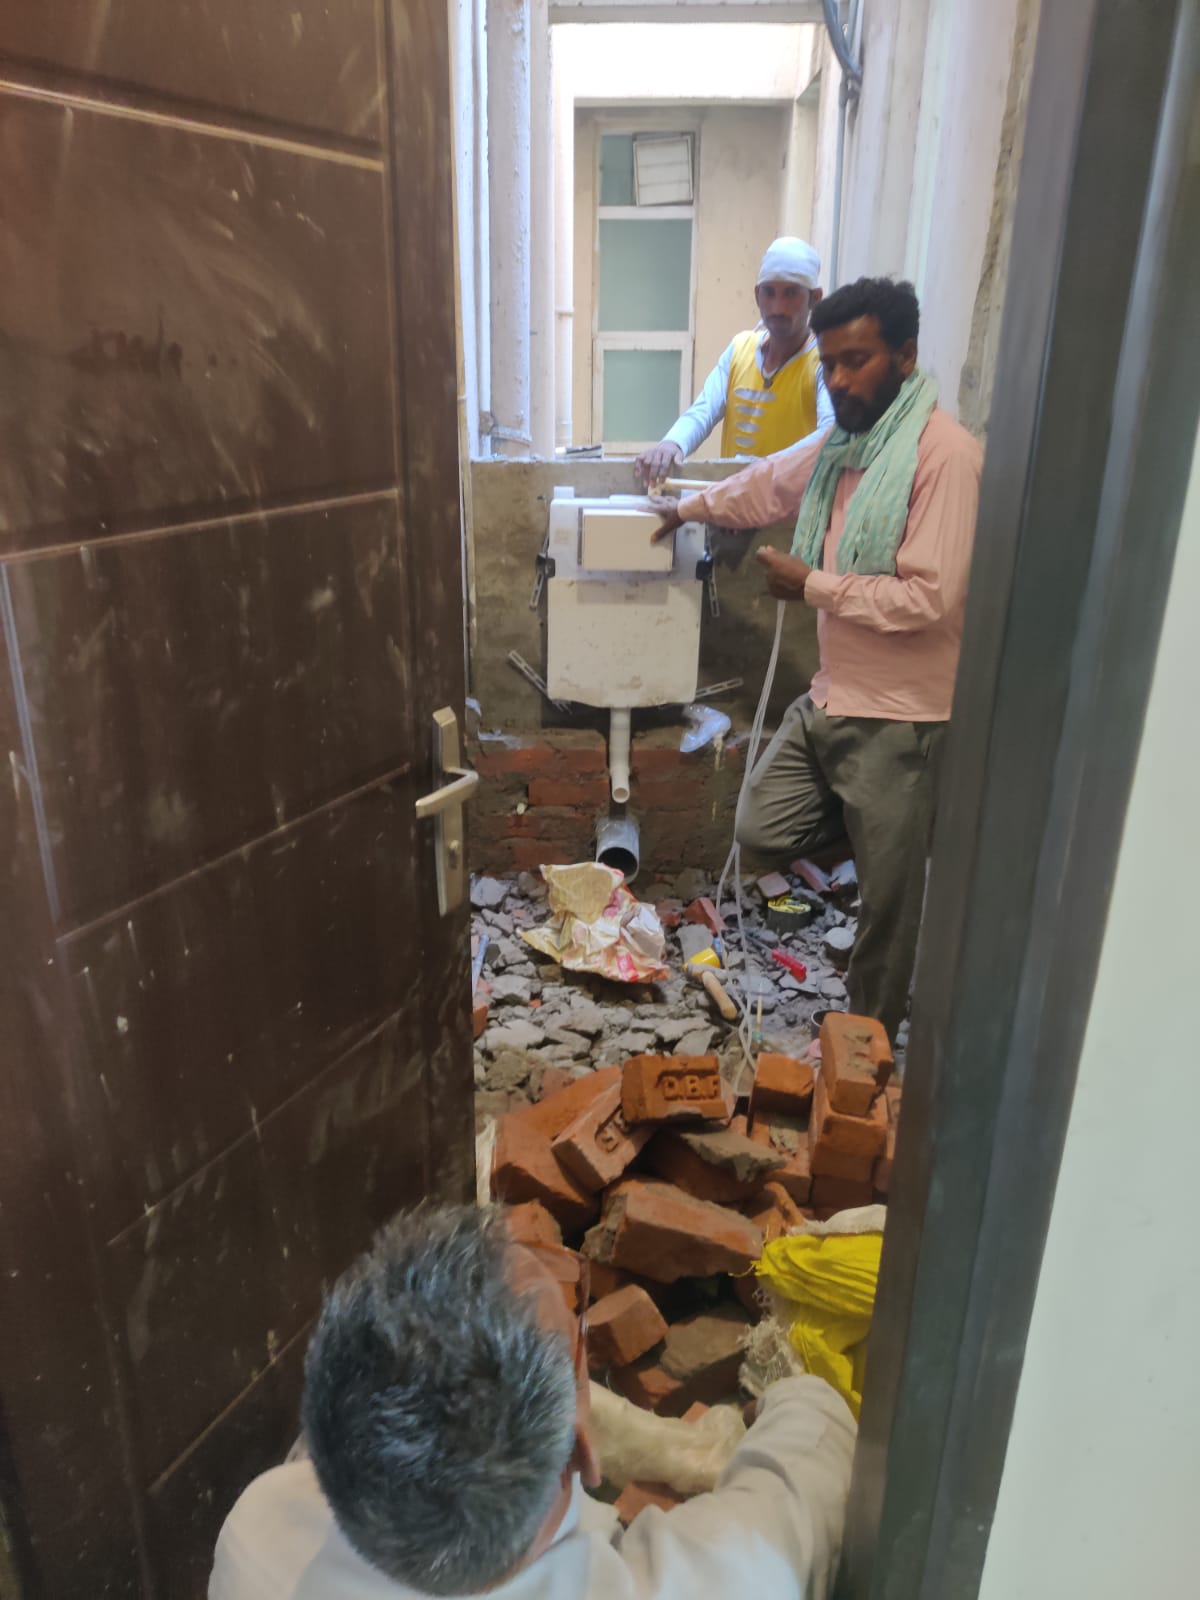
Divisions of window opening were also developed through mock-ups, and finally, the configuration that felt right was chosen among the options explored…


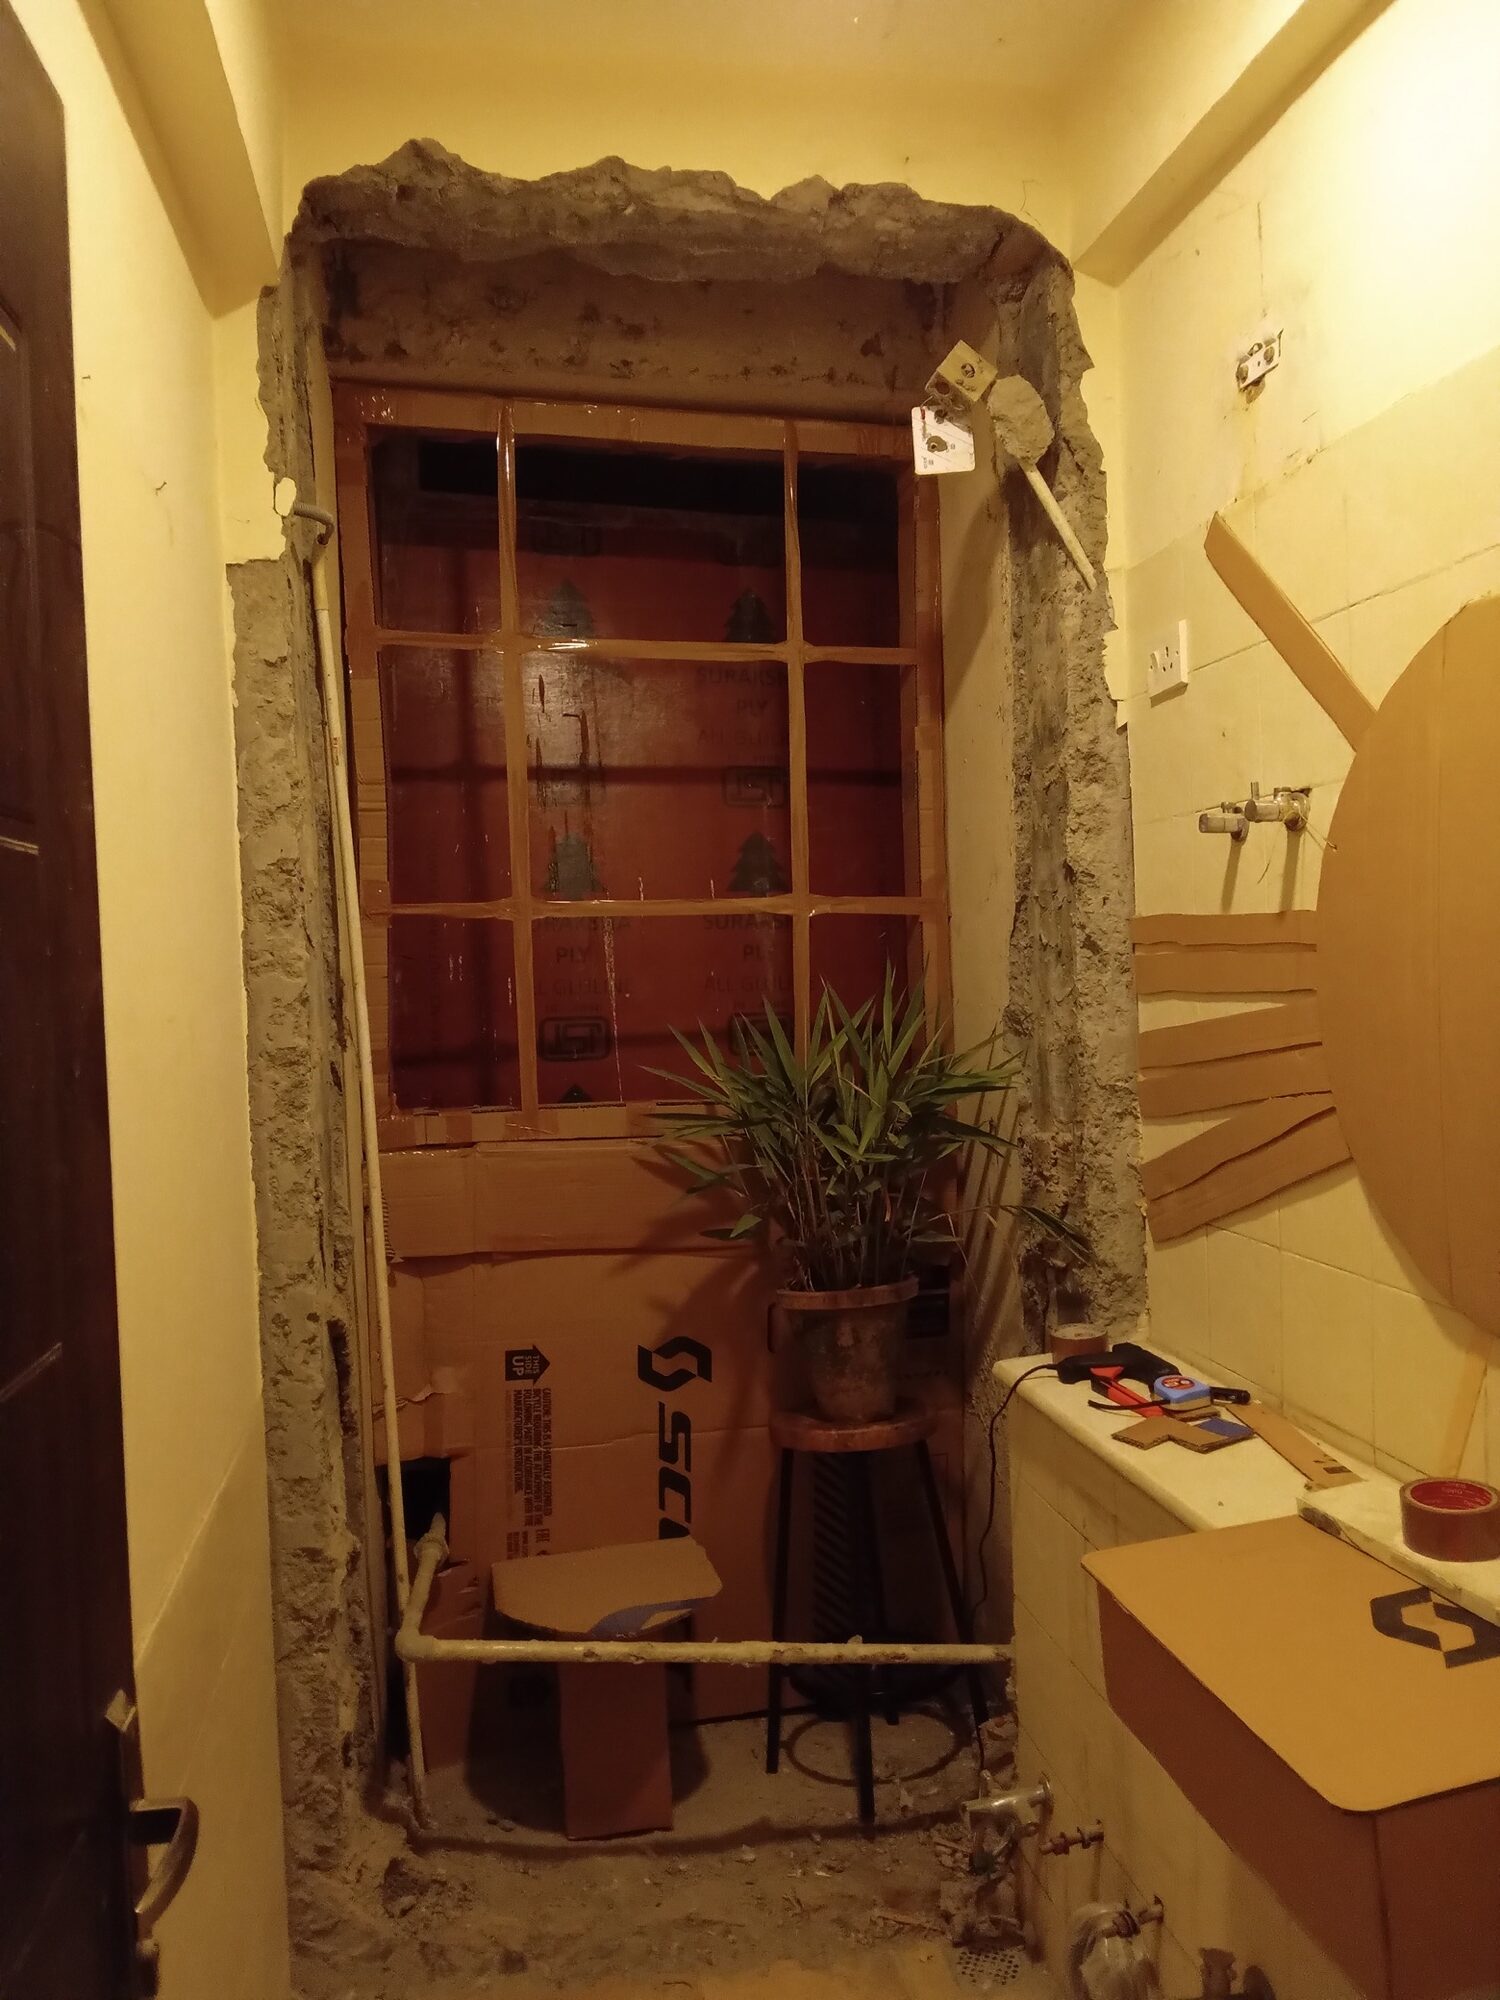
This was followed by giving an order for making this window to a woodworker. The craftsman was very skilled and delivered in just 2 days. He applied his own thinking as well and created the window section in such a way that one can fix glass at 3 distinct positions in the section, allowing many possibilities with glass, colour and texture combinations.
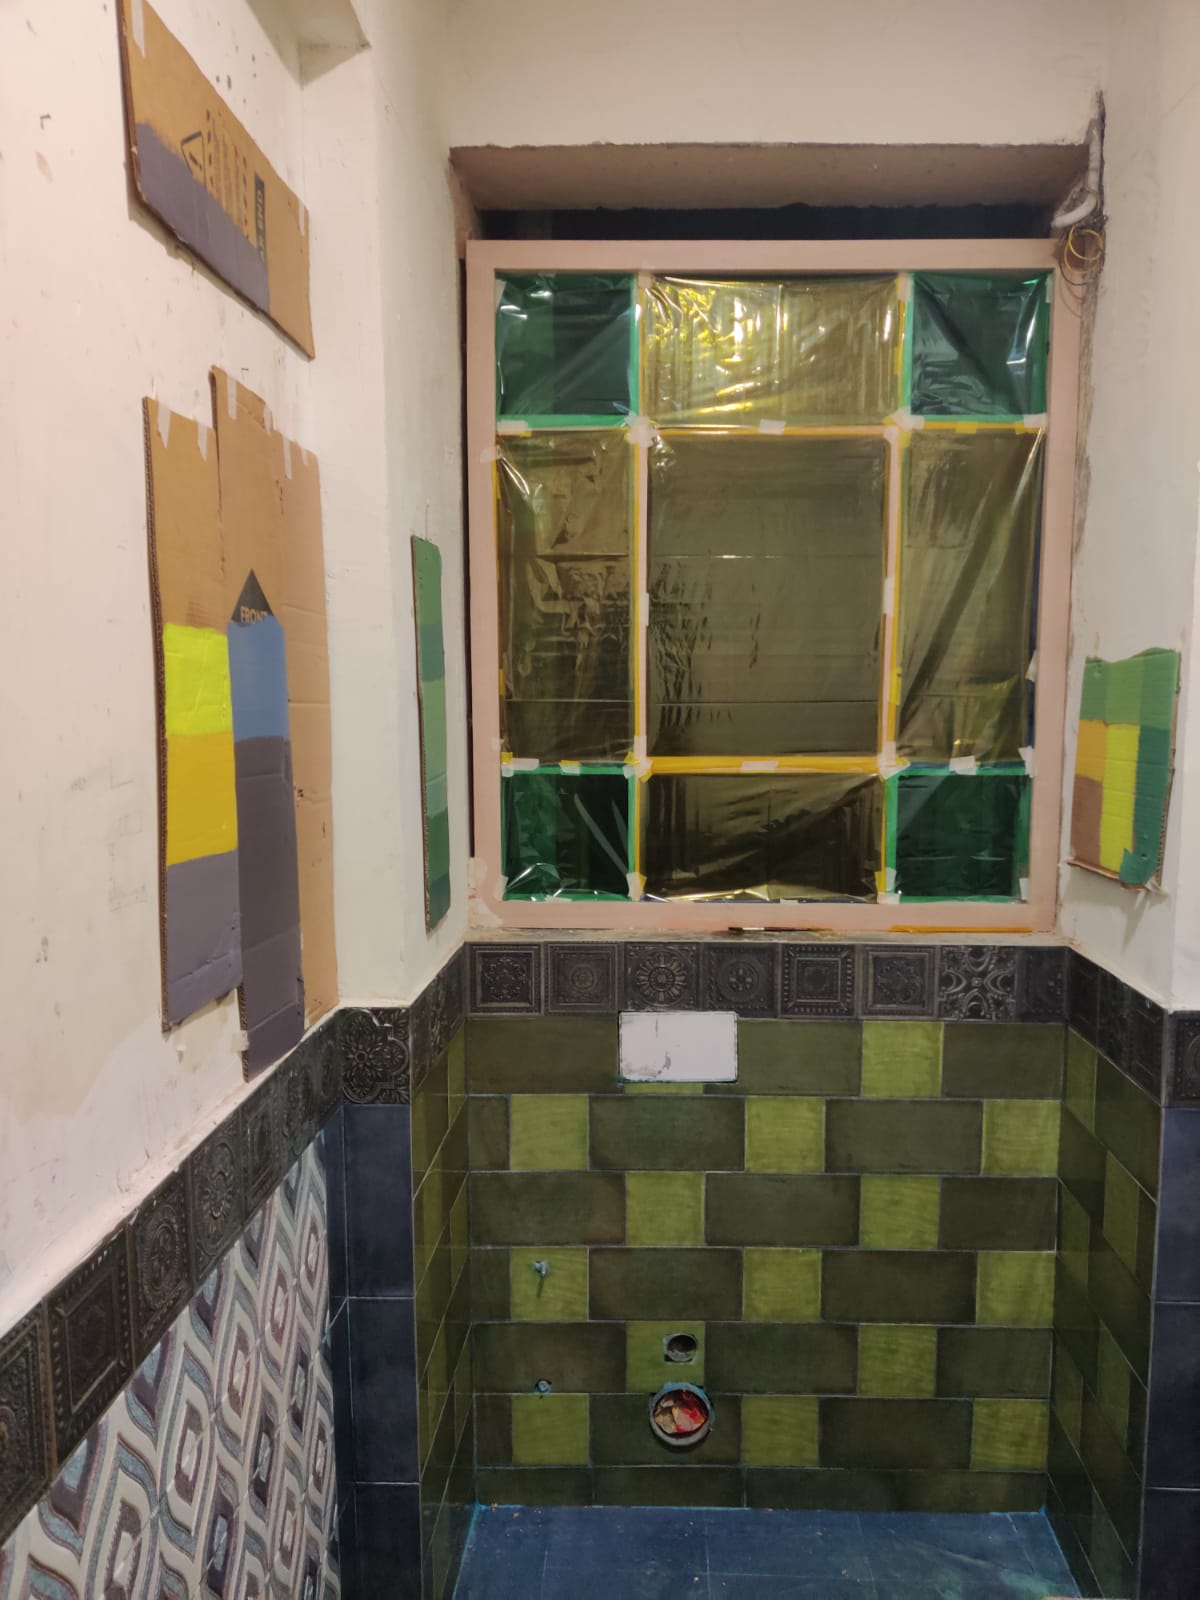
Once the frame was made in timber and installed on-site; it allowed us to mock up various glass surface colours and textures…


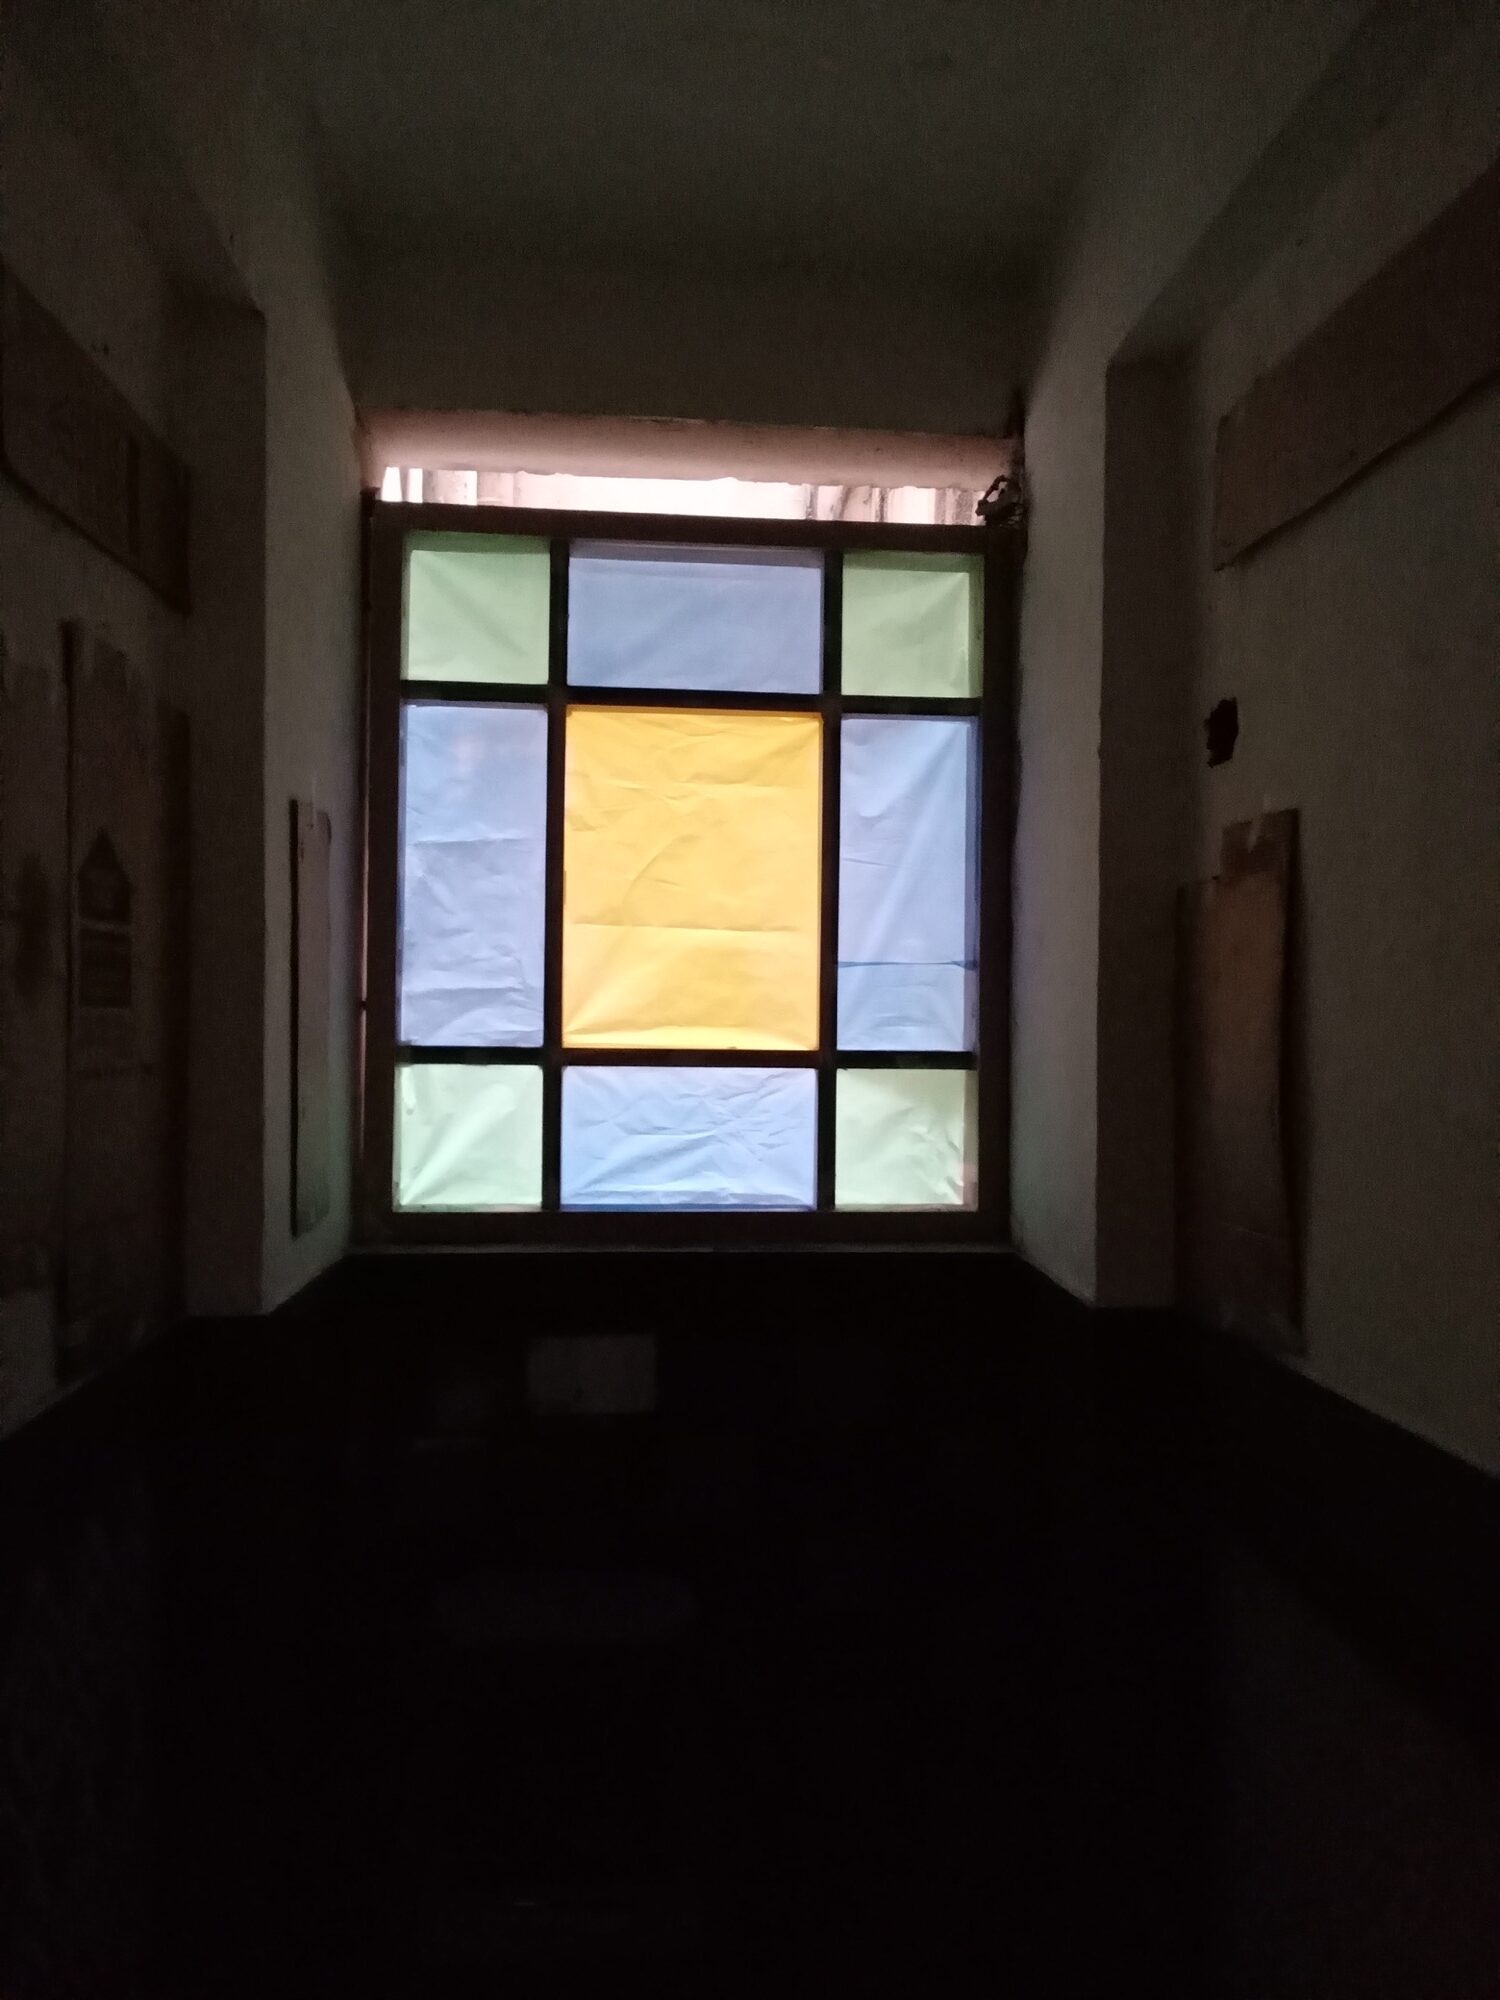
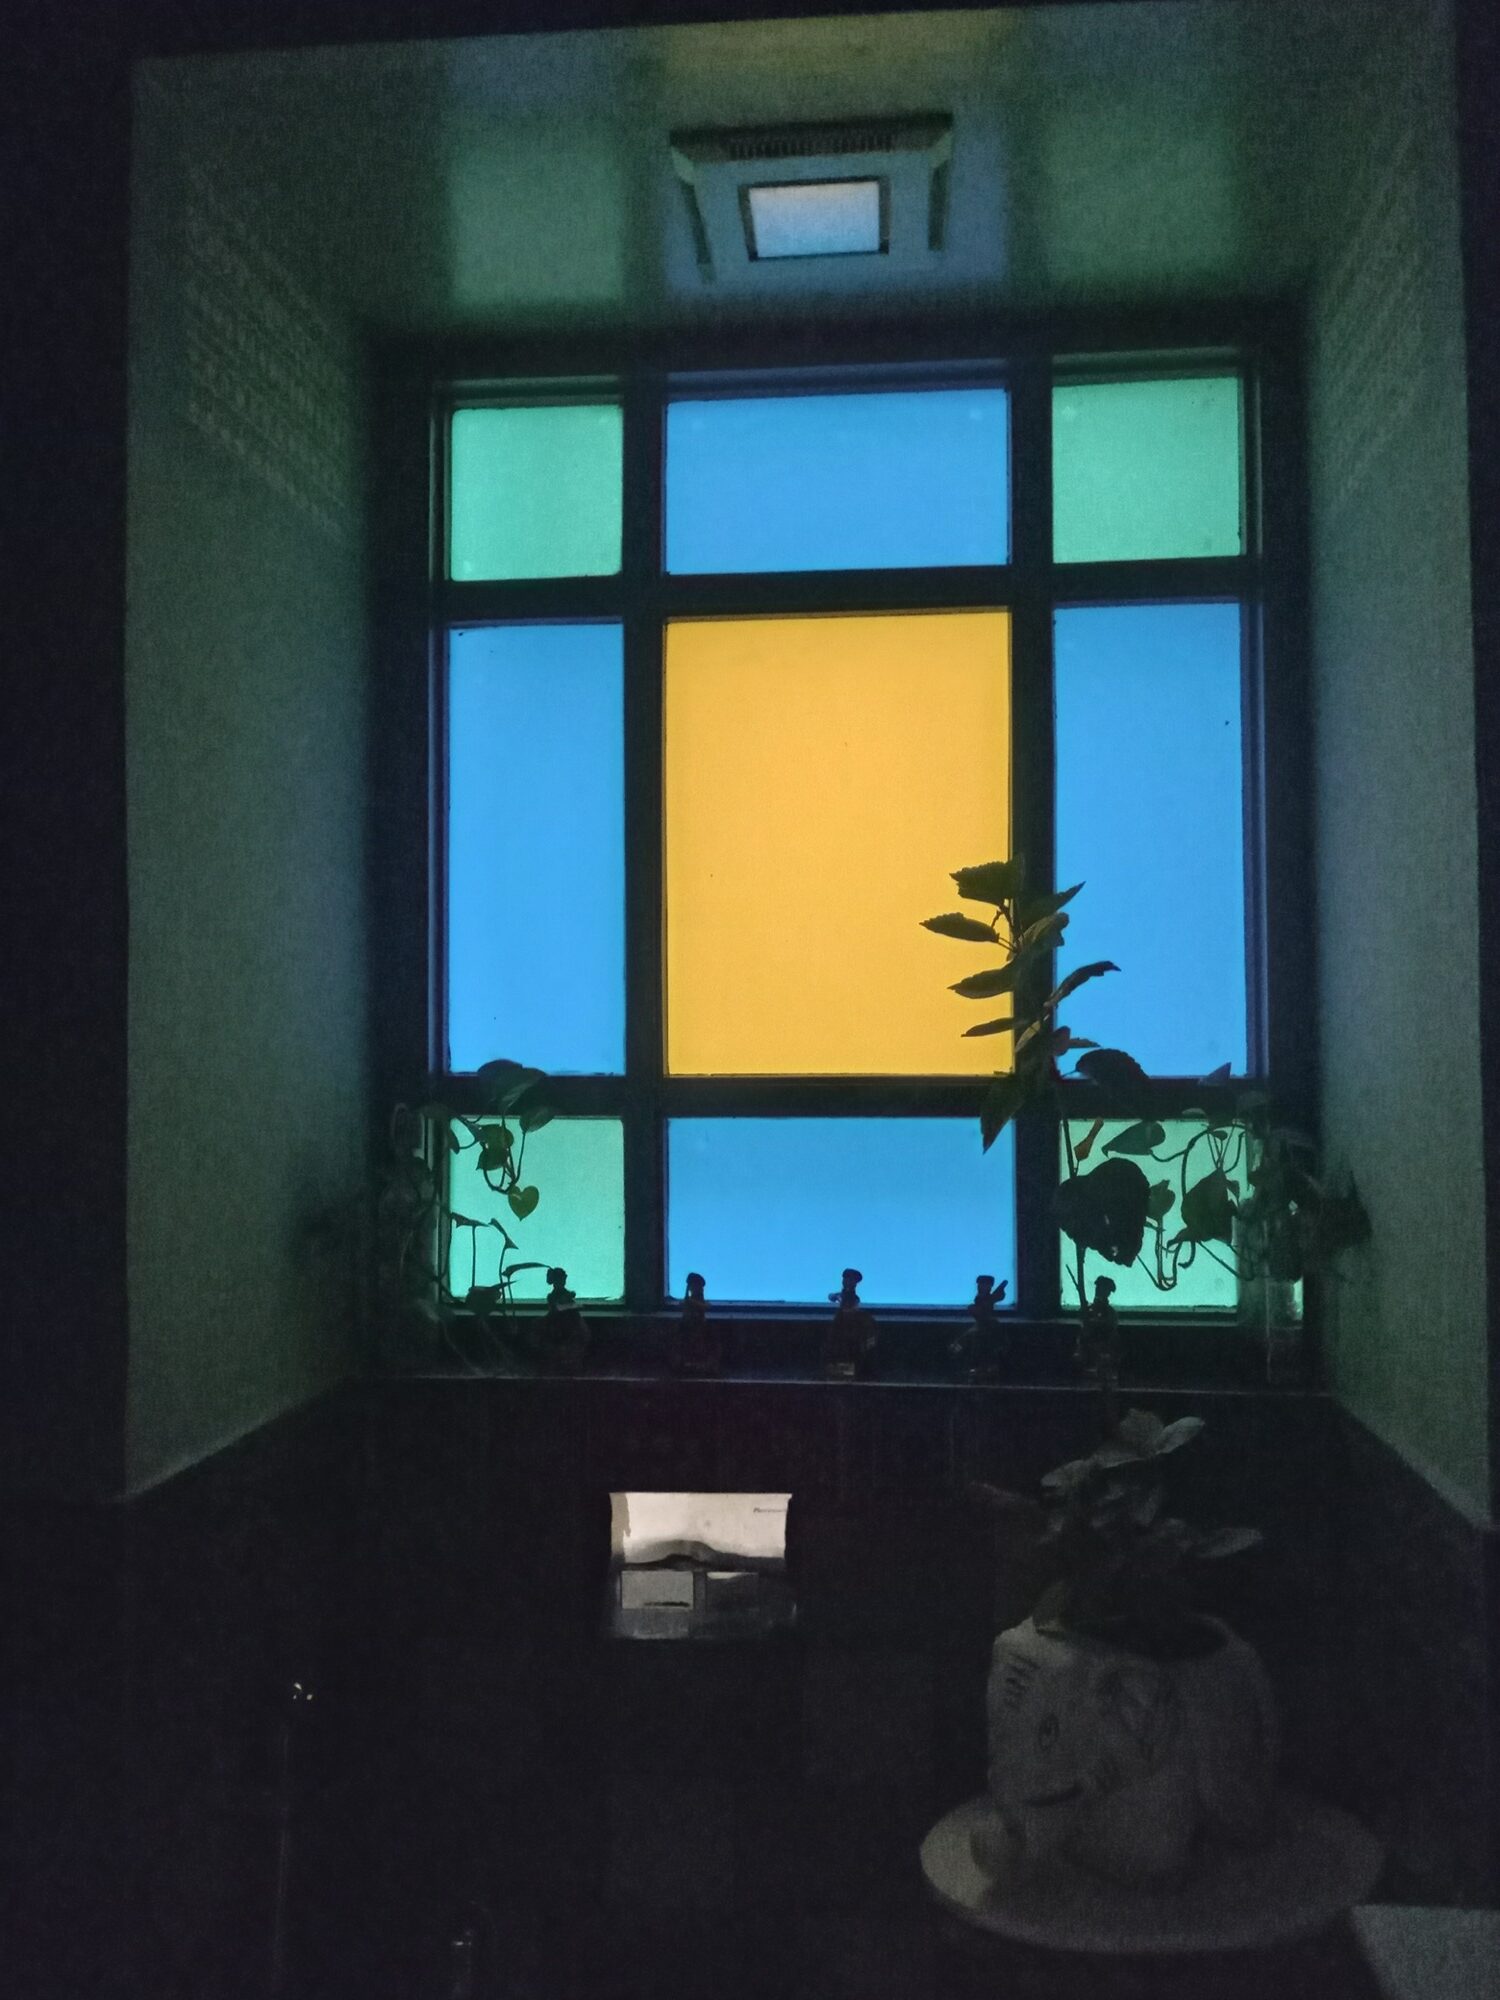
Upon finalisation; it was felt in the studio that there was a need to introduce one more level of scale in the window. This was achieved by introducing planters and miniature dolls on the windows sill(client’s ideas). I was surprised to know that these detailed miniature dolls were actually made by children of a blind school!
Tiles selection
The tile selection was a challenge in itself. We had a conceptual theme of colours and geometries; now we had to select the set of tiles that worked together to bring the same feeling as was there in our model and our minds.
We made sure to select the tiles sequentially; so that we keep matching each new tile with the overall set created with the tiles selected before it. Decisions were also affected by the tiles available in the market, the delivery time of those not available and the time in our hands considering the project deadline. Here is the sequence we followed:
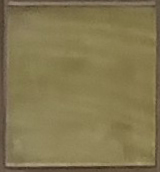
Combination of two types of Green tiles for WC wall
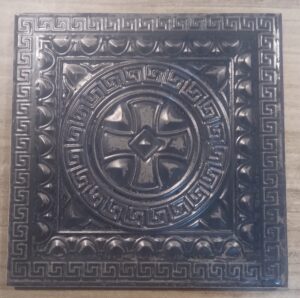
Square black border tiles for green-tiled areas( later we decided to run the same border along all walls of the bathroom)
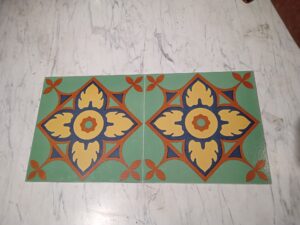
8 special tiles for the central part of the floor
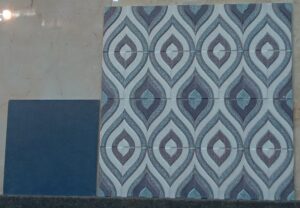
Blue floor tiles and Blue/ white/ purple tiles for walls in purple volume
Bluish-grey subway tiles for borders
Using the images of tiles selected, I made the small model again with the tiling patterns we were considering, to see if everything was working well and to decide if any last-minute changes were needed.
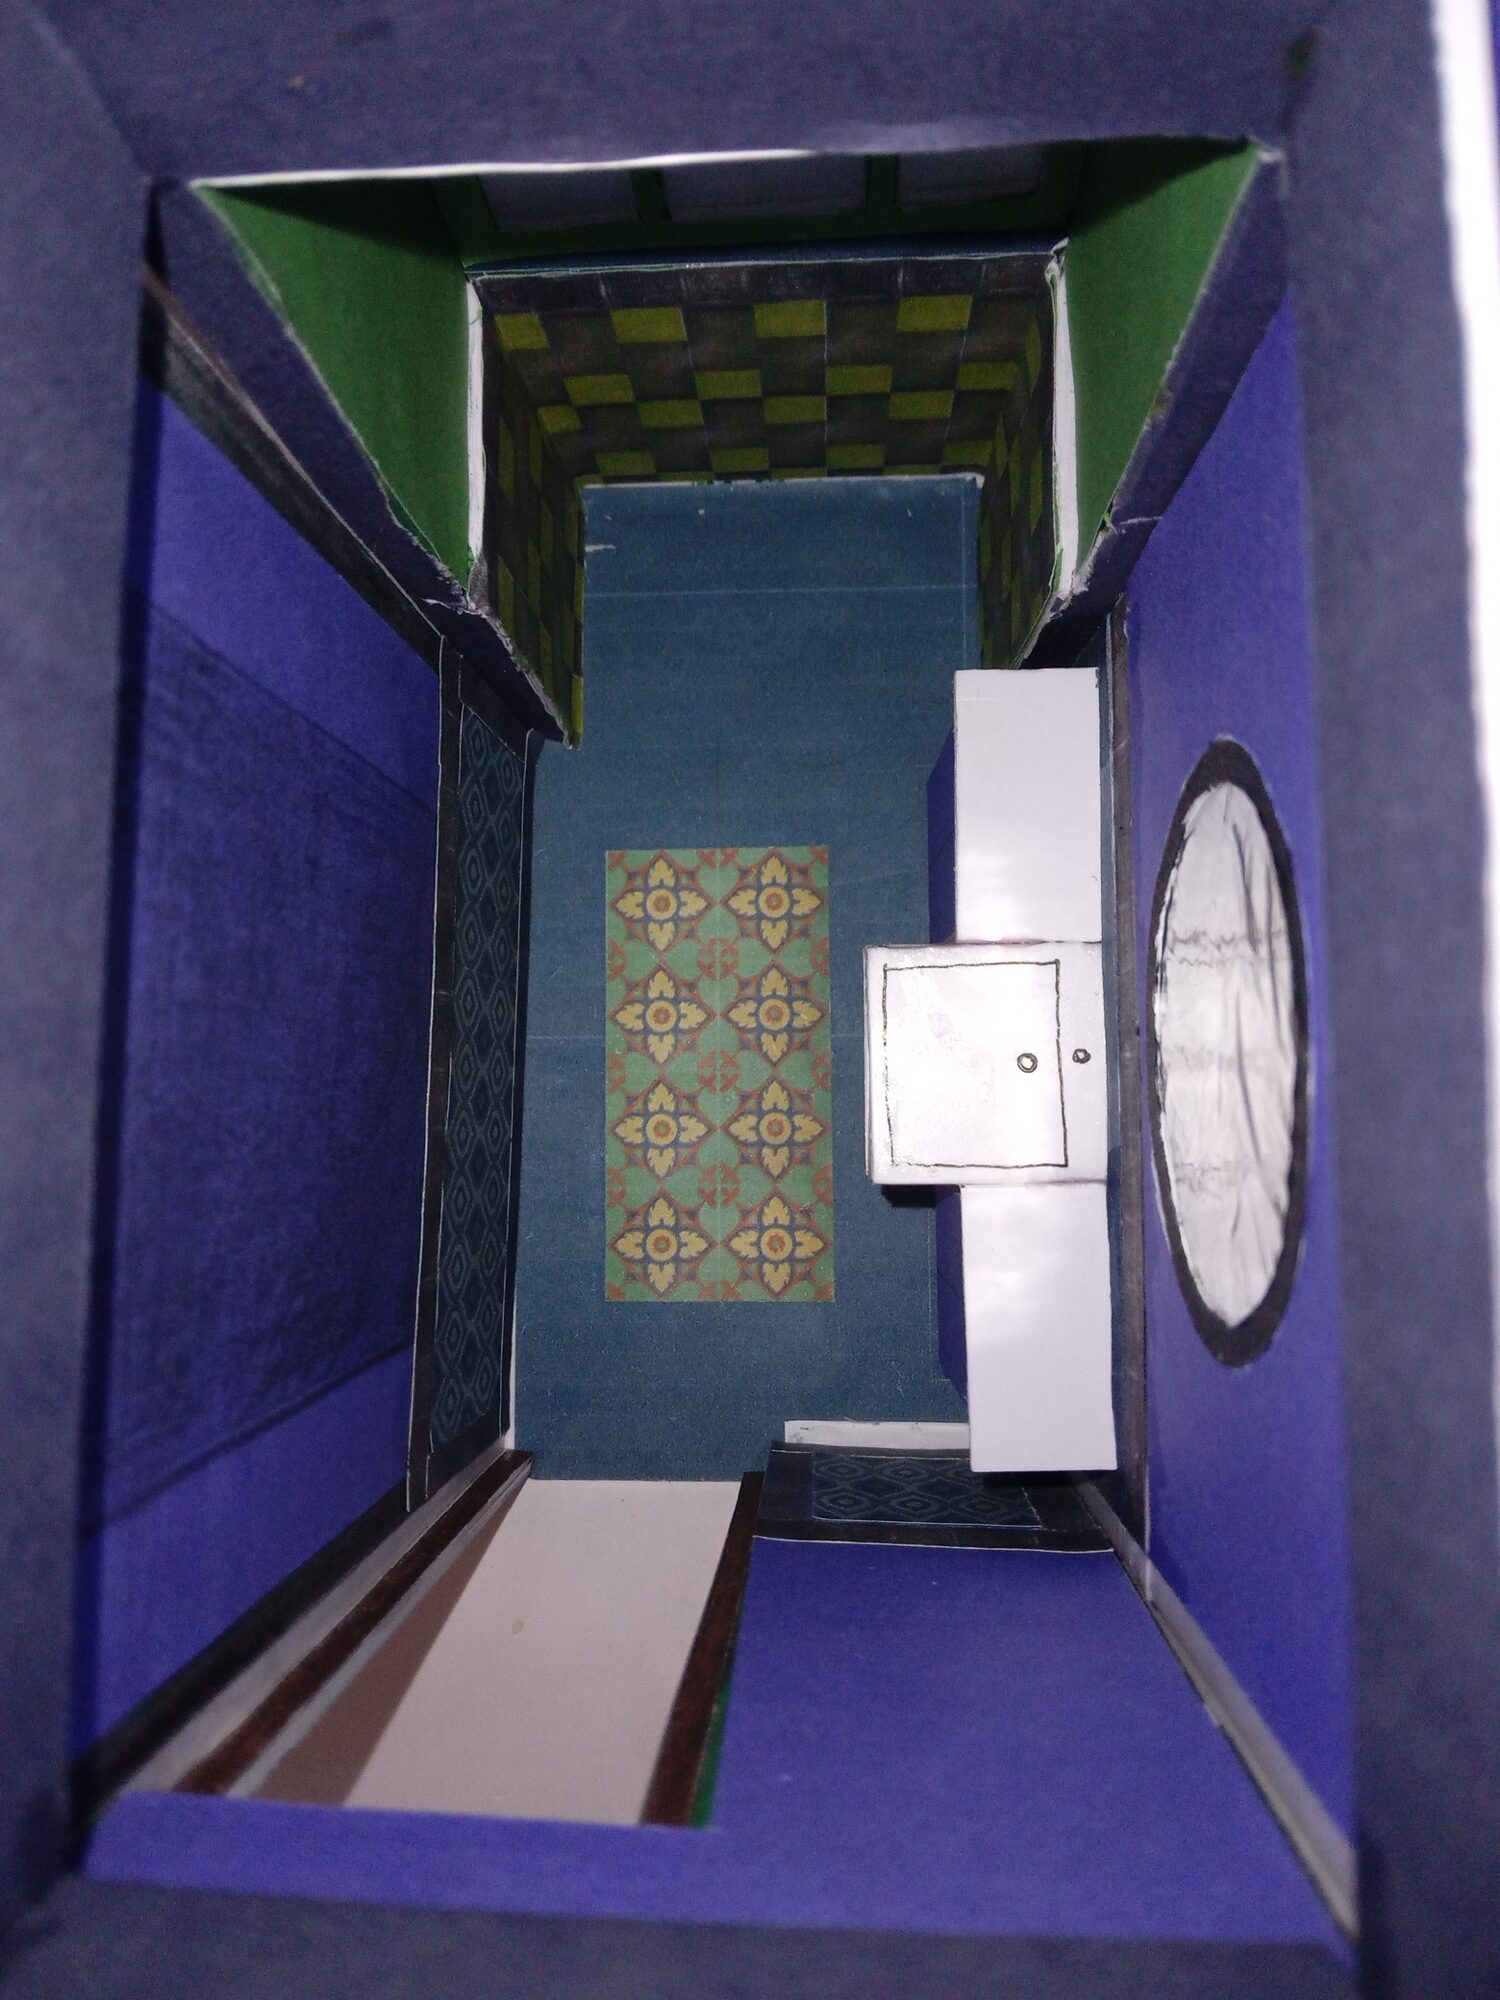
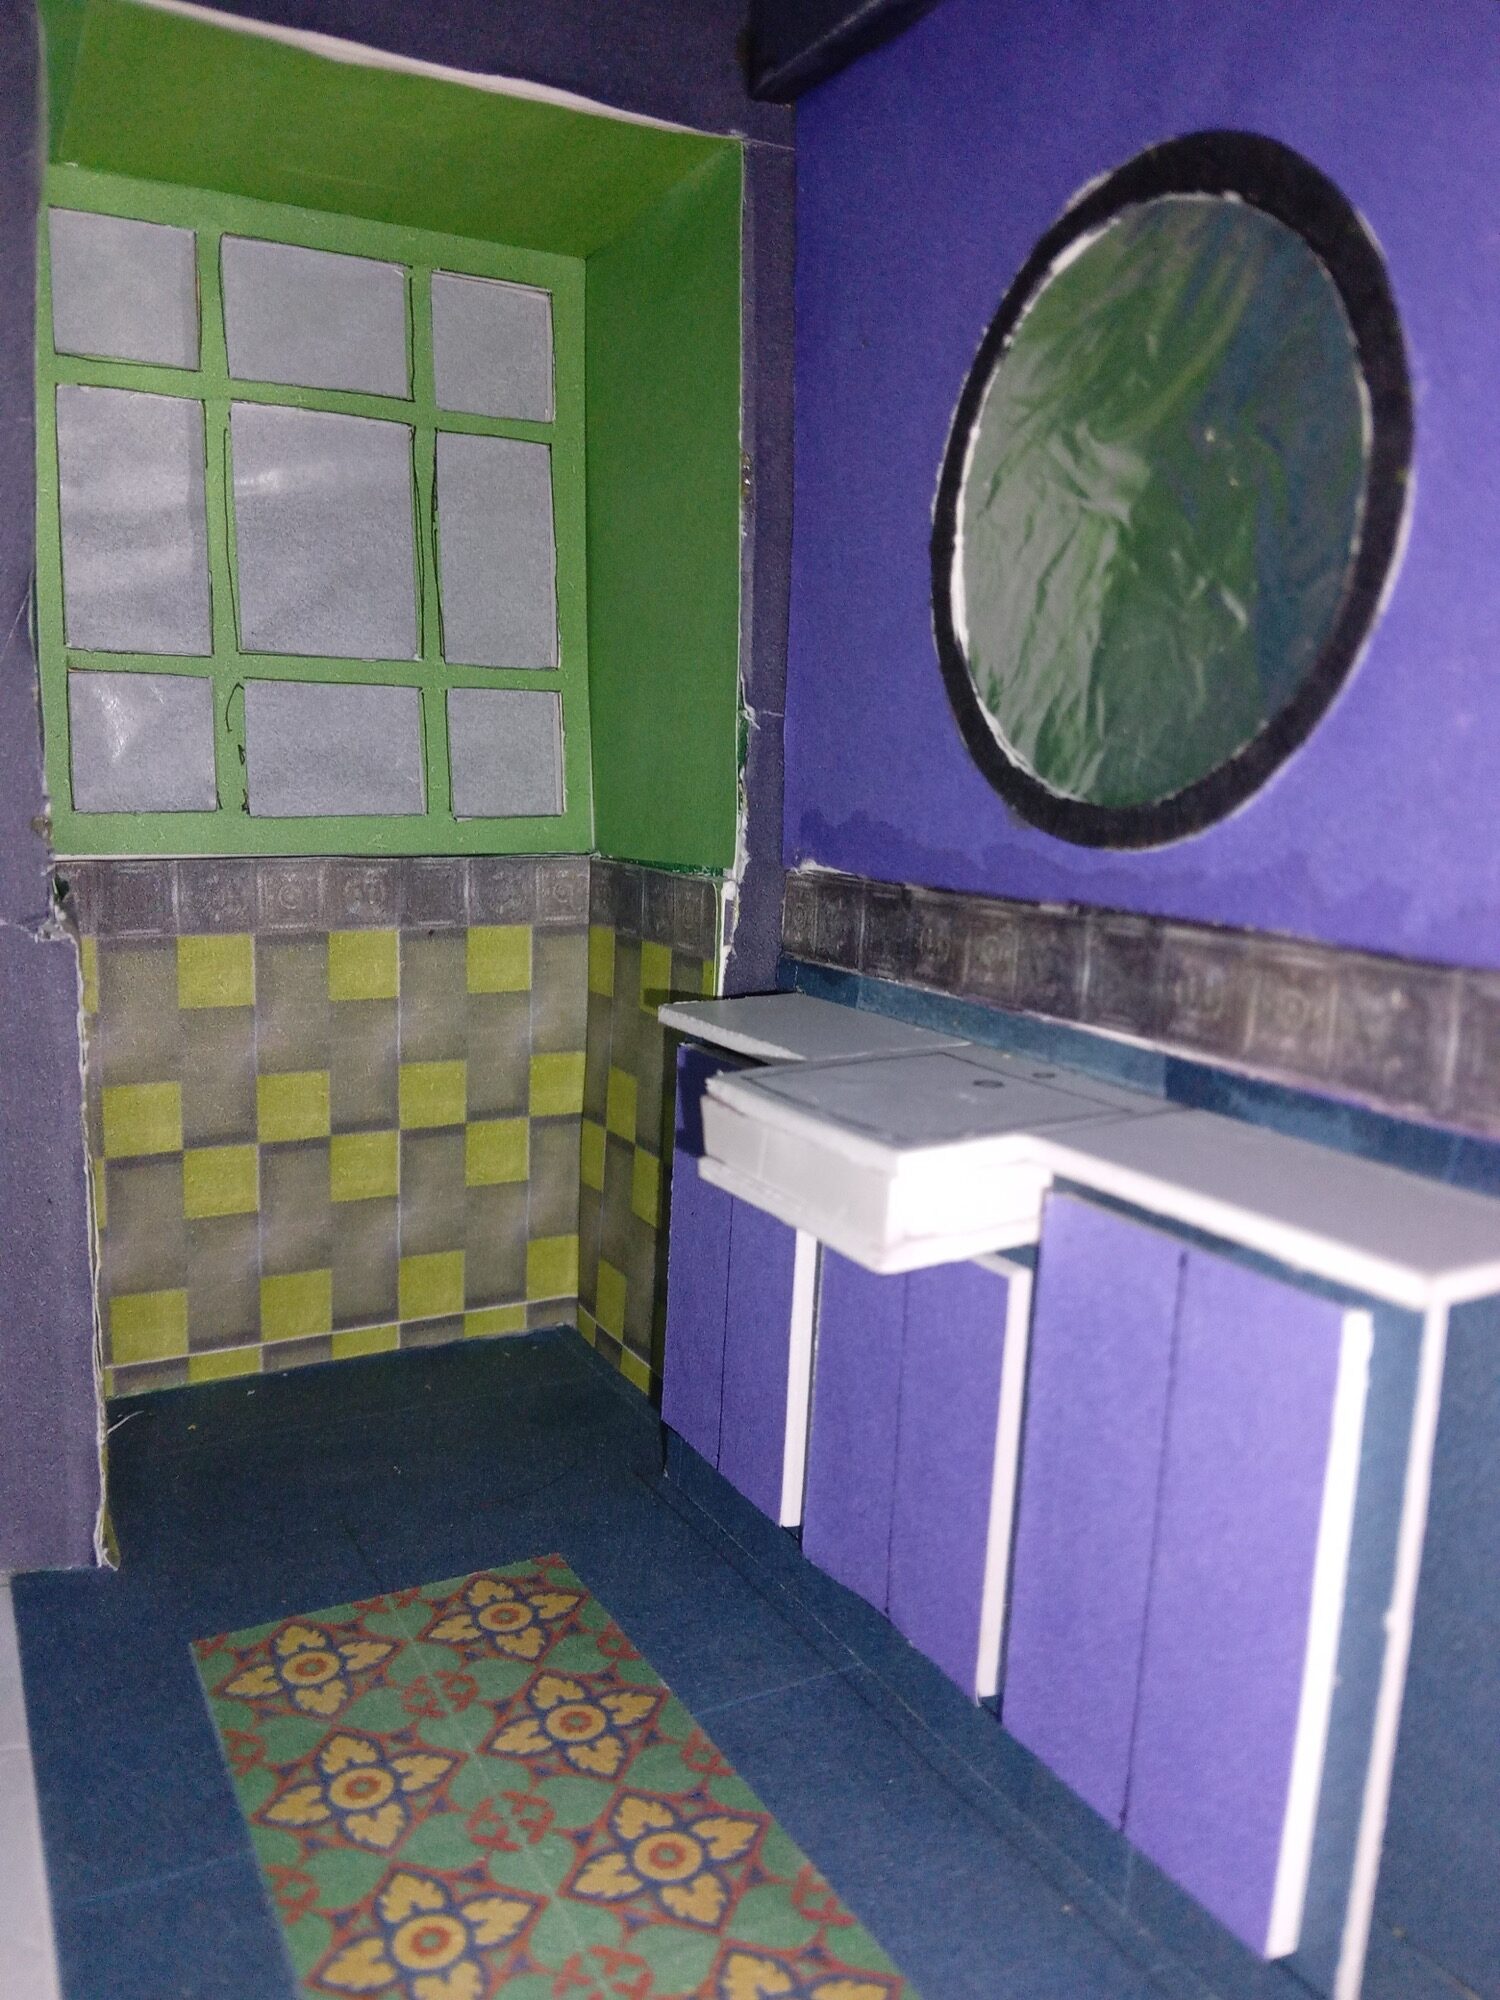
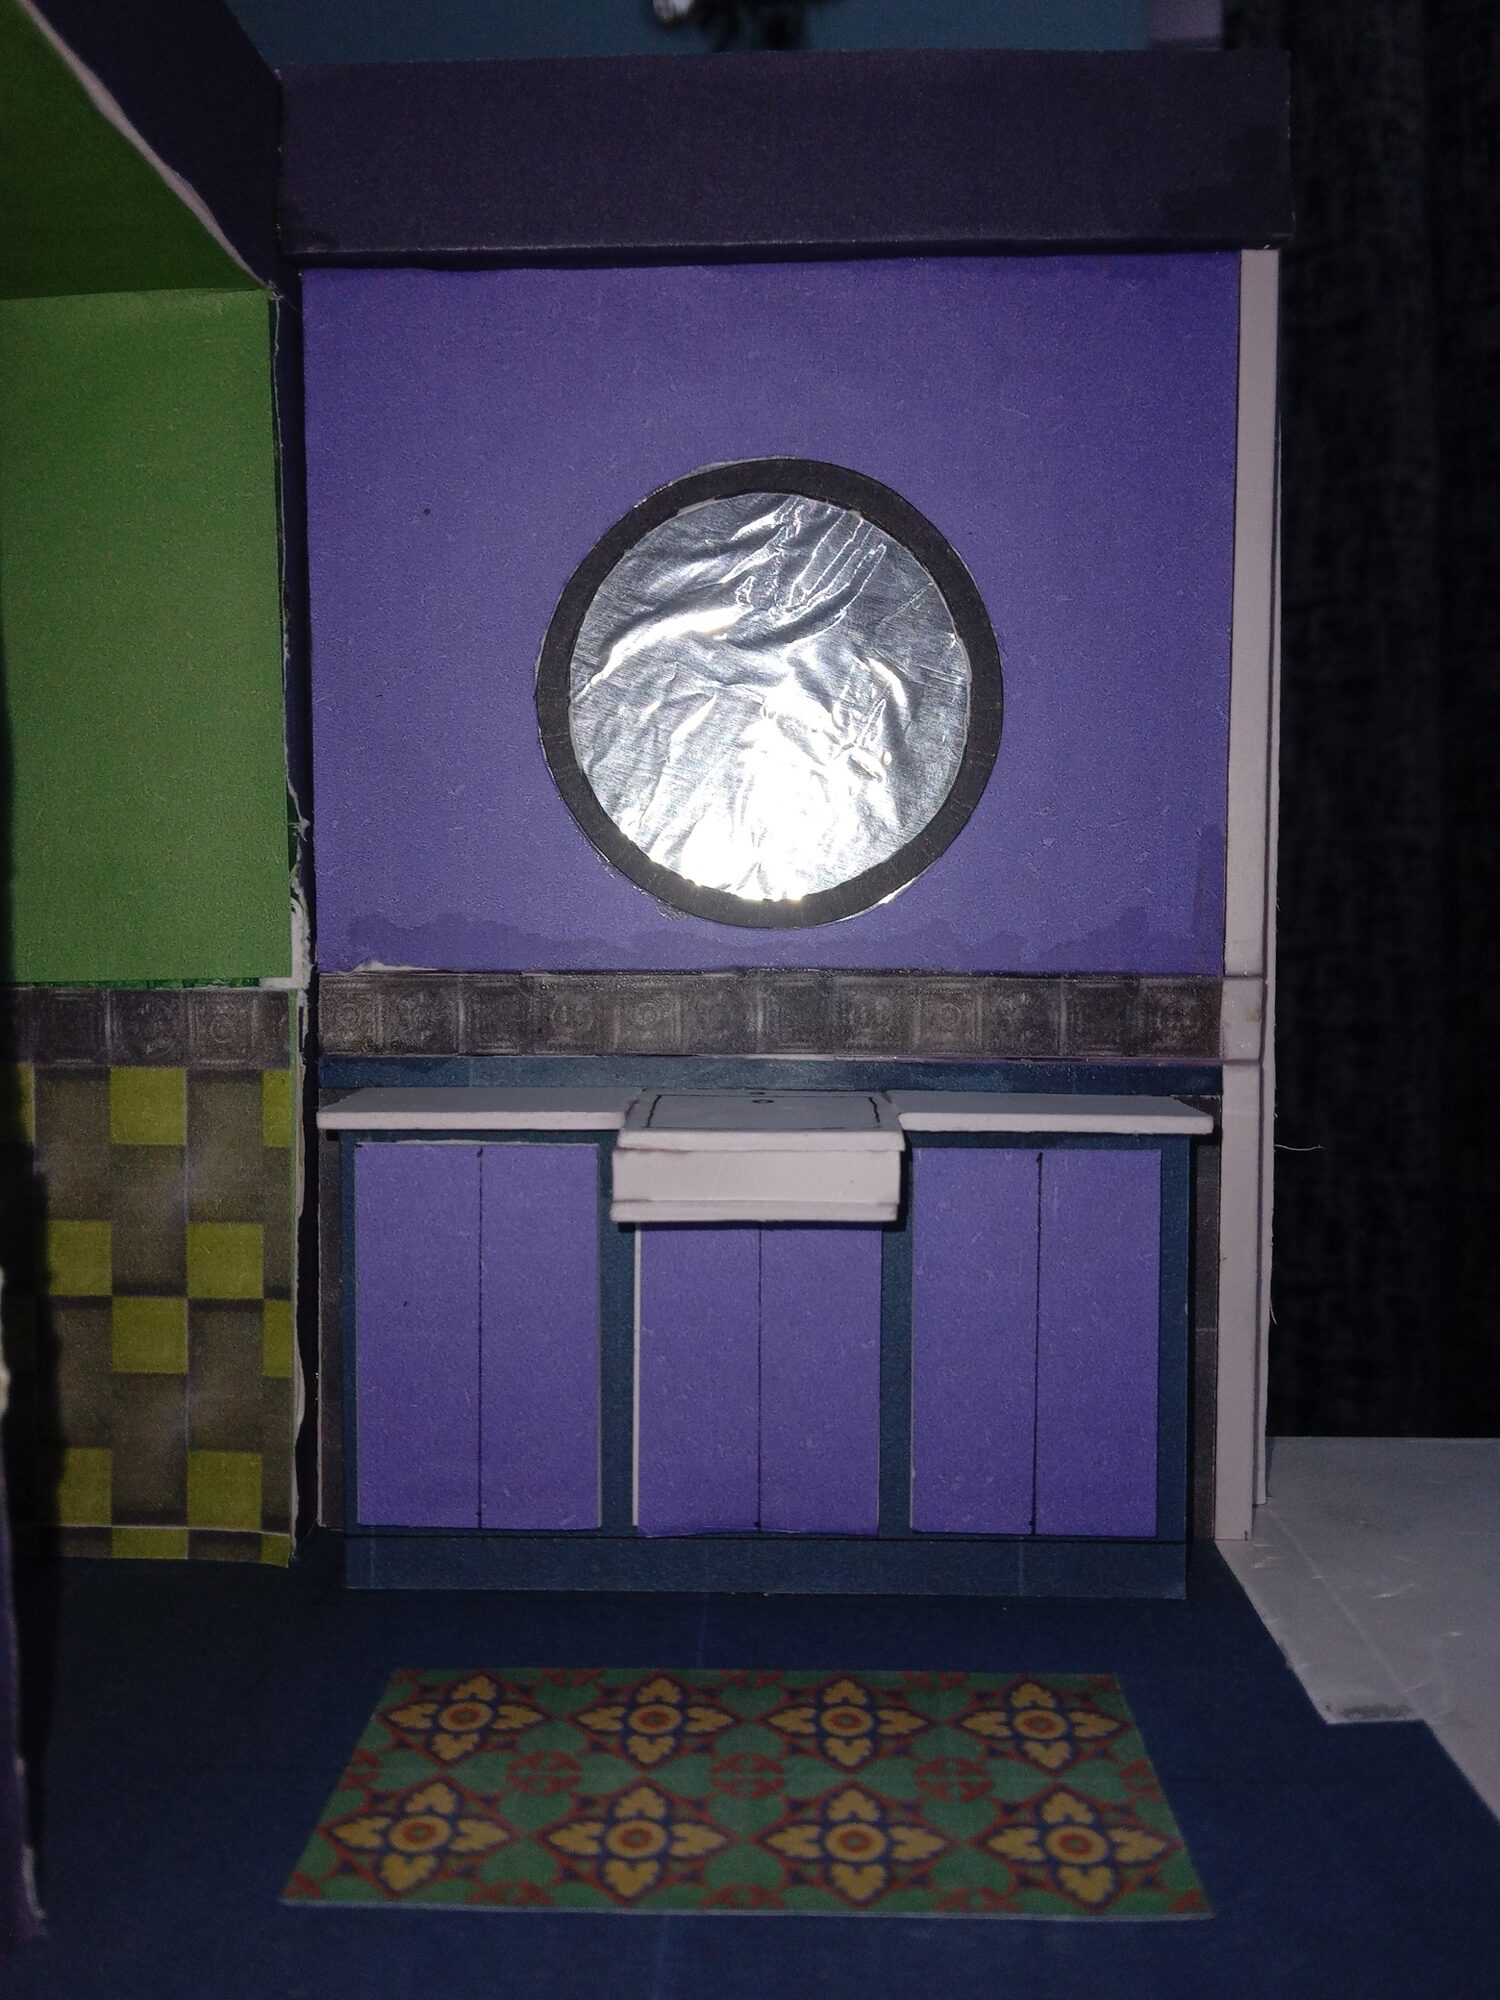
Looking at this model, we decided to make a few changes. I revised the tiling pattern of the green wall using two types of green tiles and finalised a weaving type pattern instead of what we were considering earlier.
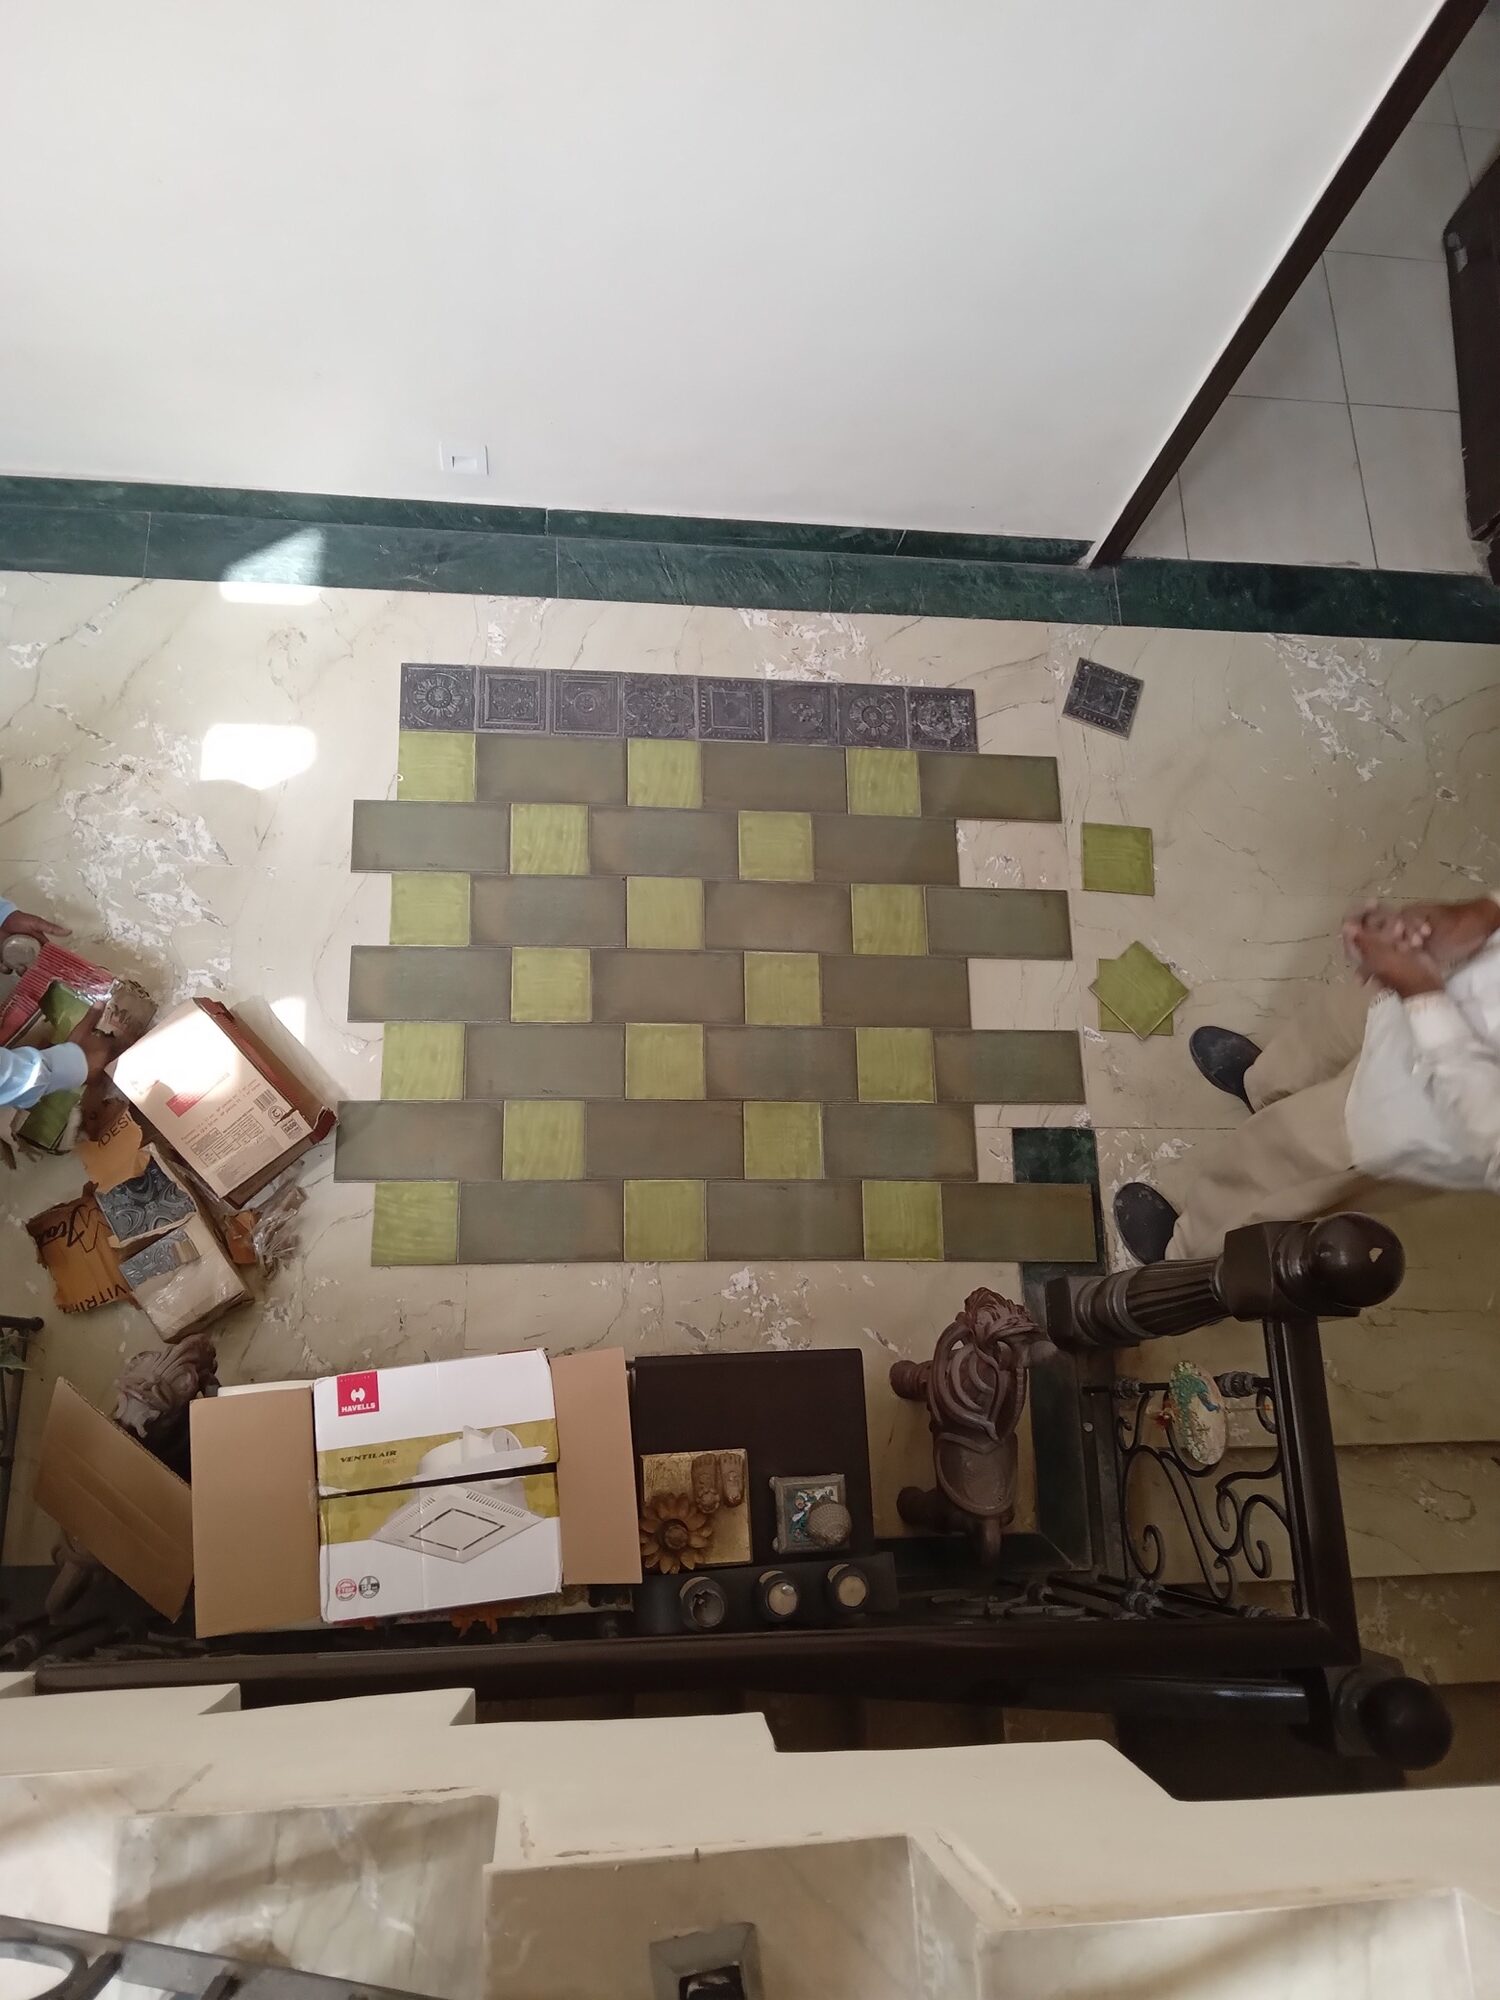
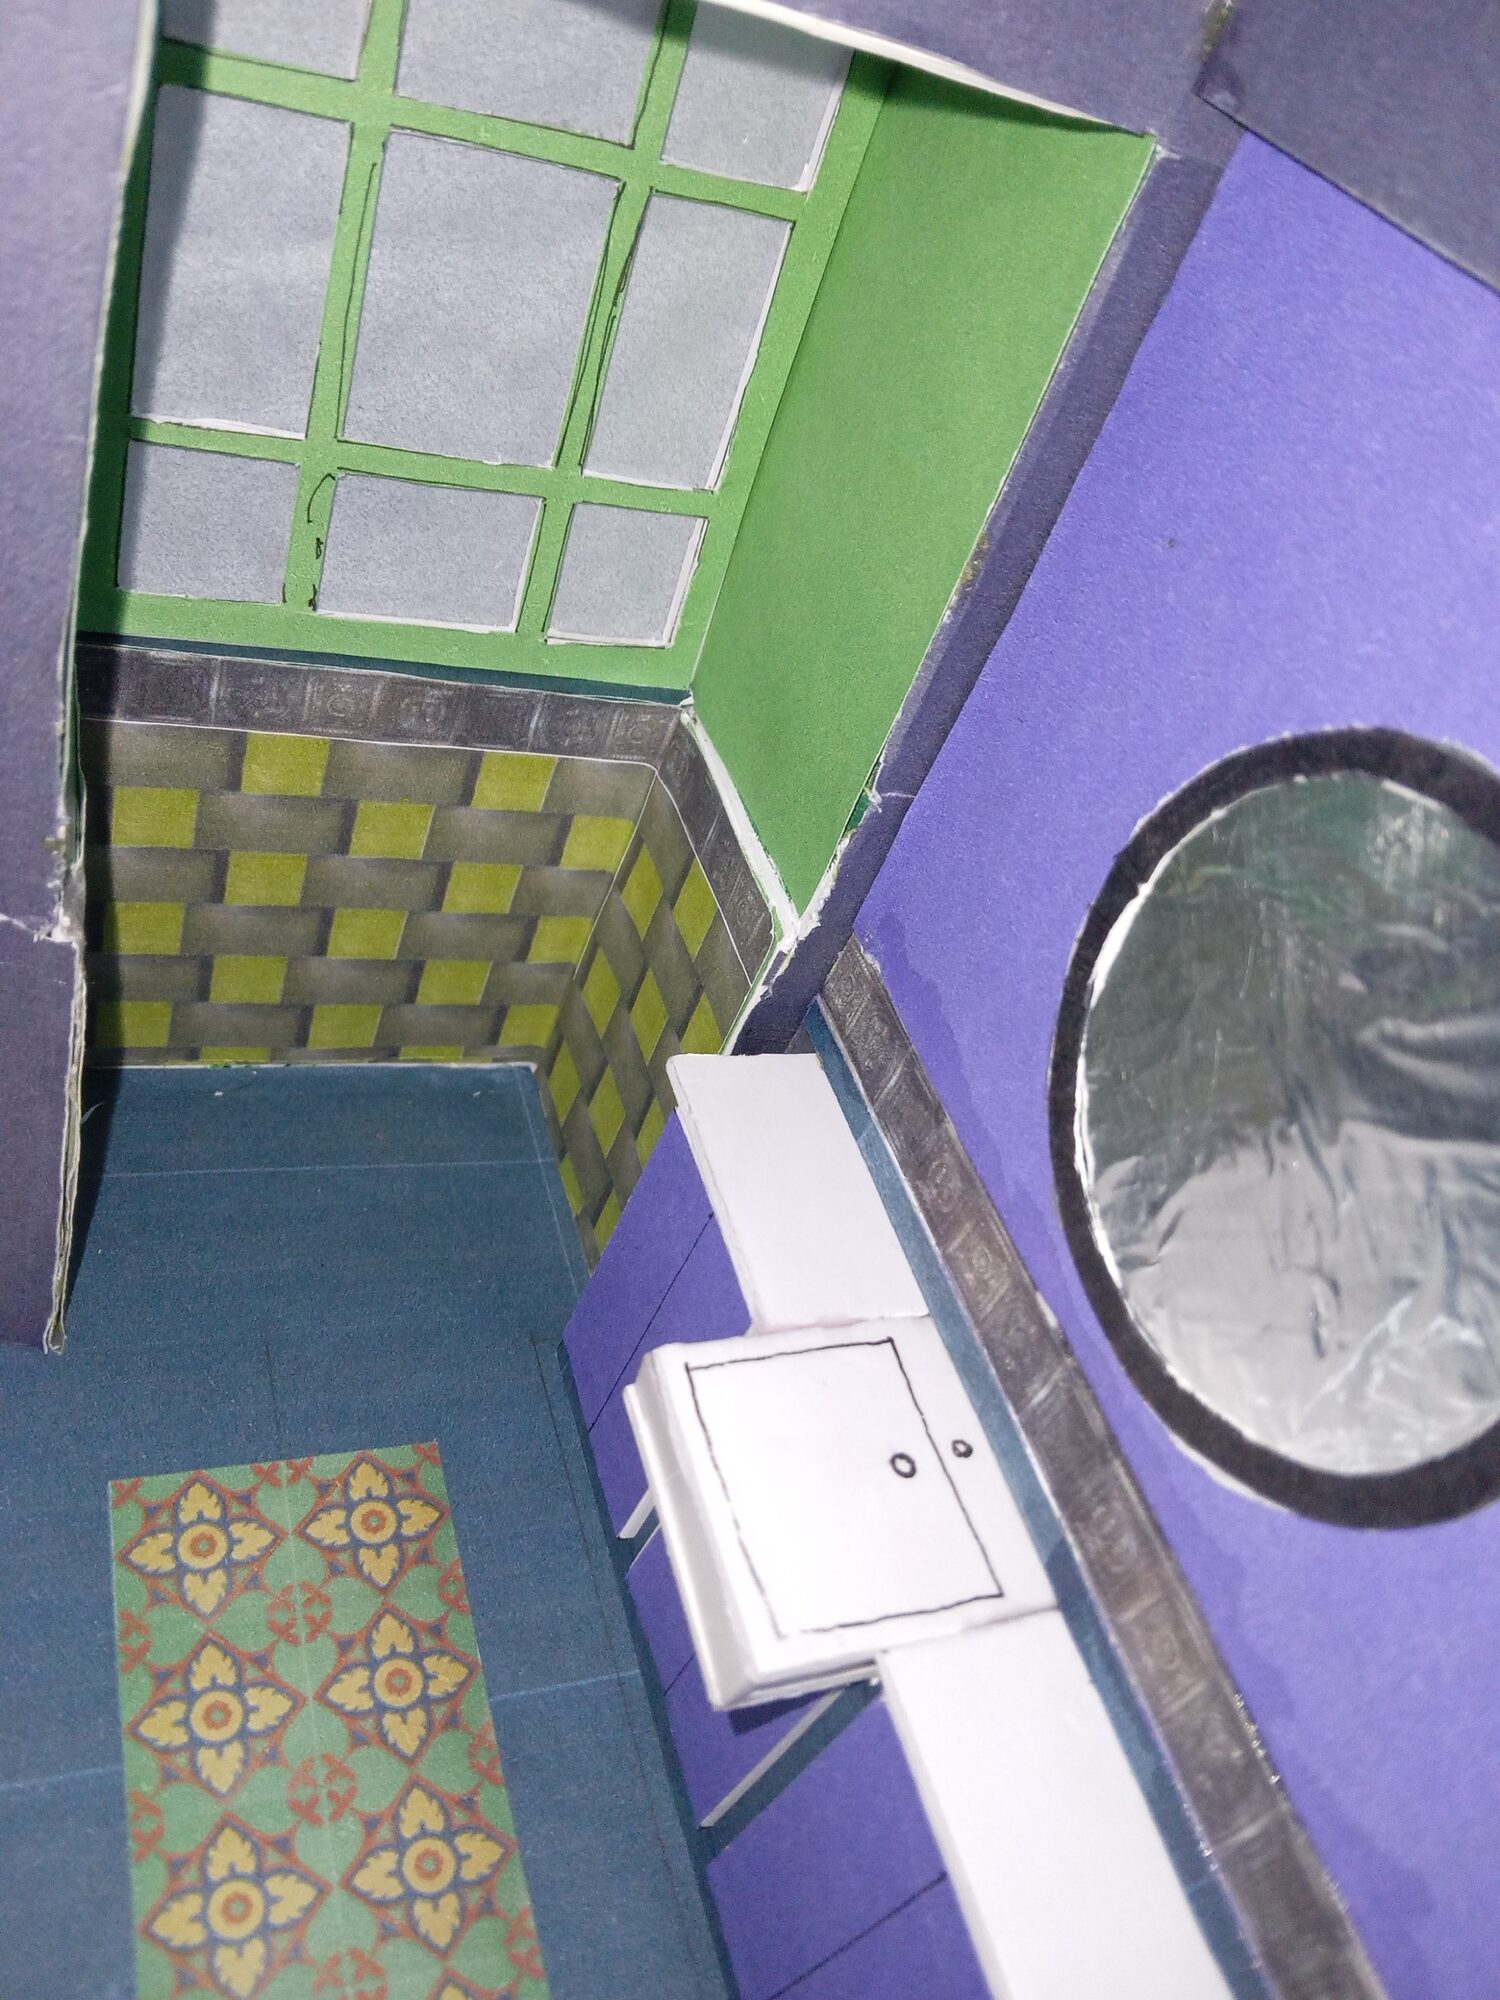
Another important point that came forward with the revised model in the studio was that the 8 Central tiles on the floor needed a boundary around them. So, we developed the boundary using the same blue subway tiles we were using on the walls.
For the corners where these borders met, we had two options in front of us to choose from, and we used a Mirror of the Self Test within the studio group to finalise.
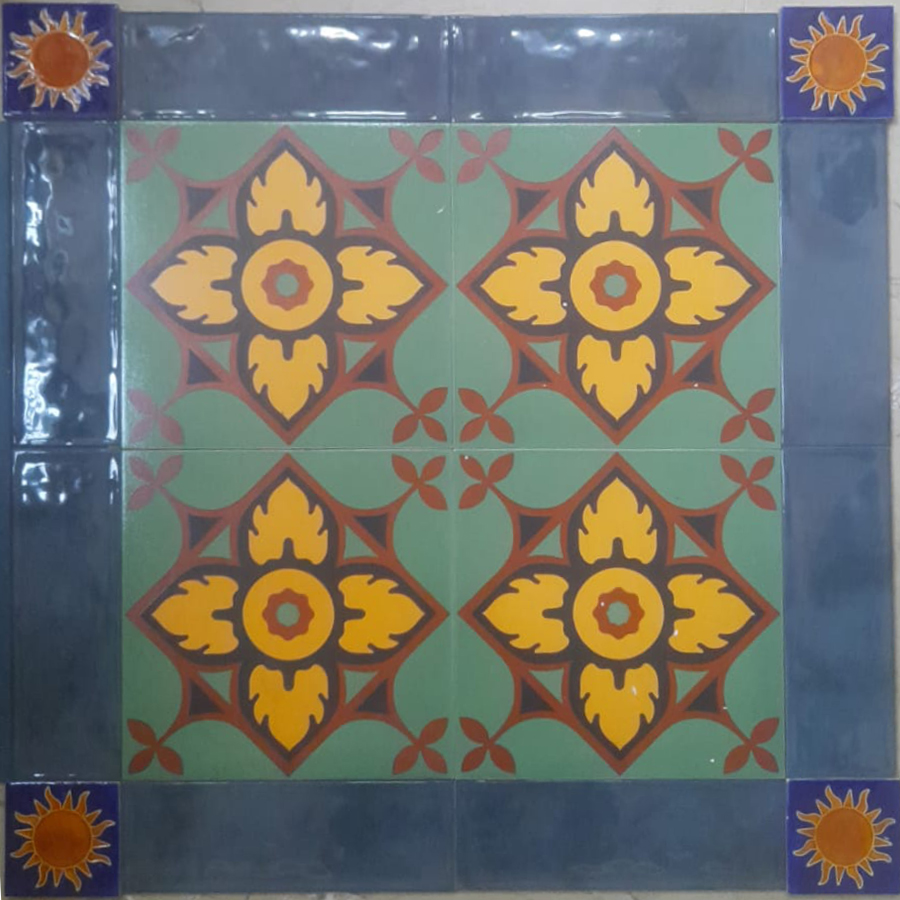
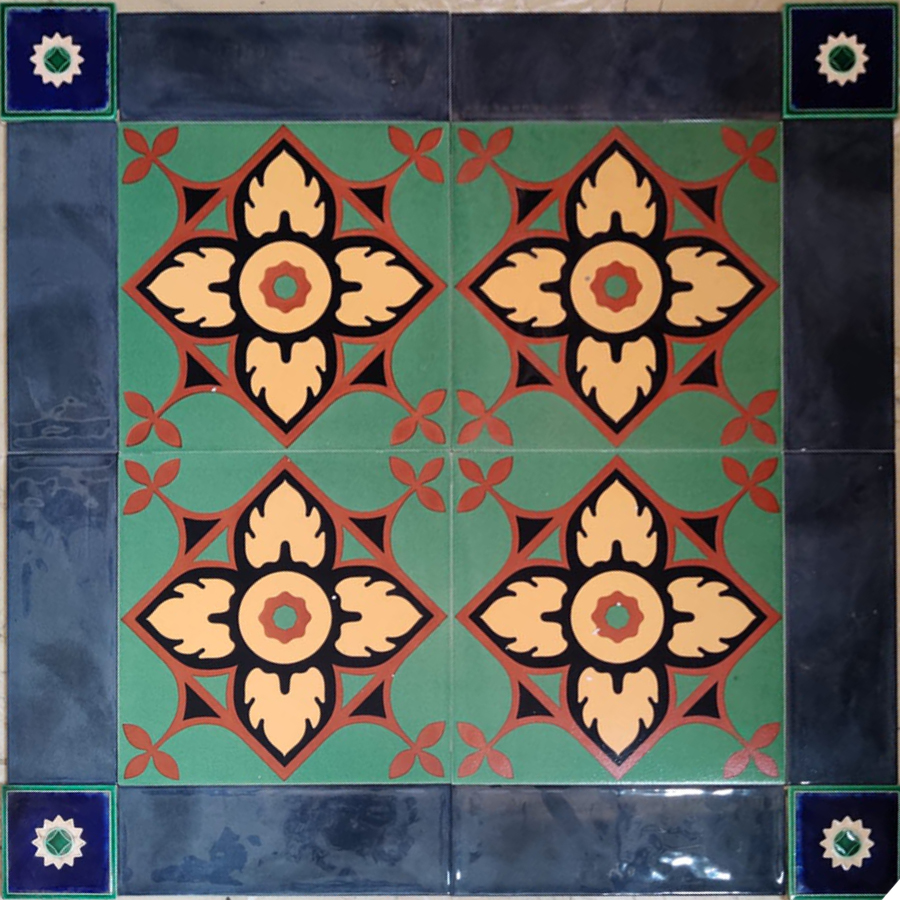
MoS- Mirror of the Self is a test, as described in Nature of Order Book 1 as comparing two objects and asking ourselves which of these two is more of a mirror of our true self. My true self means all of me, not just the good or bad but all of me. Another way of asking is if there was a fire at my house and I could run with any one of the two objects which one would be it? Or, if I were to be reincarnated as one of the two objects, which one would I like to be reincarnated as? Alexander conducted these tests to discover most people choose the same one of the two objects when confronted with this test on a large scale. Which of the two images above is a Mirror of your Self?
Colour and Ornaments
The aspects of colour and ornaments were kept in the process right from the beginning and were one of the foundational aspects of design. The colours were also fixed and finalised in a sequence making sure every new choice enhanced the whole. We started with two main choices – yellow and green. Yellow was chosen to be a highlight colour all across the bathroom since it was the client’s favourite colour, a decision that personalised this bathroom for her. Green was chosen for the surfaces around the window as these would be lit up with natural light and will have an effect of being close to nature. As we were also planning to keep a potted plant in the corner of the green walls, we realised, this would enhance the freshening effect of the potted plant as well, expanding its presence in the room beyond the physical volume of the plant. The idea of a plant in a sanitation space was to remind us of our connection with nature.
So, with the two colours – yellow and green – decided, we began exploring other colours. We explored in the small model, the use of the colour blue as a backdrop colour to complement yellow to be highlighted.

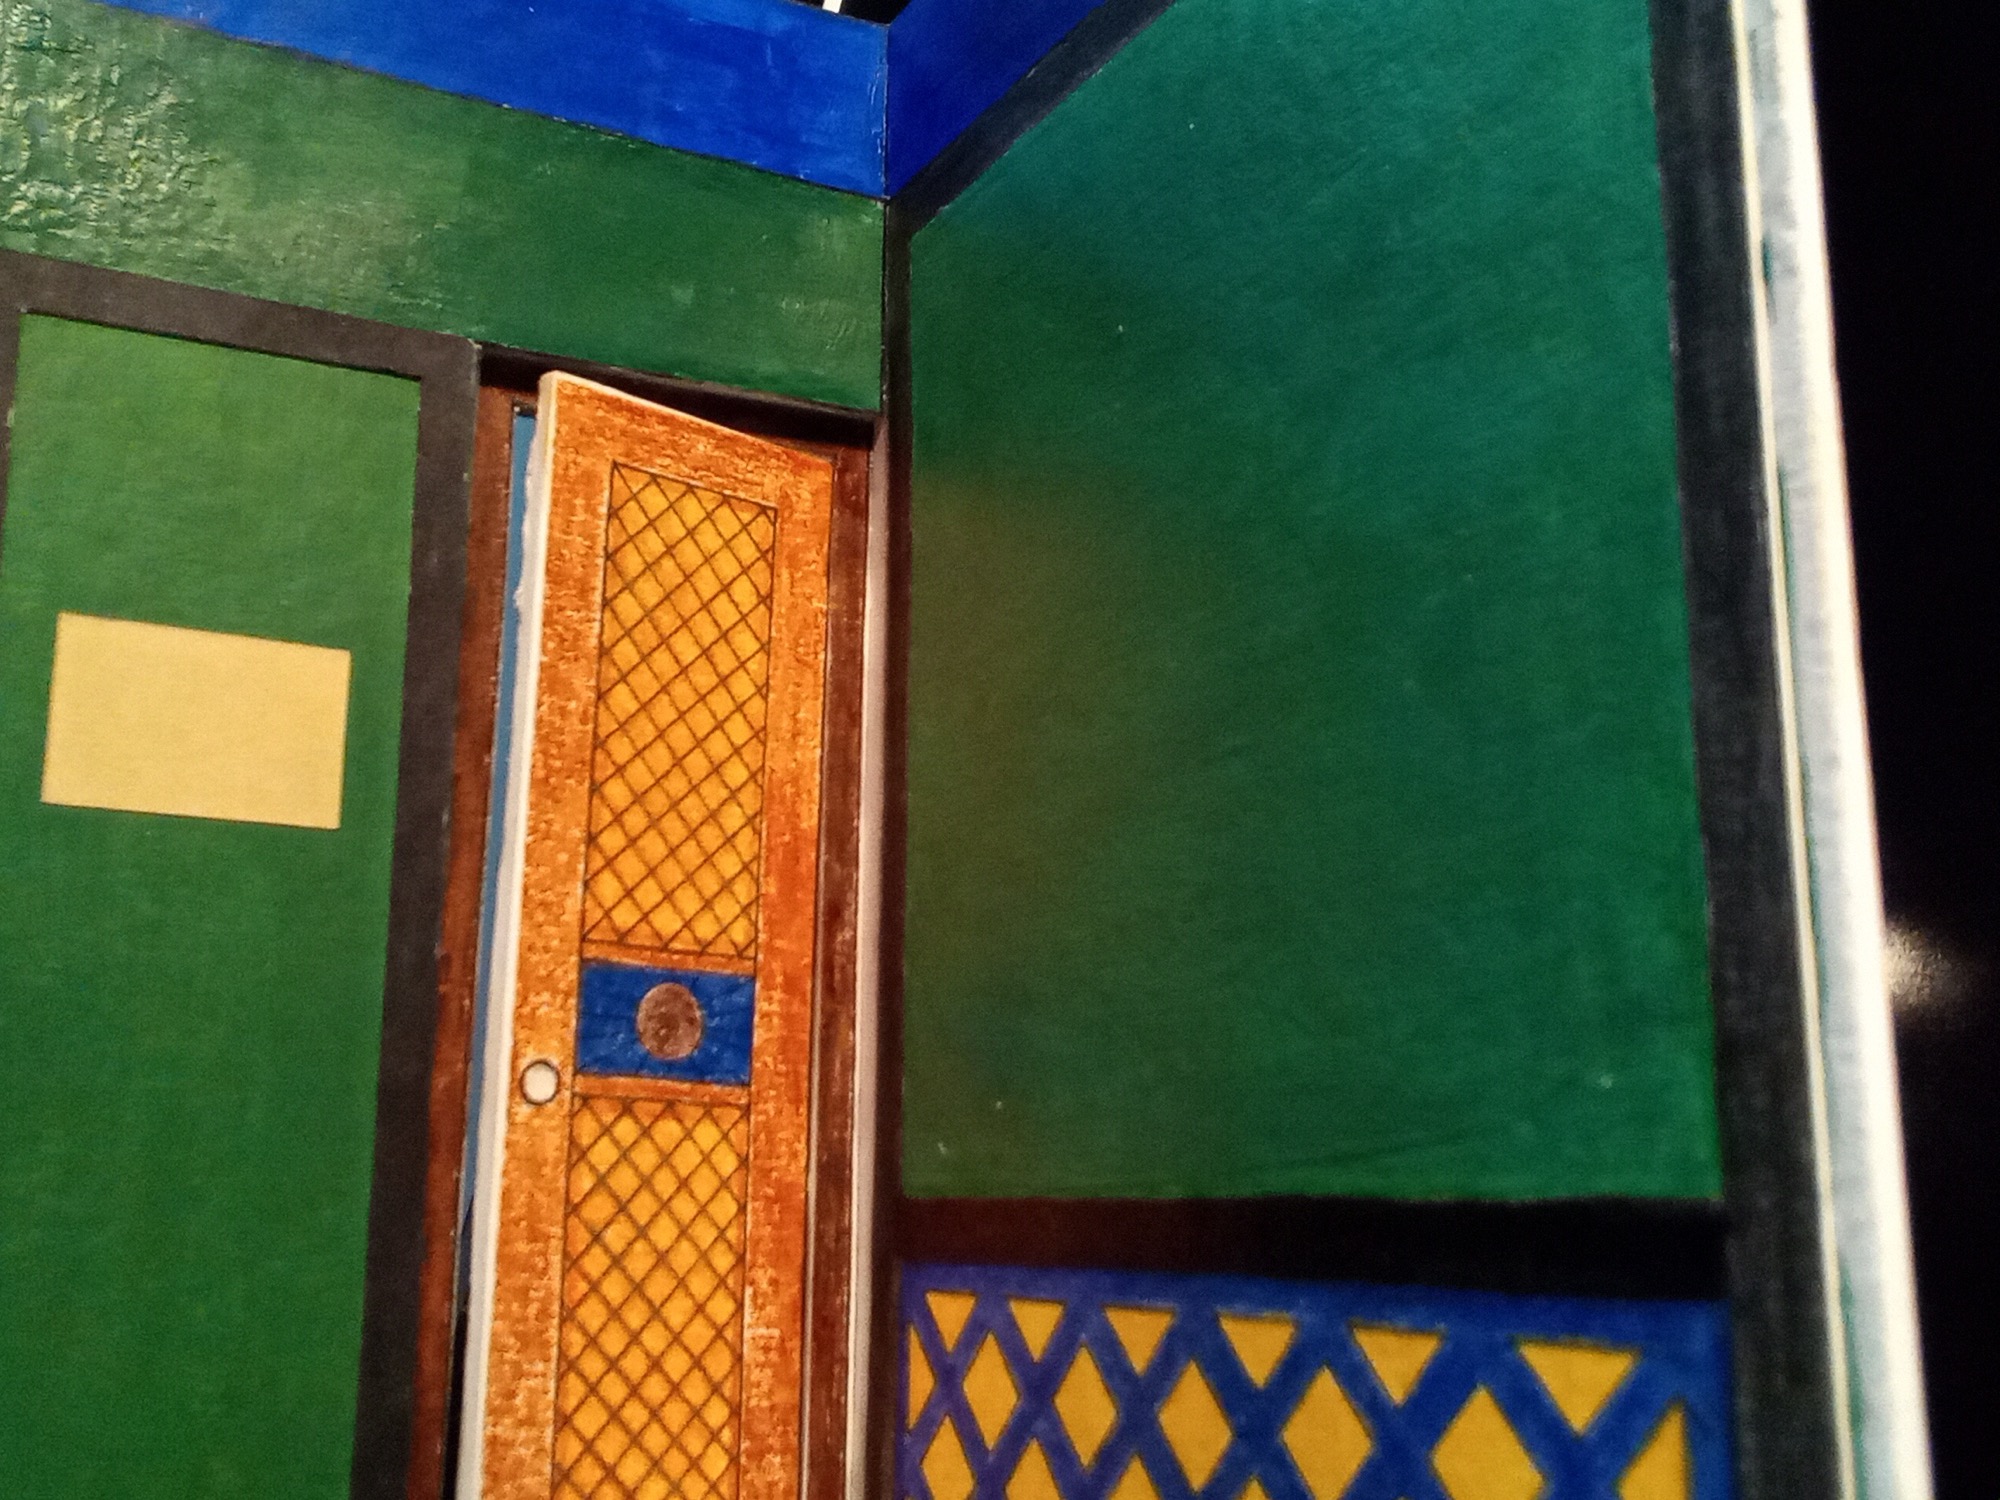
Resulting from a studio discussion we began looking at colour to be defining structural volumes of the room, with green defining the small pocket of space around the toilet seat – the extended portion of the bathroom and blue as the dominant colour of the larger volume with vanity, the volume in which one enters.

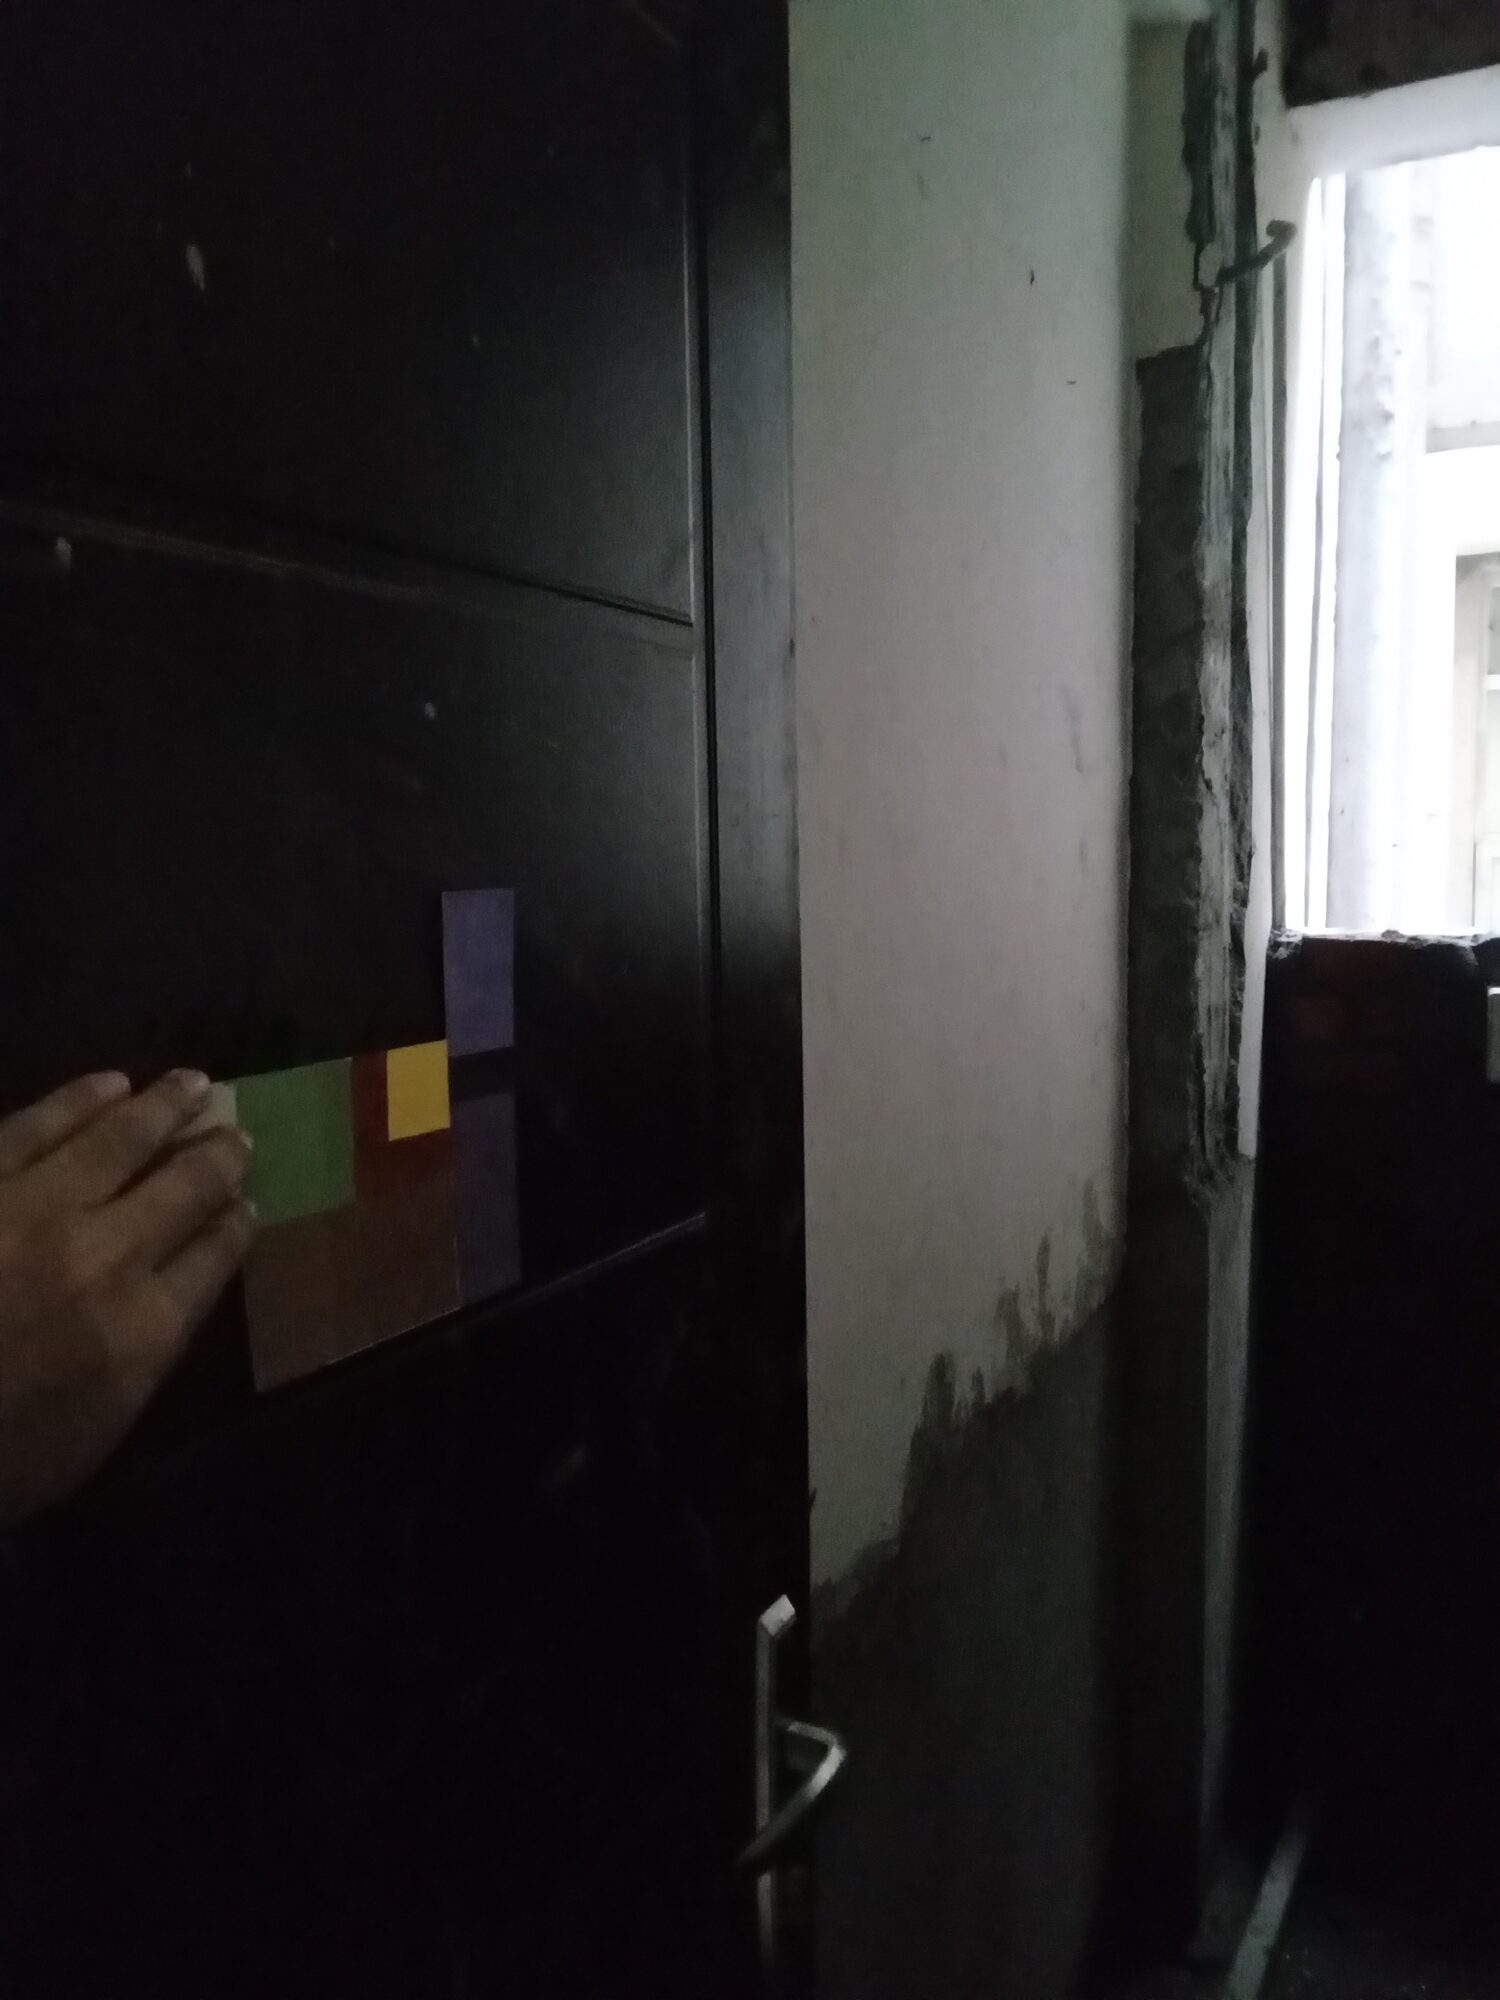
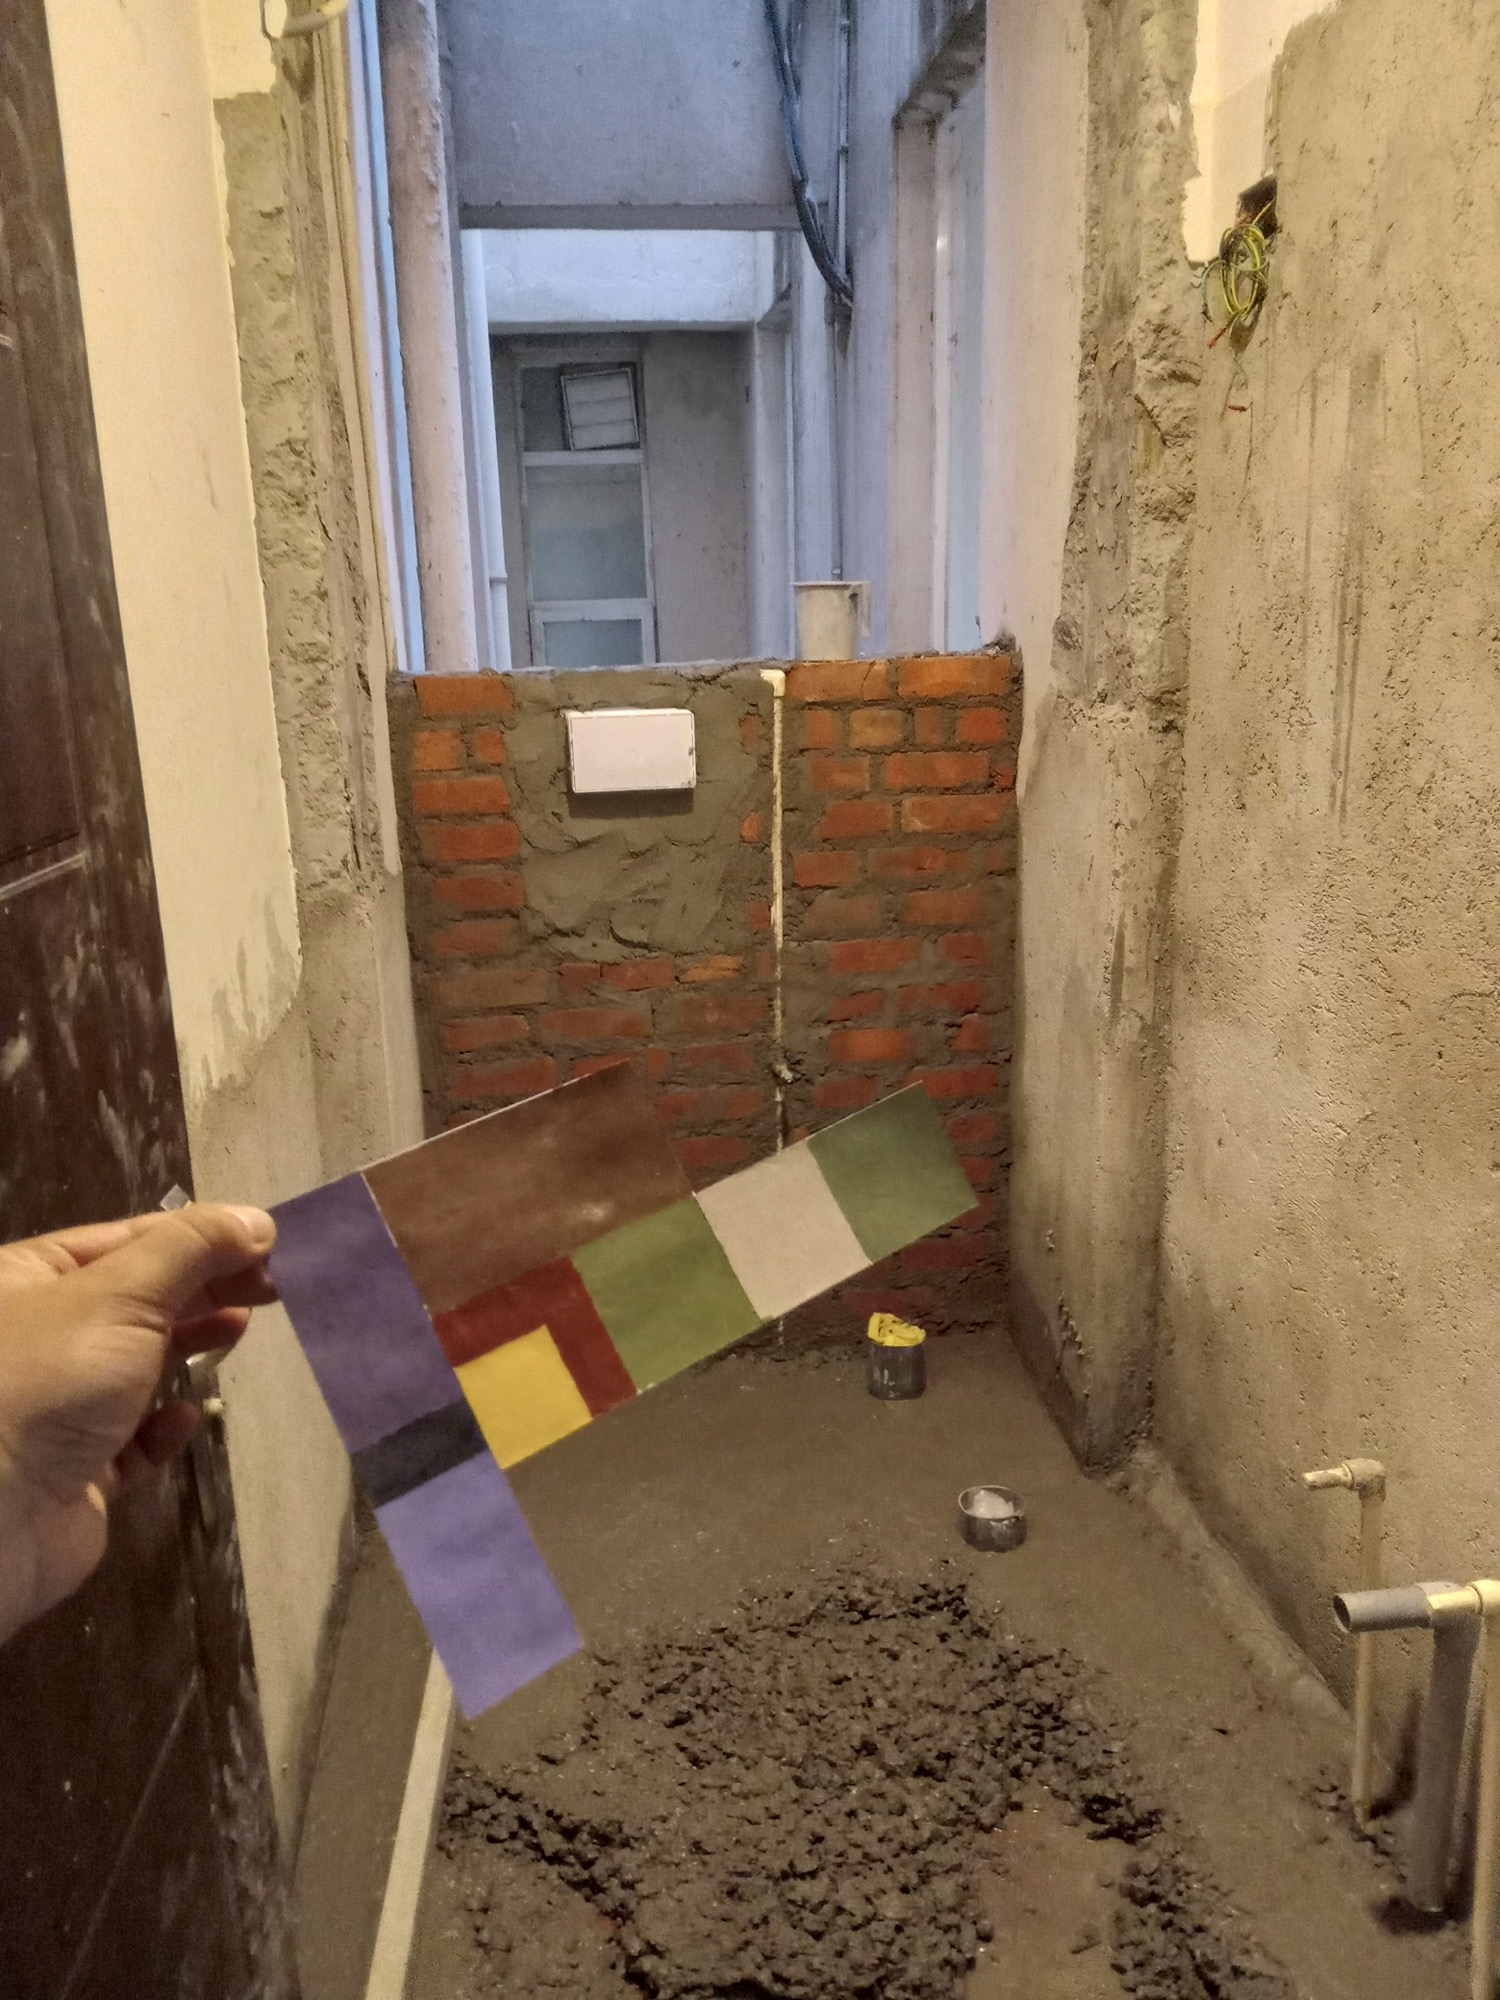
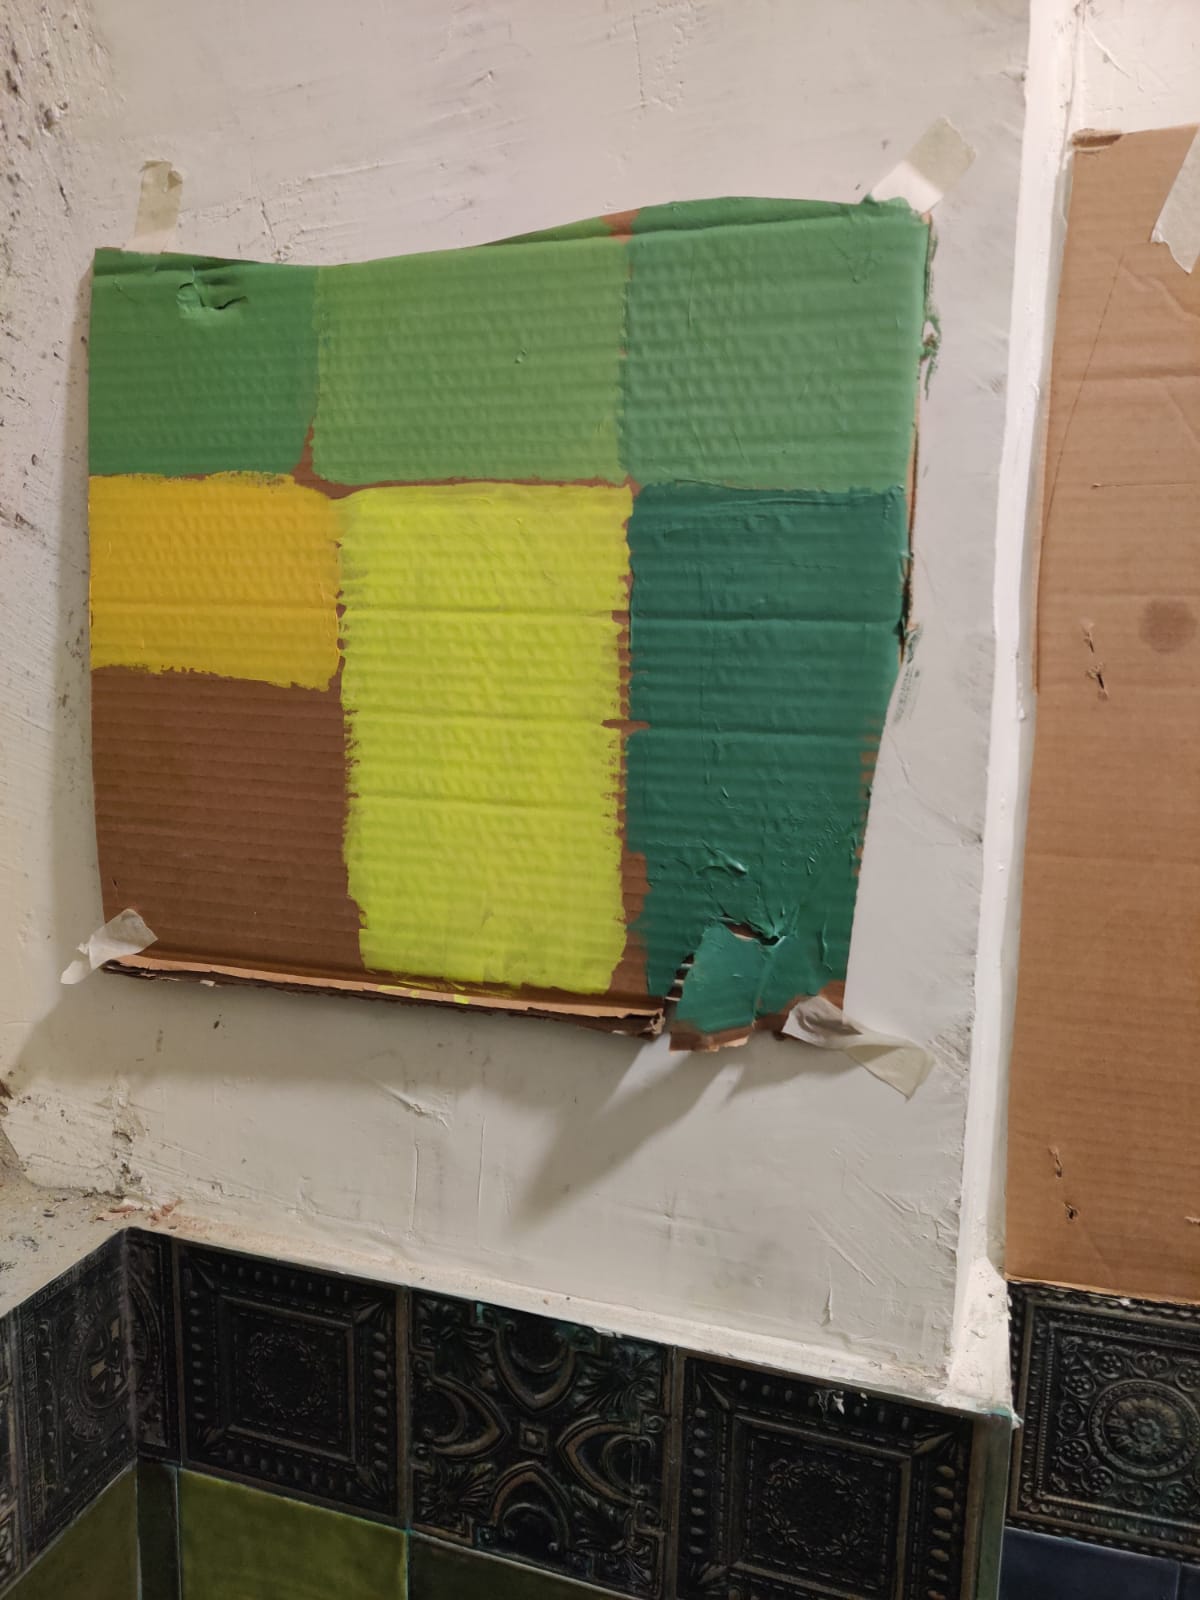
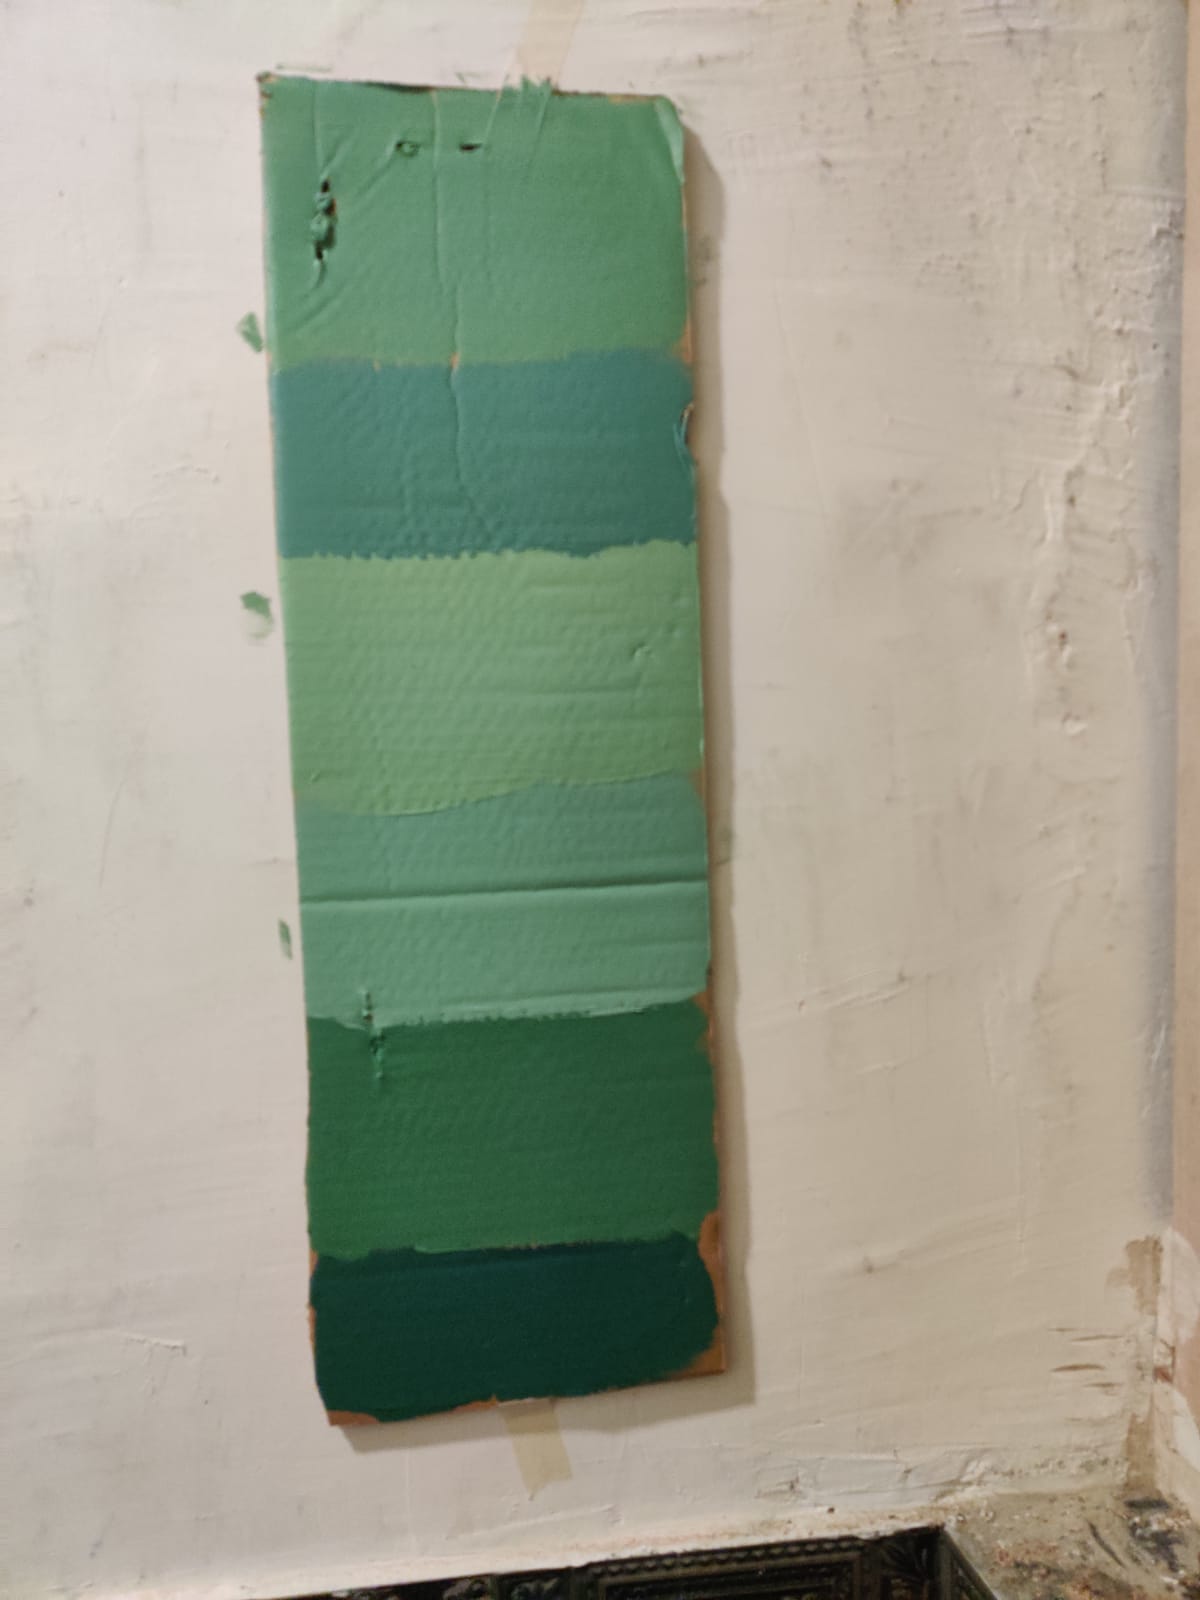
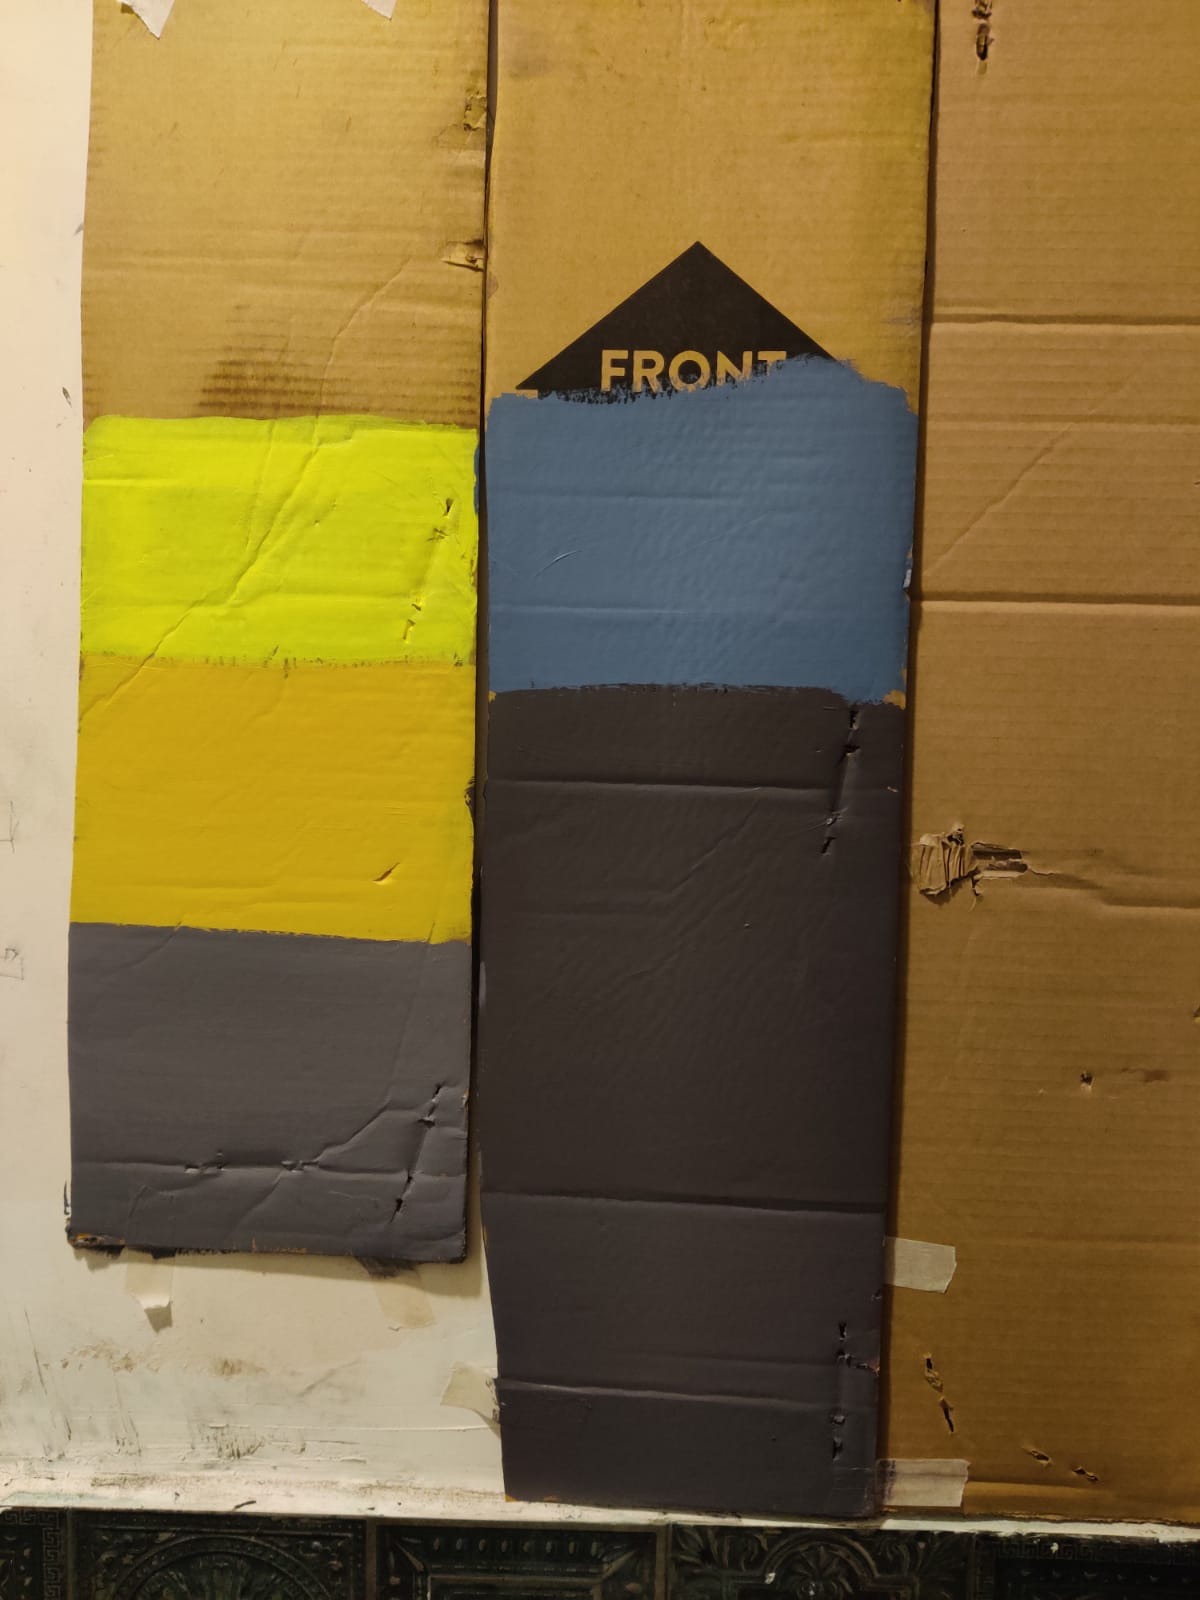
The selection of tiles also began establishing the specific tones and textures of these colours. Once all the tiles were finalised and fixed in the bathroom, we had to decide the colours to be painted on the walls and ceiling. A colour palette was developed to help with that. By this time the dominant blue was shifted to purple as it felt warmer and more royal against the cold blue, keeping with the vision of ‘A Queen’s Entrance’. However, before jumping to selecting the matching colours from the shade cards available at paint shops, we decided to go a bit more primal and painted cardboard surfaces and placed them in the bathroom, by mixing primary colours red, yellow, blue and black and white to arrive at the absolutely perfect hue and shade of the colours we were considering that felt right under the specific lighting conditions of the site. It was a mock-up of colours. It resulted in colours that were slightly different from the shade card but were well suited for the site. The next task was to buy the paint buckets for these shades, but the quantities that we needed were so small that there would have been too much wastage. So, we decided to follow a similar approach of getting a base white colour and making each shade on-site using stainers of primary colours. It was an absolute joy to mix the primary colours and let the new colours be revealed on-site and painted on surfaces!
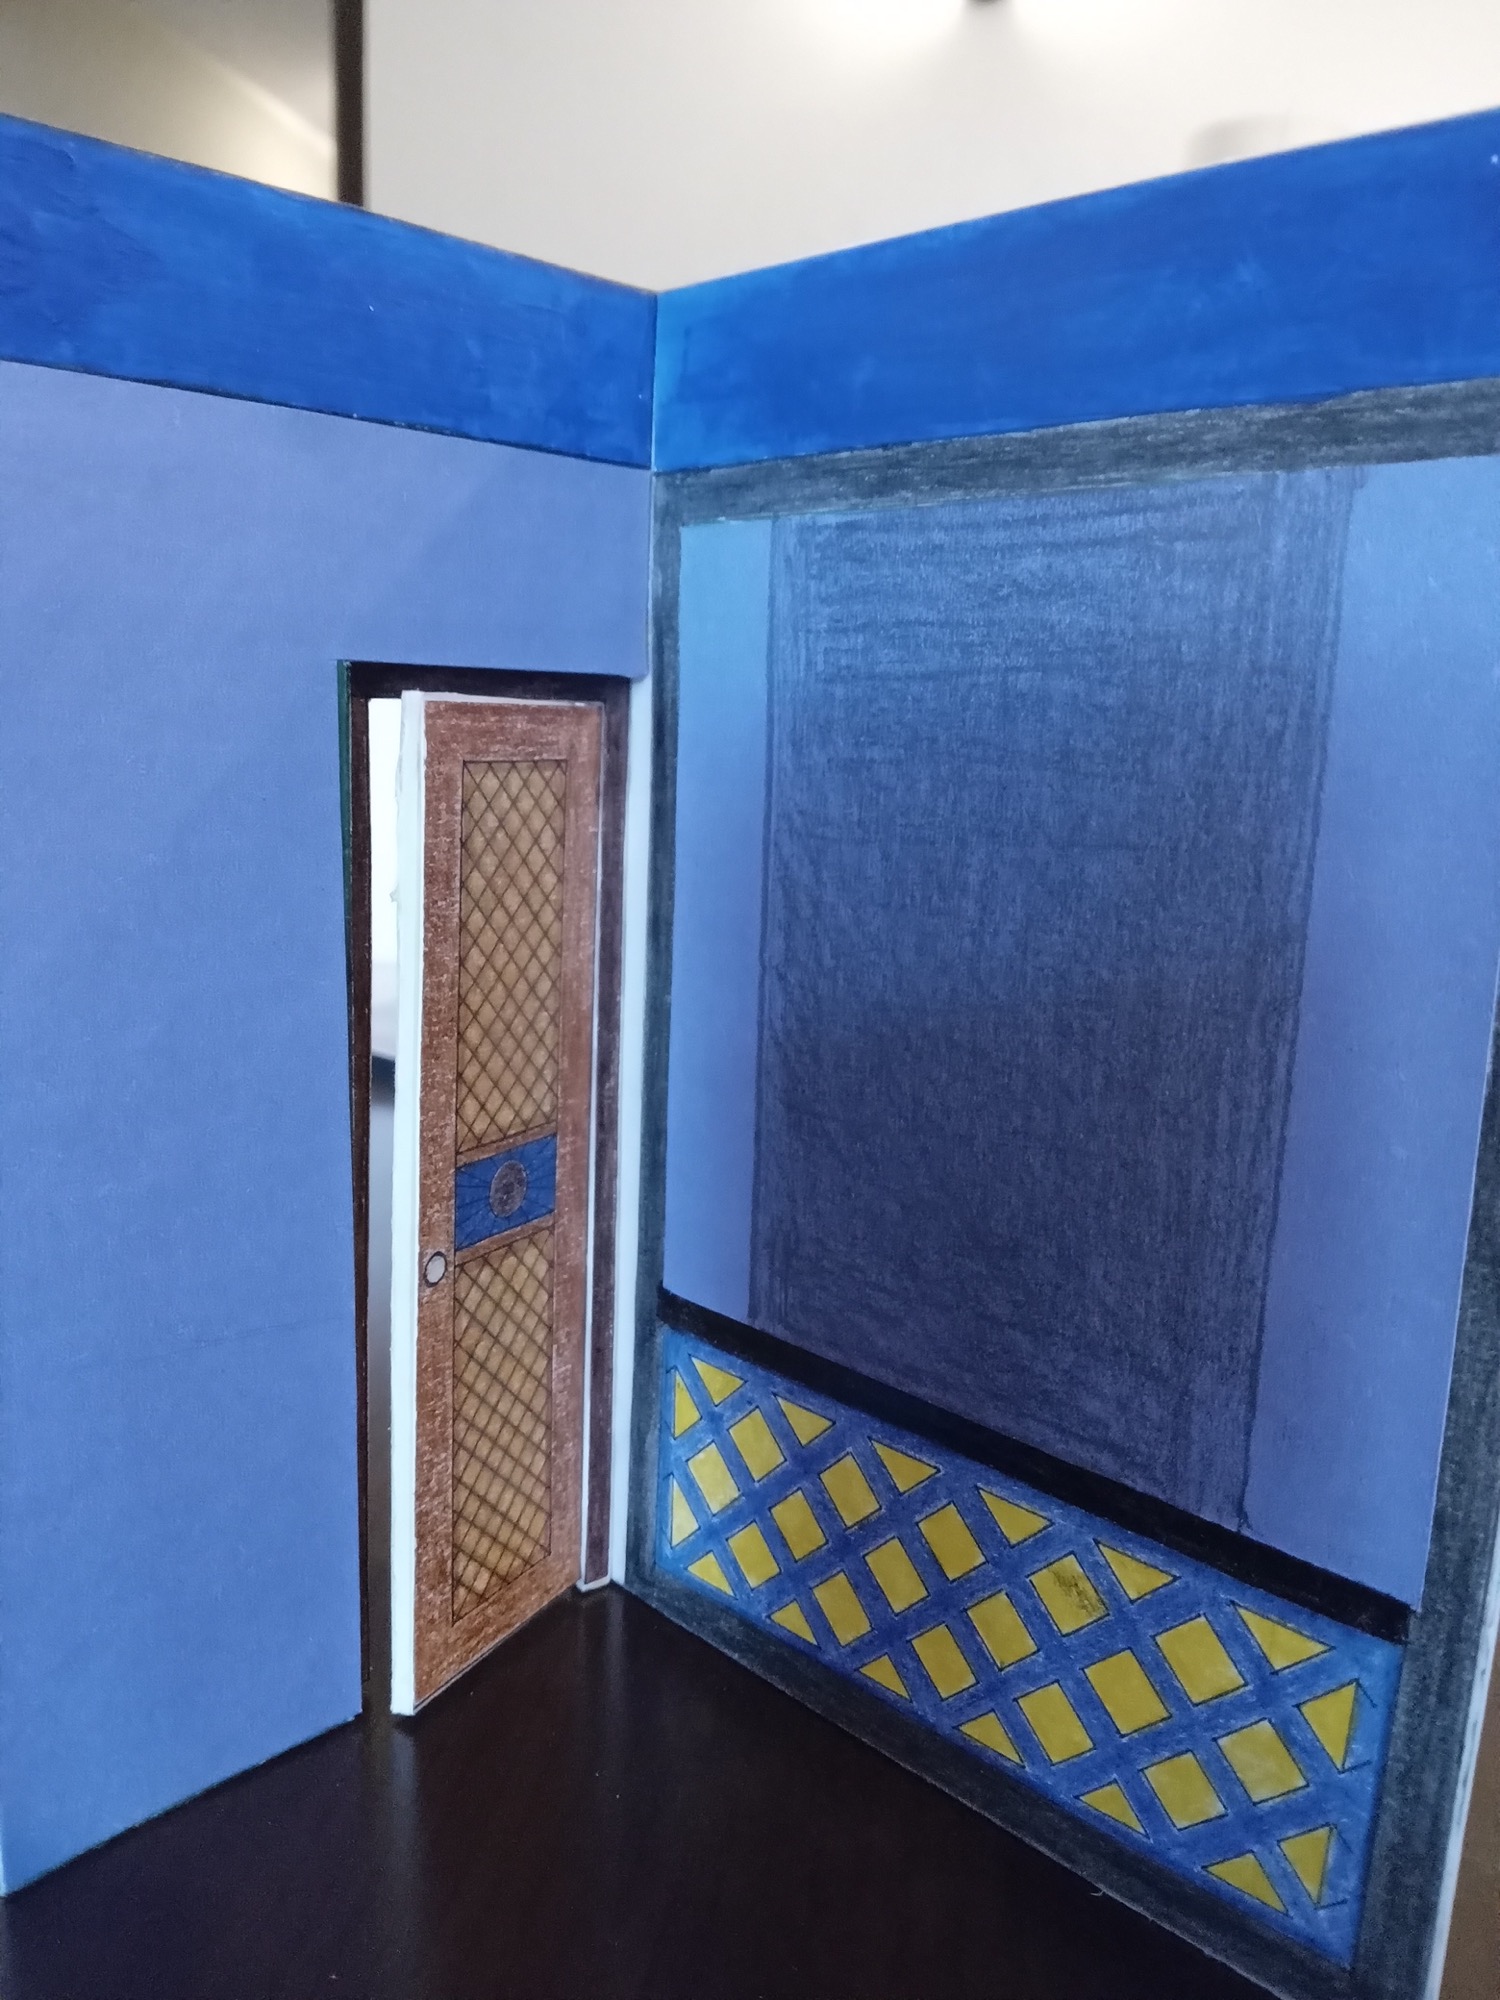
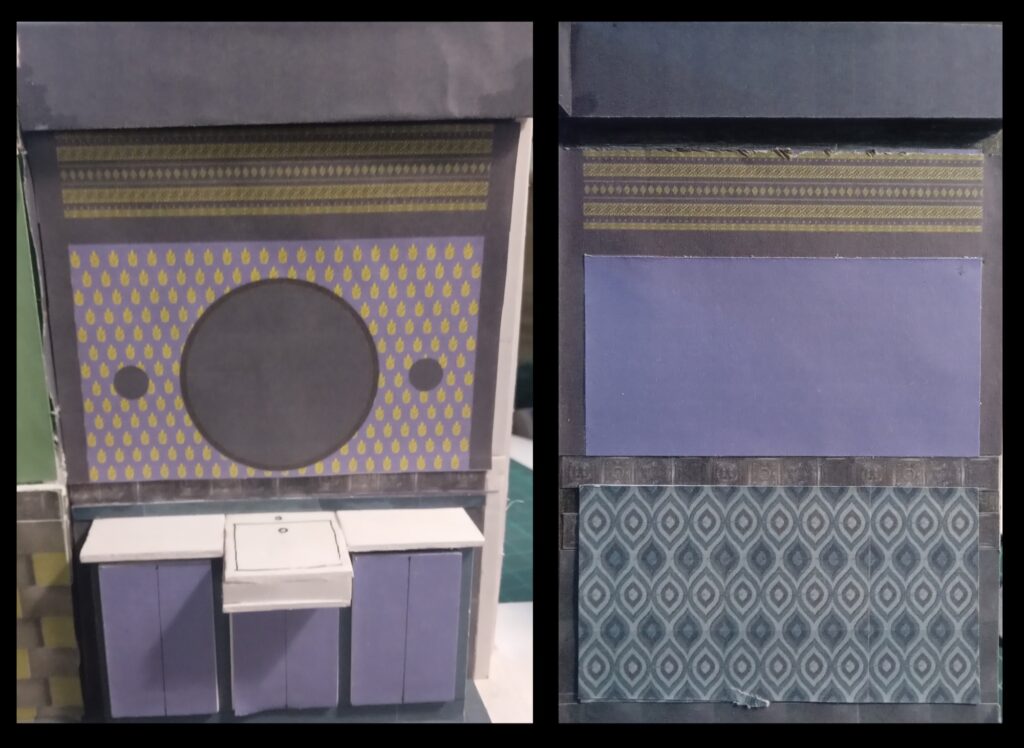
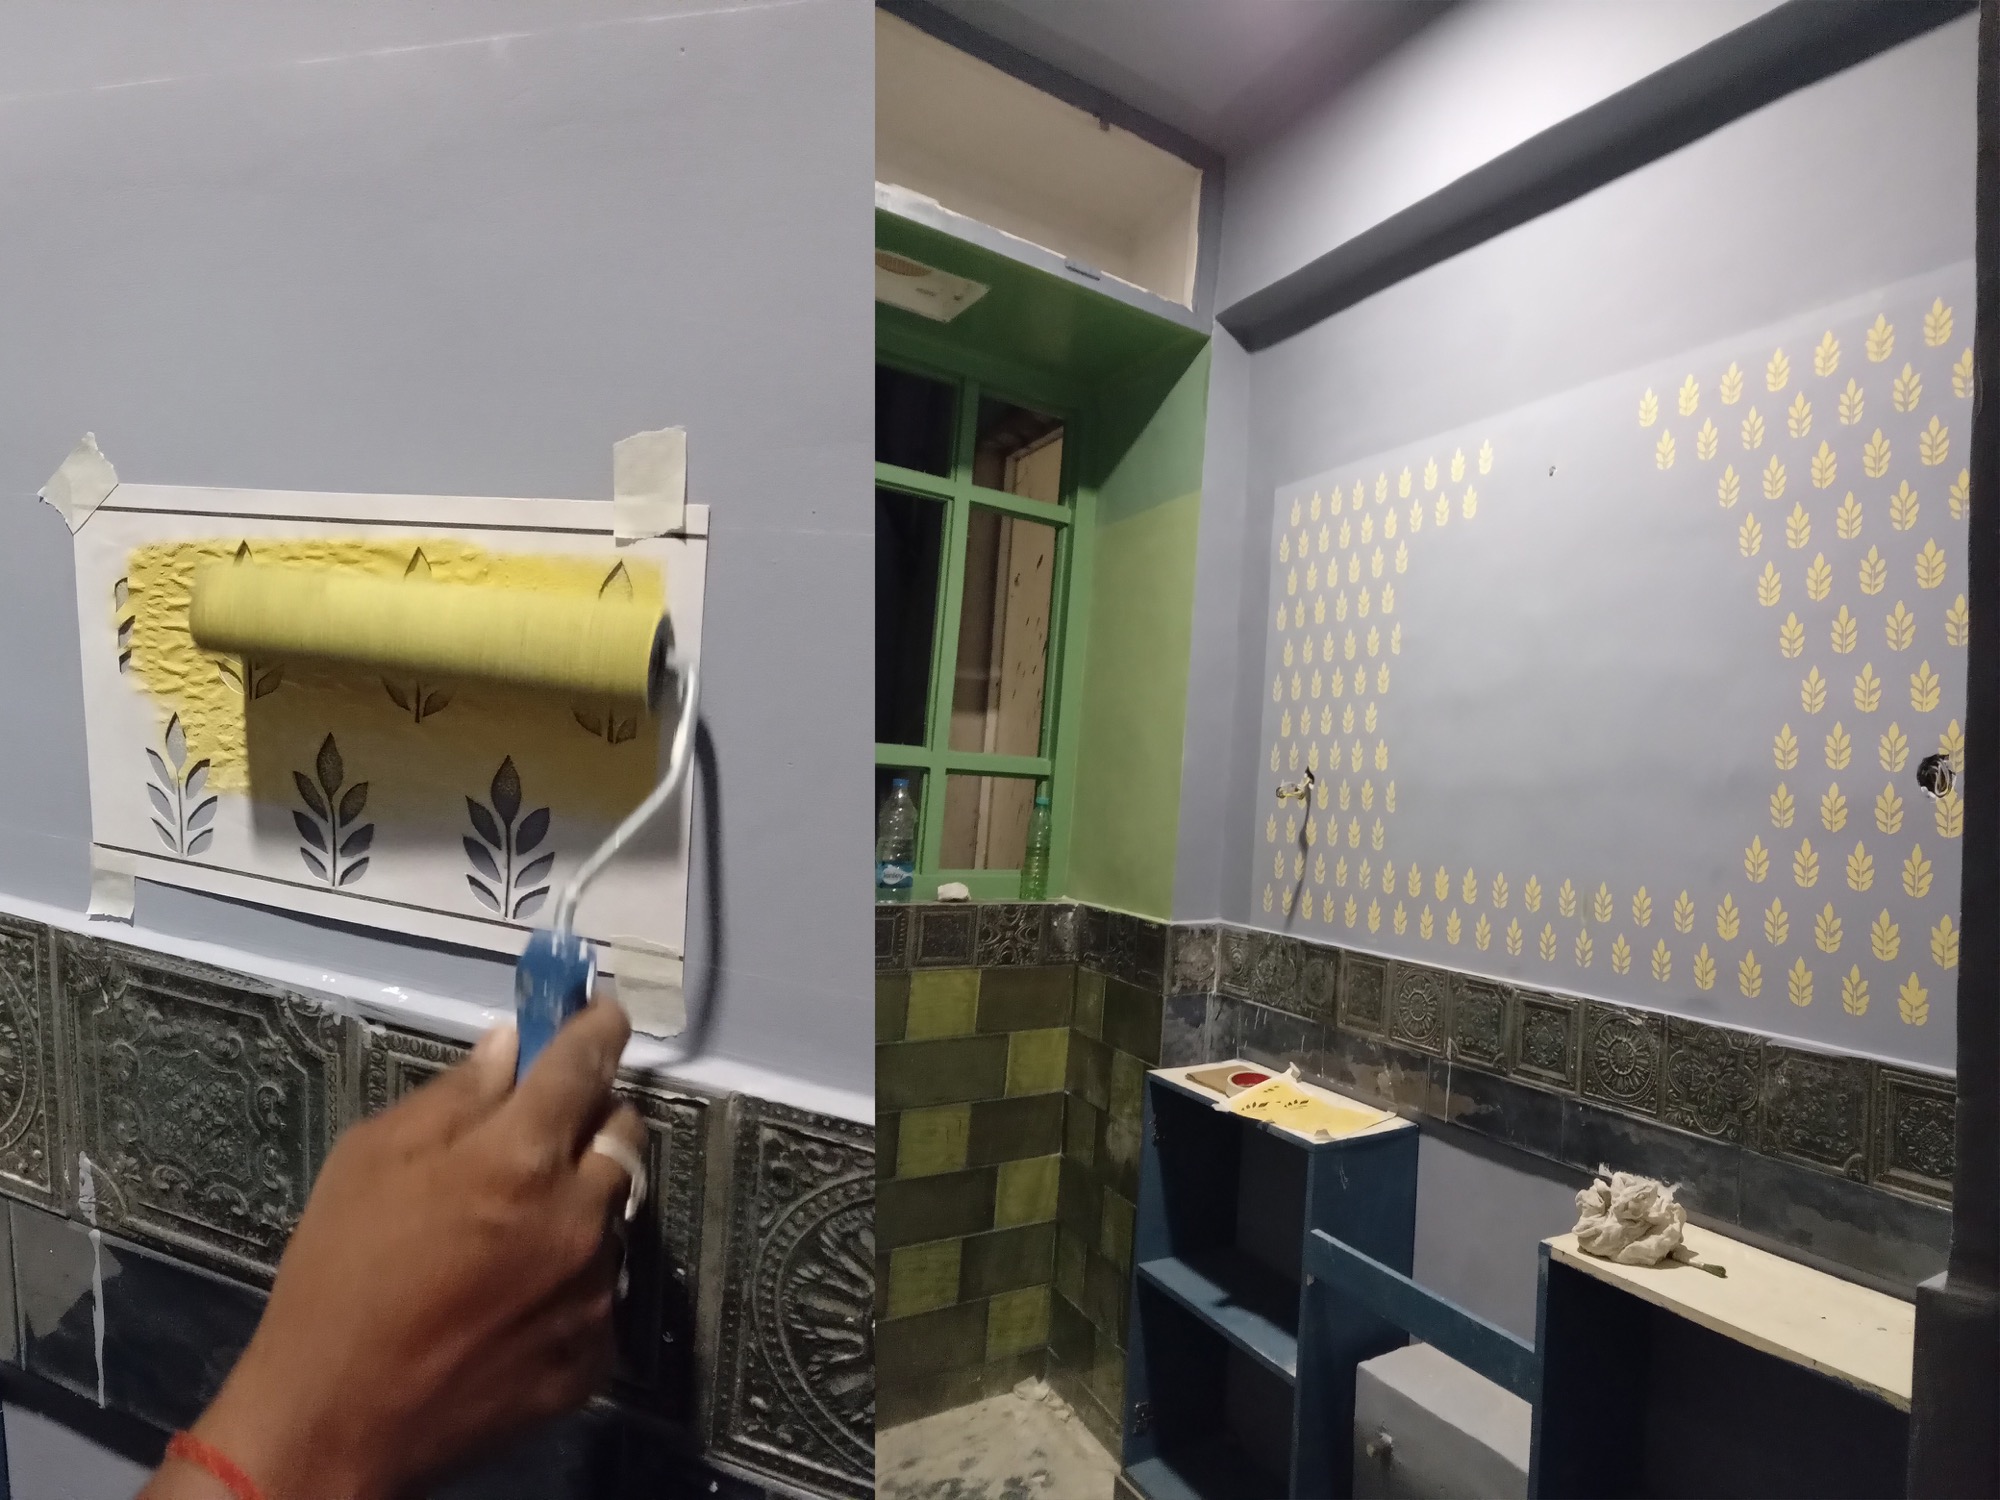
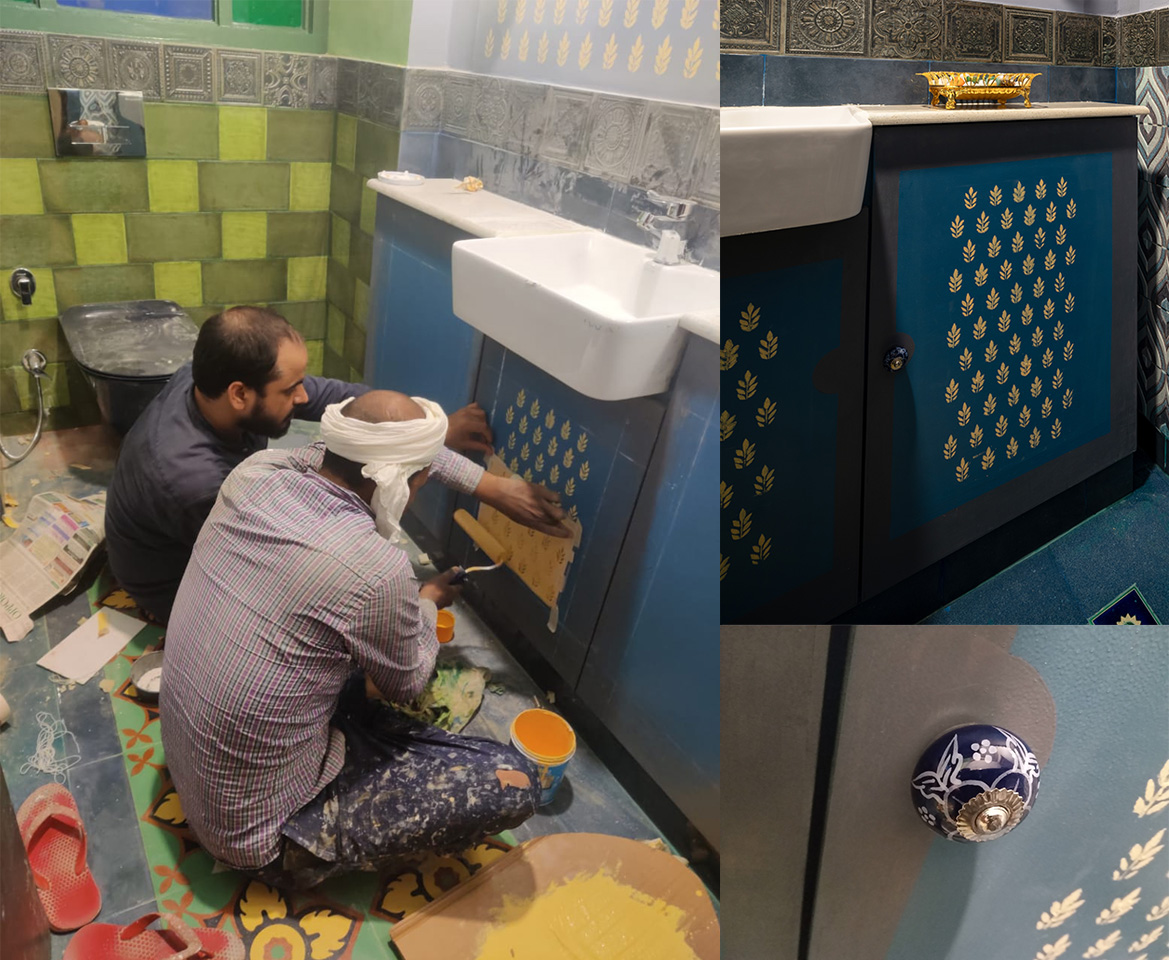
The final step of this process was the painting of yellow ornamental patterns on walls. I worked on the small model first, printing and applying the scaled-down patterns on the walls of the model. Working on the model helped us realise the exact boundaries of the patterns, for example, I was considering having two long strips of a pattern on the wall facing the vanity(Image B), but after making it like that in the model and after a discussion in the studio, we realised that the wall which was to serve as a void was losing more character than gaining by these strips and decided to keep it a simple purple wall as a backdrop for people’s faces looking in the mirror(Image A).
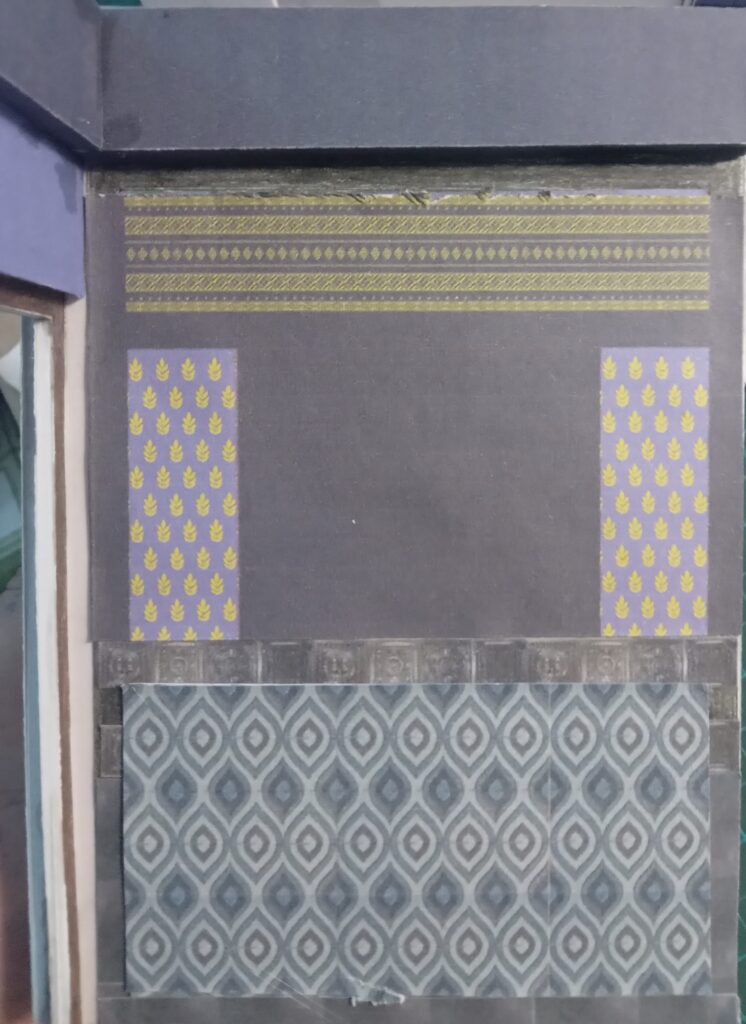
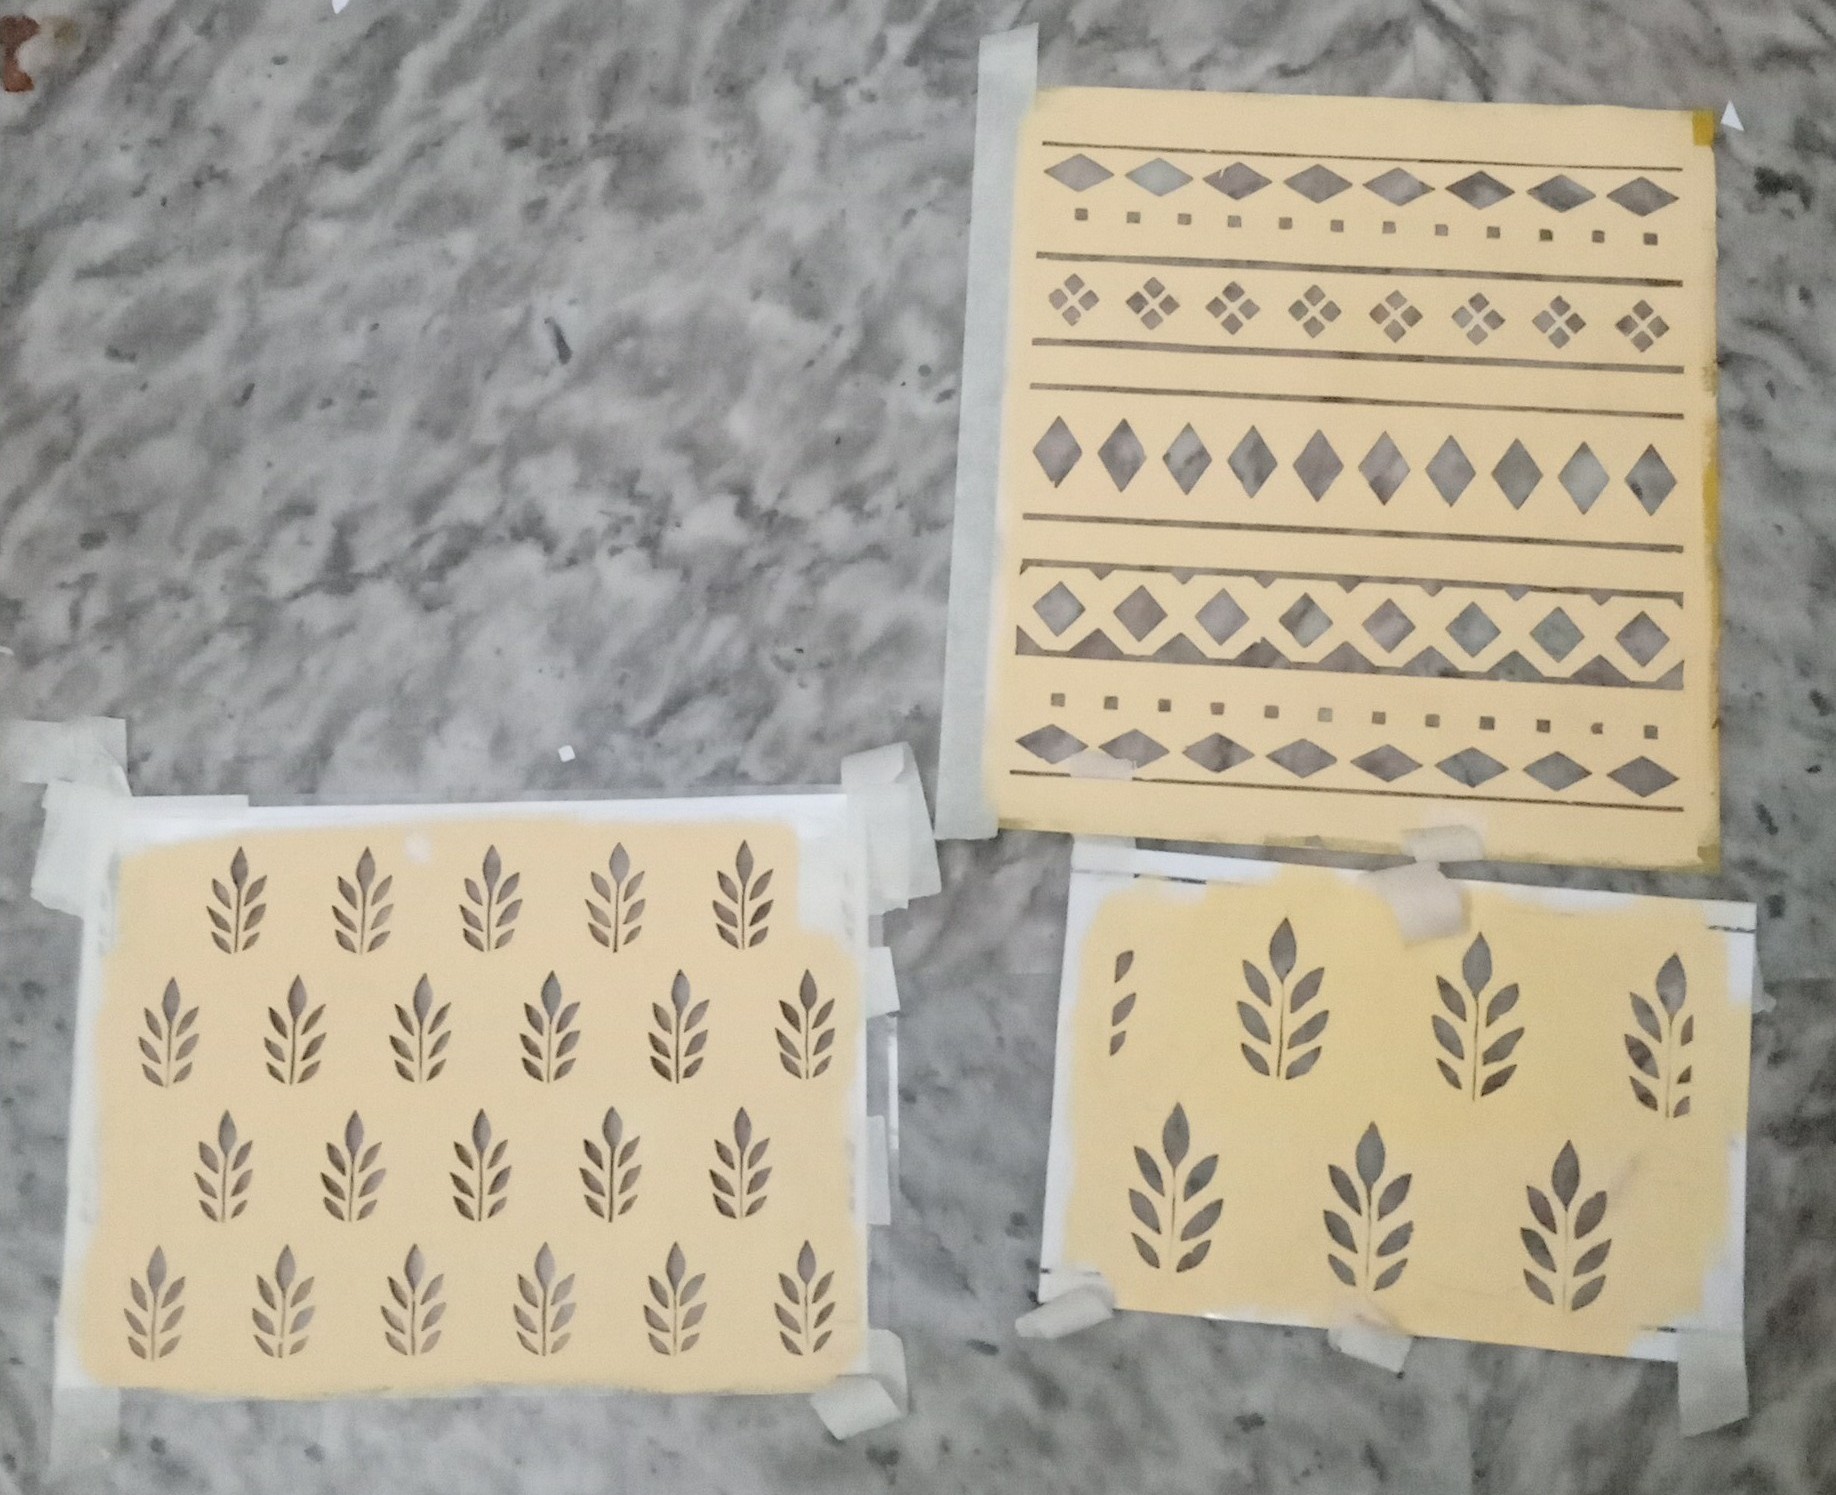
Once these patterns were finalised, we made hand-cut stencils out of plastic files and used them to paint the patterns over the surfaces.
Final result and reflections
We finally selected an elephant-shaped pot for the corner plant, since elephants have been a symbol of royalty in India and with everything put together, took a bunch of photographs. Architect and photographer Nakul Jain humbly accepted to help us with that.


Reflections
This project introduced to me a design method that felt very natural and humane at every step. I was surprised to have effectively done this without making any detailed two-dimensional drawings or three-dimensional virtual models at all, where we, the designers, crunch hours of work in isolation from the real site and in isolation from real conversations with the client and the people involved in construction. Moreover, each of the two-dimensional drawings are made in isolation and the daunting task of cross-referencing is needed all the time. All these processes including the making of two-dimensional drawings and three-dimensional virtual models in virtual environments require hours and days and weeks of work in a virtual atmosphere and then the daunting task of reading and making sense of the drawing set by the on-site team are very de-humanizing in nature and result in a mechanistic way of decision making based on more and more logic and less and less of feeling. Perhaps the only part where feelings are present in these processes is when the principal designers come to the drawing board and sketch, or when presentations are made to clients which are limited to a meagre proportion of the total time devoted to the project. Most of the time is consumed by these mechanistic processes, which affect the outcome drastically. In the process of designing and building using models and mock-ups, there is a very significant aspect of constant feeling feedback which is missing in the standard design method.
I also noticed growing confidence shown by the client in the project as the days progressed. For a client, it was a new experience to see your project unfold, bit by bit on-site, in real-time with mock-ups and models as compared to judging a design through a computer-generated 3D render where lights, shadows and textures are all artificially created and can be deceiving. Perhaps most importantly, I noticed a very strong connection and confidence with the team involved in building the project. Usually, designers visit the site a counted number of times after releasing the blueprints, while here, I was present with the team most of the time. This encouraged many team members to put in a little extra to achieve the collective vision, especially when we improvised to even better details and solved problems on site.
—-x—-x—-x—-
More details about the Building Beauty program and other examples of Students work can be found on the Building Beauty website.

